I’ve built enough sheds to regret skipping permits, so start by checking local requirements. Structures under 120 sq ft often avoid them, but verify electrical and foundation rules. I clear debris, level the ground, and choose between gravel pads, concrete slabs, or wood skids based on drainage and budget. Then I frame walls flat on the ground using 2x4s and temporary battens, raise them plumb with a spirit level, and brace with vertical battens at 600 mm centers. Next, I add roof trusses with 12-inch overhangs, 7/16-inch OSB decking, felt paper, and shingles with proper flashing. I install cedar siding overlapped ½ inch, hang the door, run buried conduit for one outlet and a light, add a back wall vent, and build OSB shelves with a bike rack. Follow these seven steps to avoid the headaches I learned the hard way.
Plan Your Garden Shed: Permits, Foundation Options, and Site Prep
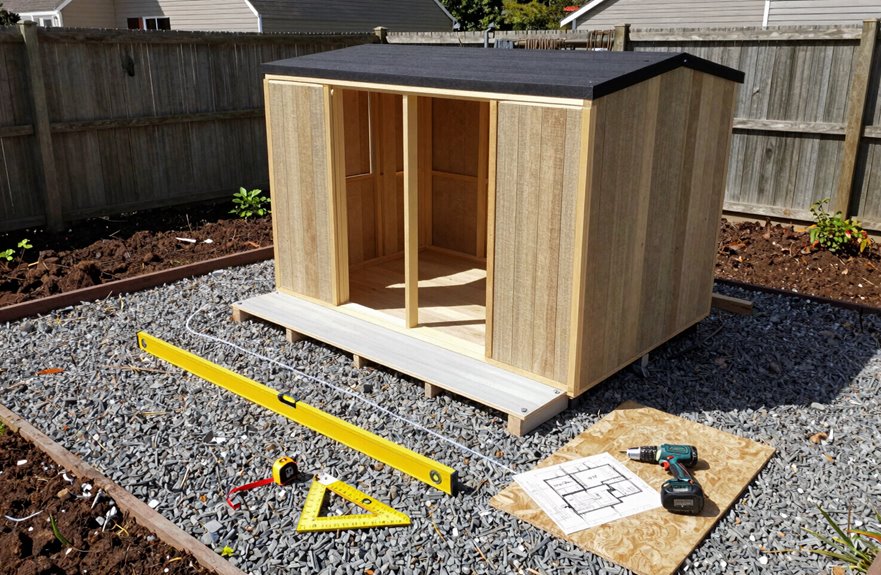
Before I swing a hammer or buy a single 2×4, I understand that skipping the planning stage can turn a weekend project into a month-long headache.
Skipping the planning stage can turn a weekend project into a month-long headache.
Check Your Permits First
I always call my local building department before proceeding. Many small sheds under 120 square feet, set back from property lines, don’t require permits; however, adding electricity or making amendments may necessitate inspections, such as Ontario’s ESA. It’s important to verify this before starting, as I have learned after pouring concrete only to find out I needed approval.
Pick Your Foundation
Your foundation choice influences every aspect of the project. I consider three options: gravel pads, which are inexpensive and quick; concrete slabs, which are permanent and solid; or wood skids, which are movable and straightforward. Whatever option I choose, I ensure it is stabilized properly, as shifting ground can cause walls to crack.
Handle Site Prep Like a Pro
Site prep involves clearing debris, leveling the ground, and planning wheelbarrow paths. I assess drainage on slopes and mark wall locations before framing begins.
Level Ground and Build Your Cinderblock or Concrete Foundation
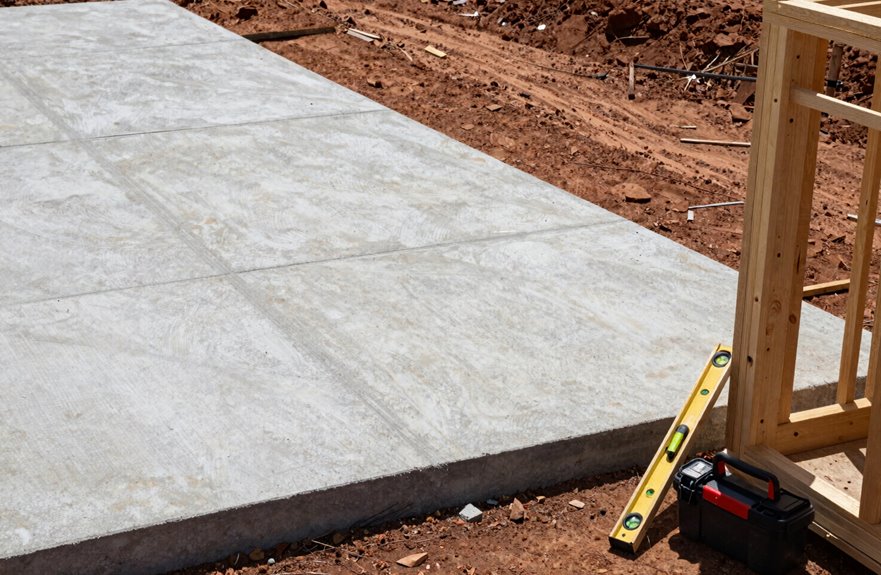
With my permits checked and site cleared, I’m ready to build something that will last.
I chose a cinderblock foundation because it protects nearby trees and keeps rodents out; I learned that the hard way on my last build. Here’s how I tackled the leveling and base:
- I dug channels for blocks and electrical, then filled the base with limestone screening for drainage.
- I laid 15 purchased blocks plus free bricks and pavers I’d scrounged since staying on budget is important.
- I ran electrical 10 feet from the house, burying it with caution tape for safety.
- I set rebar posts in corners with strings to keep walls straight during construction.
This foundation supports walls and roof loads. Take your time leveling; fixing it now will save you trouble later.
Frame Your Shed Walls on the Ground Before Raising
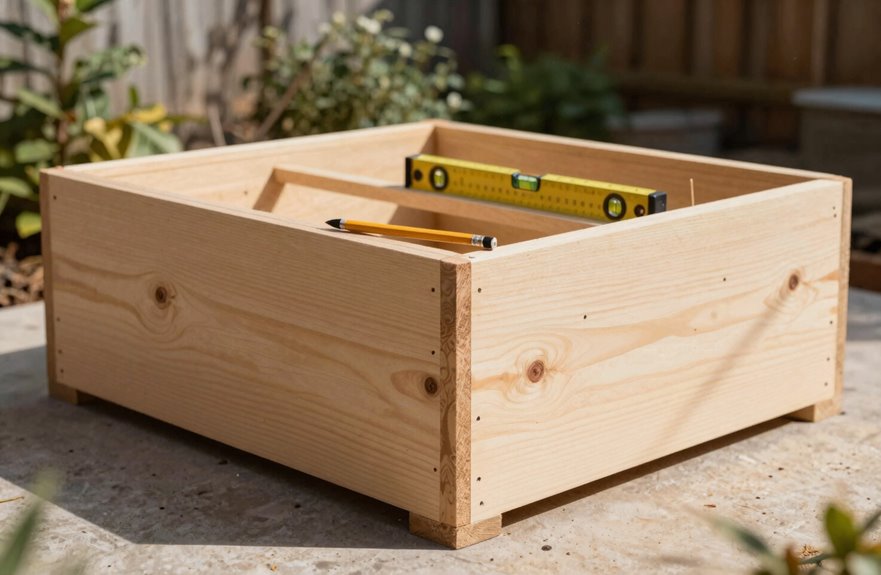
I frame my shed walls flat on the ground because it’s easier to keep studs plumb and square when gravity is on my side. Building upright resulted in a wall that leaned significantly. Assemble your top plate, bottom plate, and studs on the grass or driveway, checking everything with a spirit level before raising them. Once they’re built, you and a buddy or a very patient spouse can lift and carry each section into place, which is much simpler than managing loose boards on a ladder.
Ground-Level Assembly Benefits
I’ll walk you through how I position that tall left wall using battens, then secure everything with 6 x 100 mm screws once it’s upright.
Ground-level assembly changed how I build. Instead of wrestling studs overhead, I frame my shed walls flat on the ground before raising them. This approach allows me to check plumb easily, adjust spacing, and avoid misaligned corners.
Here are the benefits of this method:
- Simpler alignment — I can align everything at waist height, not while stretching overhead.
- Lighter lifting — I attach sheathing and siding while the wall is still down.
- Easier adjustments — I can plane studs and tweak door openings before raising.
- Faster foundation connection — I lift, plumb, then drive those 6 x 100 mm screws home.
Once upright, I remove my temporary battens and appreciate how well the walls align with my foundation.
Pre-Build Alignment Advantages
Ground-level framing gives you a chance to get things right before you’re stuck with them. I’ve learned this the hard way.
Why Pre-Build Alignment Matters
When you assemble your wall frames on the ground, you’re working at a comfortable height with solid reference points. This means you can check plumb and square without stretching, straining, or guessing. I use temporary battens, usually scrap 2x4s, and 6 x 100 mm screws to lock everything in place before standing anything up.
Three Key Checks I Never Skip:
- Verify wall frames are perfectly square using diagonal measurements.
- Confirm straightness with a long level before attaching to the foundation base.
- Stagger battens for maximum rigidity during the lift.
Pre-build alignment against your foundation base ensures your walls meet the base correctly the first time. This approach eliminates awkward mid-air adjustments and avoids compromises. Achieving accuracy on the ground makes the raising process straightforward.
Transportation and Positioning
Why wrestle with a wobbly wall six feet in the air when you can build it right where you’re standing? I frame my shed walls flat on the ground, then lift them into position. It’s simpler, safer, and the alignment stays true.
Here’s how I handle transportation and positioning:
- Build frames on the ground – assemble each wall where you can reach everything comfortably.
- Use temporary battens – brace that tall left wall so it stays plumb while you work.
- Check with a spirit level – verify straightness as you fix walls to the base, keeping corners square.
- Screw sequentially – join walls with 6 x 100 mm screws, forming thicker corner posts for strength.
Rushing positioning often leads to time lost later. Get your frames right on the ground, and raising them becomes much more manageable.
Raise, Brace, and Anchor the Walls to the Foundation
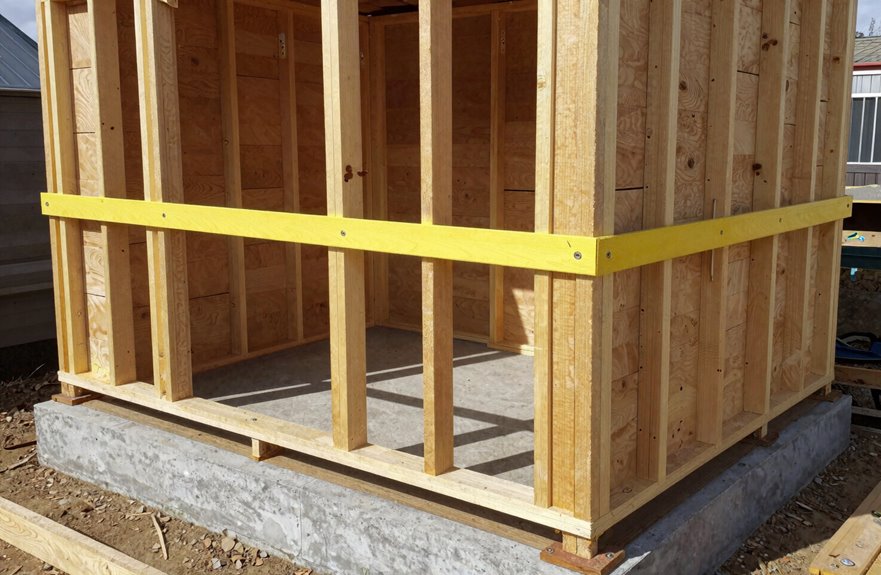
How do you turn a pile of wall panels into something that won’t blow over in the first stiff breeze? You raise, brace, and anchor those walls to the foundation because your shed’s stability depends on it.
I learned this the hard way when I skipped bracing once and watched my wall lean like a tired drunk. Never again.
Here’s how we do it right:
- Hoist each wall panel upright onto the foundation, checking plumb with a spirit level as you go. Adjust now or regret it later.
- Screw panels together at corners using 6 x 100 mm screws, creating beefier corner posts for rigidity.
- Install temporary bracing with battens to keep everything straight while you work.
- Add vertical battens at 600 mm centers, plus horizontals at bottom and mid-height. The top gets 600 mm spacing too.
Once all walls are secured, remove the bracing and hang your door.
Install Roof Trusses, Sheathing, and Shingles
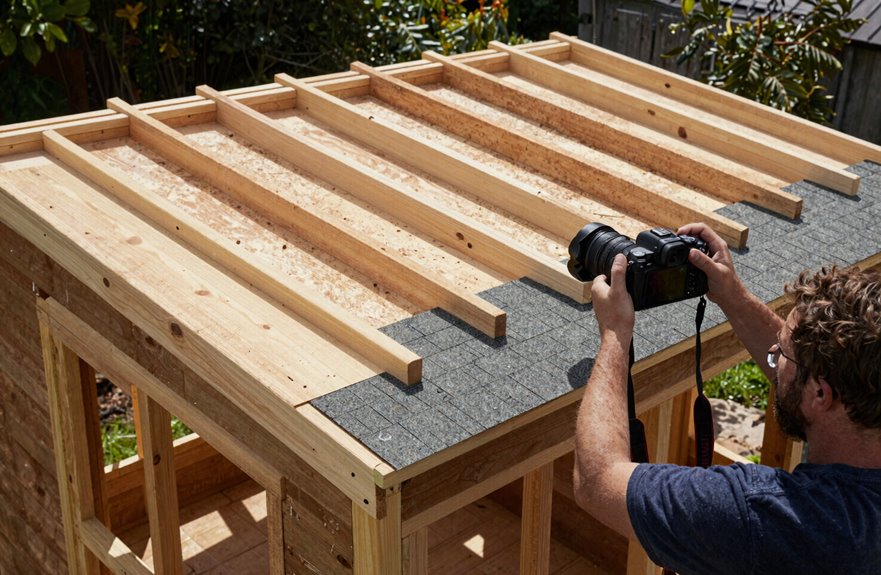
I’ll guide you through assembling the trusses first, then we’ll cover what goes on top. Rushing the framing can lead to complications later, so take your time with the joist plates and 2x4s. Once the trusses are up with their one-foot overhang, we will move on to layering felt paper, flashing, OSB panels, and finally shingles.
Truss Assembly Steps
- Position your trusses over the walls, allowing them to overhang about one foot on each side for that shed awning look.
- Secure 2x4s as initial supports, then attach joist plates to prevent shifting; angles are important.
- Fasten the roof to your base; those bent i-bolts in cinderblocks may not look great, but they are effective.
- Lay your decking using 7/16-inch boards, working methodically across the structure.
Rushing the joist plates can lead to a crooked roof line. Take your time here; we are building something durable, and attention to detail is vital.
Roof Covering Materials
Where do we go after those trusses are locked in place? We start sheathing. I lay OSB panels across those angled 2x4s, securing them with screws every eight inches. Don’t skip the felt paper; it provides some protection if water sneaks through.
Installing Your Roofing Layers
- Roll out felt paper, overlapping seams by six inches.
- Start shingles at the bottom edge, working upward. Water flows down, not up.
- Nail flashing around vents and edges. This metal strip diverts runoff.
On my first shed, I forgot flashing entirely. That was a mistake. The cedar eaves came later, using tongue-and-groove scraps I had. The overhang is about twelve inches, which helps keep walls dry. Your roofing protects everything underneath. It’s essential to do it right the first time.
Add Siding, Doors, and Weatherproof the Exterior
Here’s how I tackled the walls:
- Overlap each cedar picket by 1/2 inch so water runs off, not in.
- Add two center columns per wall for alignment.
- Install tongue-and-groove paneling vertically with J-edging for a clean finish.
- Secure everything to your concrete slab with powder-activated nails.
For weatherproofing, I ran felt paper under OSB sheathing and then shingles with flashing. Let your roof overhang about 12 inches to protect your walls. I haven’t hung my exterior doors yet, but it’s important to frame that opening while you have access.
Wire for Electricity, Ventilate, and Build Interior Storage
Every shed needs power, air, and storage space, so I addressed all three before moving my gear in.
Electrical Setup
I ran conduit from my house, about 10 feet, and buried it with caution tape for safety. Inside, I installed one outlet and a fluorescent light with a switch. Check your local codes first; I nearly skipped permits and would have regretted it.
Ventilation
I added a vent in the back wall for summer airflow. It may be unnecessary if your site catches a natural breeze.
Interior Storage
I built shelves from 7/16″ OSB and 2x2s, making the middle ones extra deep for heavy items. The bike rack fits five bicycles on the right side, eliminating garage clutter.
This setup will help you stay organized.