

I built my first plant stand with eight dollars of pine from Home Depot, a handsaw, and a drill. It wobbled like a newborn deer.
Start by choosing your wood: pine works well indoors, but cedar is better for outdoor planting in sunny spots like Southern California. You’ll need four 24-inch hardwood legs, 1×2 pine base pieces arranged in an X, and a Kreg jig for pocket holes if you want a clean, professional look. Cut everything to size and drill your pocket holes along the base edges first; doing this after assembly can be quite challenging.
Clamp and screw the back legs to your side rails. Build your frame, drop in those triangular plywood shelves, and finish with two coats of paint or stain plus varnish, allowing each layer to cure overnight to ensure your stand can support a heavy pot. Sand everything twice, starting with 60-grit and then moving to 120-grit. If you plan to use it outdoors, apply exterior-grade stain with multiple seal coats.
My second stand turned out square because I learned from the mistakes I made with the first one, and I will explain how I improved my technique.
Plan Your Plant Stand: Budget, Tools, and Wood Choice
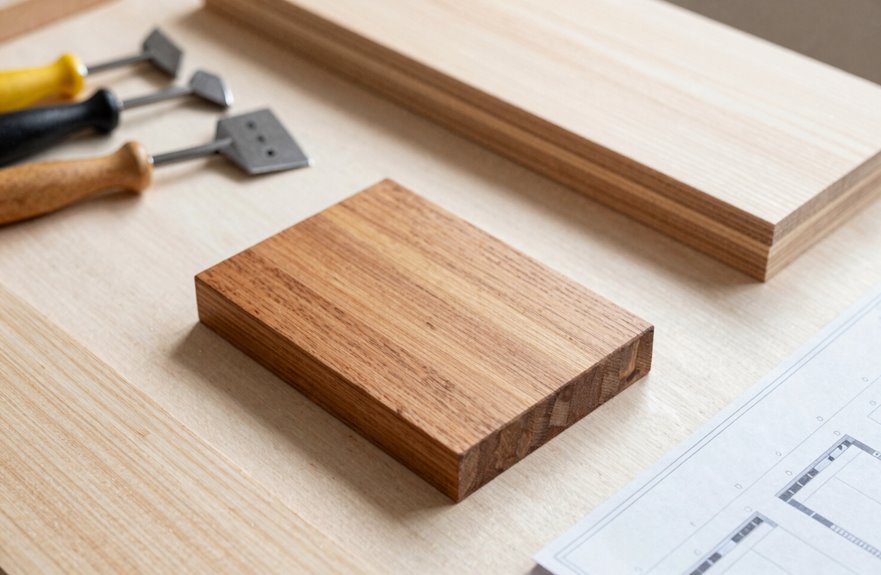
When I built my first plant stand, I chose the cheapest wood available without much thought, resulting in a wobbly structure. I’ve learned from that experience and can help you avoid similar issues.
Budget Smart
Pine runs about $8-12 per board at Home Depot, making it a suitable choice for beginners on a budget. It’s soft, easy to cut, and forgiving if you make mistakes.
Choose Your Wood
For indoor stands, pine works well. If you’re placing yours outside in areas like Southern California, consider weather-resistant wood like cedar. While it costs more, you should balance durability with your budget.
Gather Simple Tools
You don’t need much: a hack saw or small electric saw, a drill, and a Kreg jig for pocket holes will suffice. It’s best to avoid fancy power tools at this stage.
I order online for pickup to save time and maintain focus.
Cut the Frame Pieces to Size
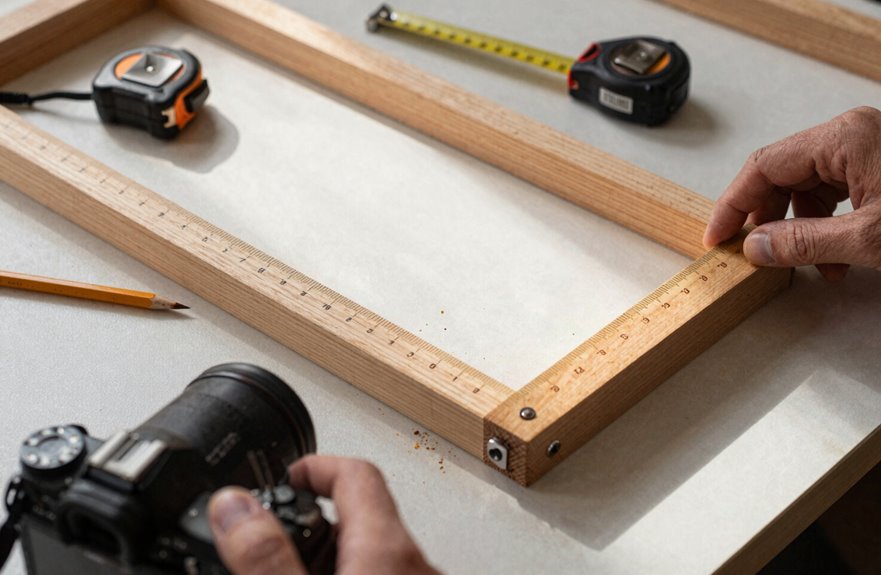
The frame is where most first-timers mess up, and I’m no exception. I once cut all four legs an inch short because I measured from the wrong edge of my tape.
Here’s how I cut my frame pieces:
- Four legs: 3/4 x 3/4 hardwood, 24 inches each (measure twice, cut once)
- Base pieces: 1×2 pine arranged in an X for rock-solid stability
- Dowel holes: I drill pilot holes in piece A, then mark and drill matching holes in pieces B and C so everything lines up perfectly
- Pocket holes: I drill these along base edges now, before assembly, so I can attach legs securely later
I drill for dowels first, then add my pocket holes. This base assembly needs overnight drying time, so don’t rush it. I have gained valuable experience from this process.
Assemble the Back Legs and Side Rails
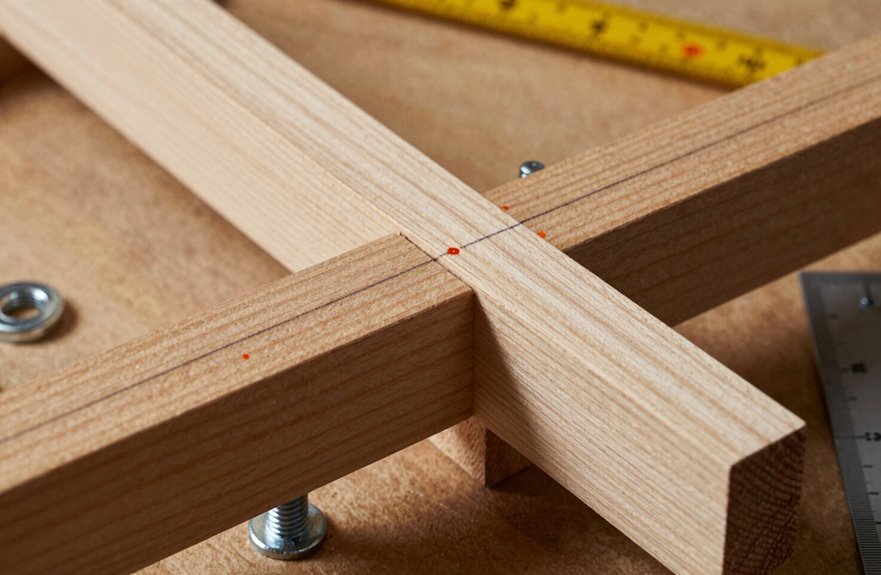
Why do I always forget how wobbly things get before the cross-bracing goes in? You’ll feel it too, but don’t panic; that’s completely normal at this stage.
Step 1: Build the backbone
I grab two 31-inch pieces of plywood for my back legs, standing them upright. These vertical pieces anchor everything, so I clamp them to my workbench, wobble and all.
Step 2: Connect the sides
Pocket holes are handy here. I drill two holes on each end of my side rails, then drive screws into the back legs. This eliminates the wobble, and the frame’s width is established.
Step 3: Preview the shelves
I dry-fit my triangular plywood shelves against the legs and rails, checking alignment before final attachment. This preview keeps me motivated.
Step 4: Sand everything
Sixty-grit first, then 120-grit. I sand every surface now because corners become difficult later.
Step 5: Finish early
Two coats of paint or stain, plus varnish, protect the wood. Finishing after assembly often leads to missed spots.
Build the Frame and Install Both Shelves
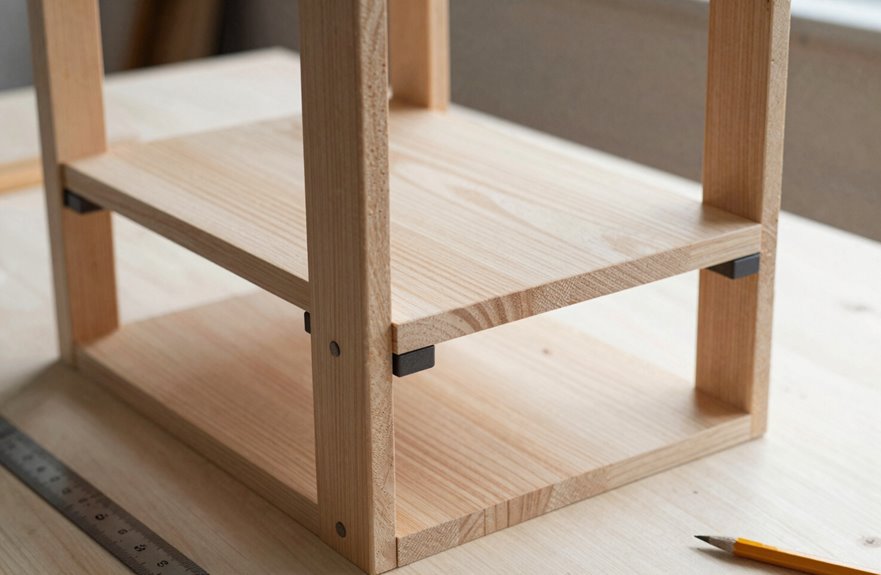
Back legs and side rails provide the outline, and now we’re building the skeleton that holds weight. Rushing the base assembly leads to wobbly results, so let’s focus on doing it correctly.
Rush the base, get a wobble. Build the skeleton right, and it’ll hold weight for years.
First, I drill pocket hole screws into my base edges to hide the hardware and maintain a clean look. For the X-shaped base, I use dowels and plenty of wood glue; I learned the importance of this through experience. Letting everything cure overnight allows the assembly to become solid.
Once dry, I attach the four leg pieces I cut earlier, checking for square as I go. Shelf installation follows: I measure twice, cut my shelf boards, and secure them with simple brackets.
Here’s what’s keeping your pots safe:
- Pocket hole screws hide connection points and add lateral strength.
- Dowels reinforce glue joints to prevent shifting over time.
- Overnight drying ensures a rock-solid base assembly.
- Level shelves prevent the issue of a “waterfall planter.”
Following these steps will result in a sturdy structure you can rely on for your grandmother’s fern.
Sand, Stain, and Seal for Outdoor Use
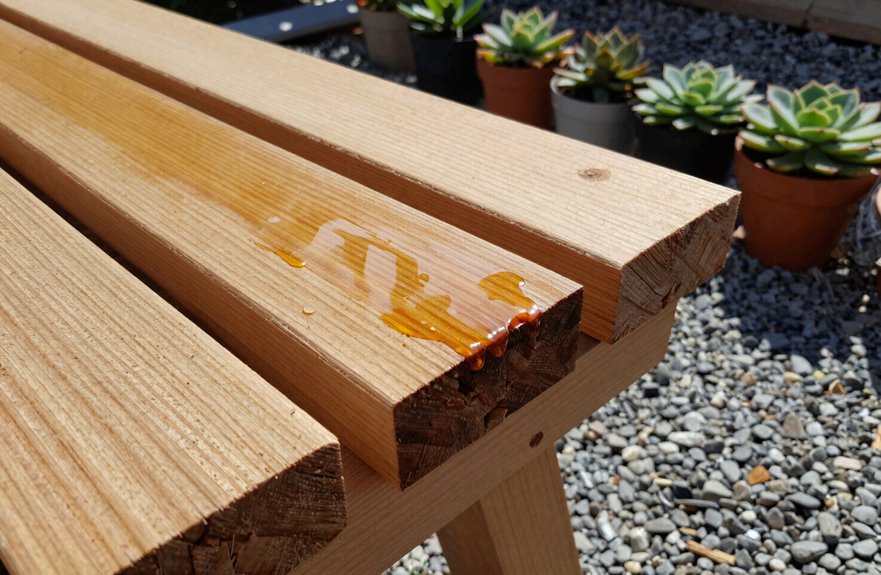
How do you turn rough lumber into something that will survive three seasons of rain and sun? You sand, stain, and seal it correctly. I’ve learned this through experience, so follow my process.
My Step-by-Step Process
- Sand progressively: Start with 60-grit, then move to 120-grit. A smooth finish is essential.
- Stain with purpose: I prefer Dark Walnut, but choose an outdoor-ready option. Wipe off excess and wait 24 hours.
- Seal for protection: Apply at least two coats on outdoor stands. Semi-gloss or satin finishes repel moisture and are easy to clean.
| Step | What I Use | Why It Matters |
|---|---|---|
| Sand | 60-grit → 120-grit | Prevents splinters, holds finish |
| Stain | Dark Walnut outdoor formula | UV protection, looks intentional |
| Seal | Semi-gloss sealant | Withstands forgotten sprinklers |
| Wait | 24 hours between coats | Rushing leads to mistakes |
Your stand is ready for the patio now.