
I’ve spent fifteen years composting, and here’s what works. First, choose your method: a backyard pile is the cheapest, a bin helps keep critters out, or you can use worms (Eisenia fetida) for indoor setups. Second, aim for a ratio of roughly two browns to one green; I learned this the hard way after a smelly disaster. Third, find partial shade near water with good drainage; full sun dries everything out. Fourth, build in layers: start with browns on bare soil, add thin green layers, moisten to a wrung-out sponge feel, then top with more browns. Fifth, turn every two weeks and check moisture weekly. Sixth, troubleshoot quickly; a bad smell means you should add browns, while a dry pile indicates it needs water during turning. Seventh, wait for a dark, crumbly texture with an earthy odor, usually taking three to six months. Stay with me as I guide you through each step to help you avoid common mistakes.
Choose Your Composting Method: Backyard Pile, Bin, or Worms
I used to think composting meant throwing food scraps in a hole and hoping for the best, which explains why my first pile turned into a smelly, soggy mess that attracted every raccoon in the neighborhood. I’ve learned better since and want to help you avoid that disaster.
Your Three Options
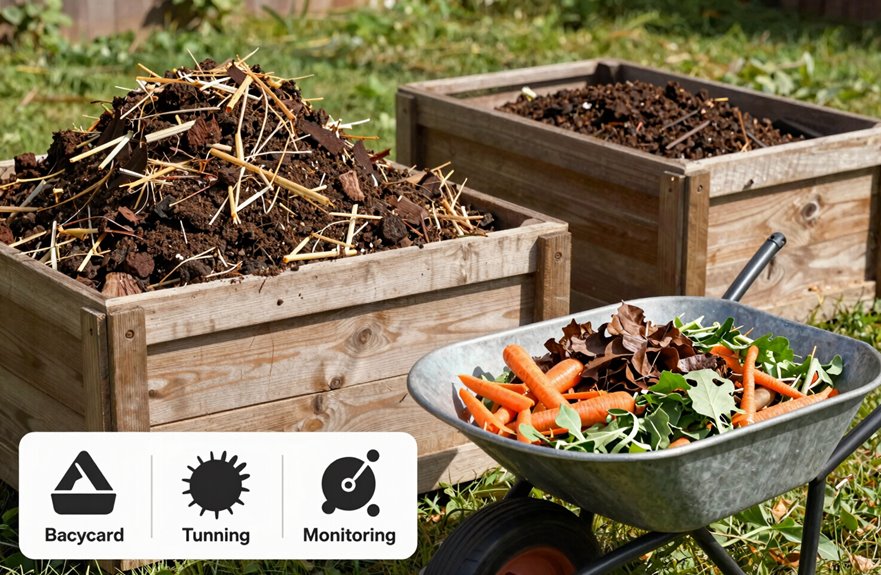
- Backyard compost pile — cheapest option; just heap greens and browns directly on soil. This method needs aeration through turning every two weeks.
- Compost bin — neater and keeps critters out. A bin under one cubic meter works slower but still breaks down material effectively.
- Worms — vermicomposting with Eisenia fetida in a worm bin, indoors or outdoors, yields finished vermicompost in 3 to 6 months.
What Actually Matters
Place your setup in dry shade near water and plants. Start with browns as your base. Maintain moisture similar to a wrung-out sponge; it should not be too wet or too dry. Proper aeration and moisture control significantly speed up decomposition.
Get the Compost Ratio Right: Two Browns to One Green
Here’s what I learned:
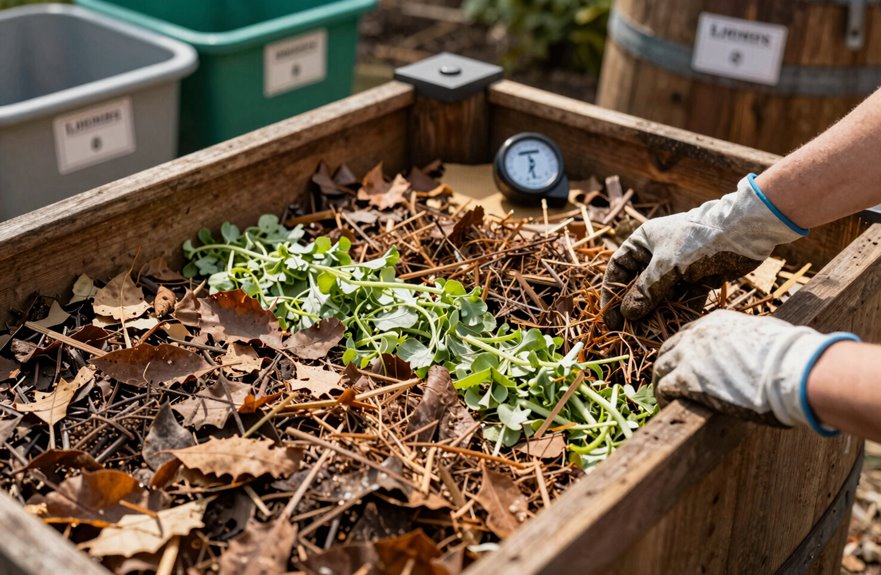
- Brown materials: dry leaves, shredded cardboard, sawdust
- Green materials: grass clippings, food scraps, weeds
Pile layering is important. I add greens in thin layers and then bury them under browns. This keeps aeration flowing and helps with odor control. Without enough browns, your pile can become slimy and emit unpleasant odors; without greens, the composting process stalls.
Once you achieve that 4:1 ratio, you can observe steam rising from your pile, indicating a well-functioning compost system.
Pick a Composting Spot With Sun, Drainage, and Easy Access
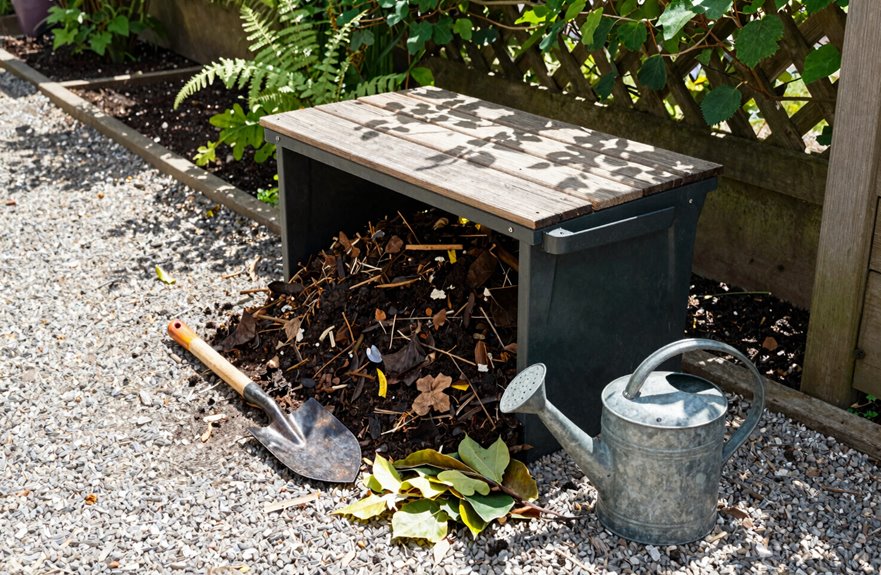
I learned the hard way that location is crucial. My first compost bin sat in a low spot that became a swamp every spring, which stalled decomposition and attracted flies. I now always look for three key factors: partial shade (about 4-6 hours of morning sun, avoiding the intense afternoon heat), level ground that drains quickly after rain, and a location that I can easily access with my garden hose and wheelbarrow without having to cross the entire yard. It’s essential to have soil beneath your pile, not concrete, so earthworms and microbes can migrate up and moisture can escape naturally.
Sun Exposure Needs
Where exactly should you put a compost pile so it actually works instead of turning into a smelly, soggy mess? I’ve learned this the hard way, you can count on it.
Finding Your Sun-Exposure Sweet Spot
I used to think more sun meant faster composting. Too much sun exposure creates a serious drying risk, and once your pile dries out, microbial activity crashes. Here’s what works:
- Aim for partial shade, especially during brutal afternoon heat.
- Full shade is better than full sun in hot climates; temperature stability is crucial.
Shade-friendly composting is effective gardening. Consistent moisture maintains microbial activity, and stable temperatures prevent the fluctuations that slow decomposition. My shaded compost pile has consistently outperformed my sunny one.
Just ensure it’s not tucked away so dark that aeration suffers. You need airflow, not a cave.
Drainage and Access
Why Drainage is Essential for Compost
Drainage is critical for composting. Standing water can kill the microbes that are vital for decomposition, and soggy piles can create unpleasant odors that your neighbors may not appreciate.
Finding Your Perfect Spot
Here are some key considerations for placement:
- Choose flat ground with good drainage; avoid low spots where rainwater collects.
- Ensure soil contact by placing the pile directly on dirt instead of concrete for better soil access.
- Select a shaded area to prevent the pile from drying out; partial shade is preferable to full sun.
- Make sure the pile is easily accessible for turning, which will simplify managing materials.
Avoid the mistake of placing your compost pile in a location that ignores drainage concerns. Keeping the pile near a hose allows for easier moisture adjustments, and positioning it close to garden beds can enhance airflow on all sides.
Build Your Compost Pile Layer by Layer
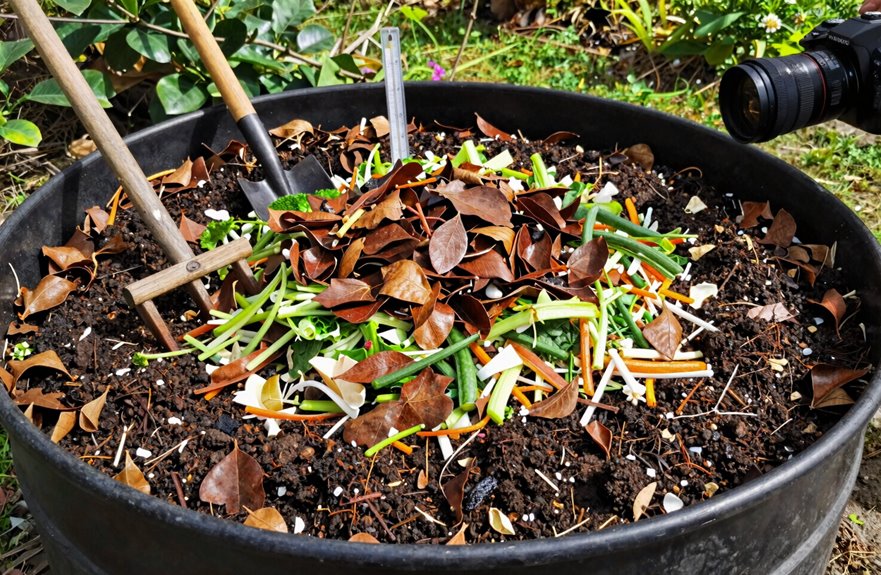
Once you’ve chosen your spot and gathered your materials, it’s time to start building. My first pile was a sloppy mess, which taught me that layering is important.
Start with a Base
I lay down mulch or woody garden waste first for aeration and drainage.
Build in Layers
- Add brown materials (carbon-rich: dry leaves, shredded paper, cardboard) — about 4 inches
- Moisten lightly
- Add green materials (nitrogen-rich: grass clippings, kitchen scraps) — 1 inch
- Spray with your hose until moisture feels like a wrung-out sponge
- Cover with 4–8 inches of browns
I repeat this layering until my compost pile reaches 3 feet tall, maintaining that 4:1 brown-to-green ratio. This approach ensures effective decomposition.
Maintain Your Pile: Check Moisture, Turn, and Fix Problems Early
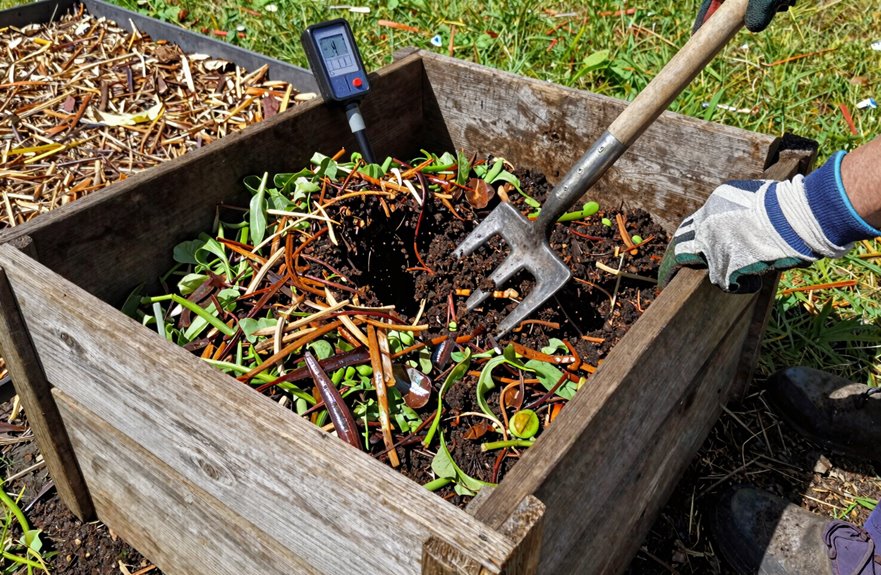
How do you know if your compost pile is actually working? I check it weekly and have learned some effective strategies for maintaining it.
My Maintenance Checklist:
- Test moisture — I grab a handful; it should feel like a wrung-out sponge. If it’s too dry, I water it with my hose. If it’s too wet, I add browns.
- Turn every two weeks — turning keeps aeration flowing and speeds decomposition. I use a pitchfork to mix the edges into the center.
- Watch for smell — a bad smell indicates a problem. I troubleshoot by adding browns and improving airflow to fix the moisture balance.
- Cover it up — I use an old tarp for water retention and heat protection, especially during rain.
When my pile cools, I mix in greens and turn it again. We are all learning as we go.
Speed Up Slow Compost or Fix Smells and Pests
I’ve encountered issues with slow, smelly compost piles, often due to excess moisture or inadequate airflow. Most problems can be resolved by adjusting moisture levels, the green-brown balance, and air circulation. Here’s how I troubleshoot each issue when my compost stalls or begins to emit unpleasant odors.
Adjust Moisture Levels
Because I’ve learned the hard way that compost doesn’t care about my schedule, getting the moisture right became my obsession after my first pile turned into a stinky, slimy mess. Mastering pile moisture means hitting that wrung-out sponge sweet spot—damp but never dripping. Here’s how I keep my pile happy:
- Check weekly: I grab a handful; it should feel like a wrung-out sponge, not mud or dust.
- Watering wisely: When it’s dry, I use my garden hose while turning to spread moisture evenly.
- Boost aeration: I turn every two weeks minimum. Airflow prevents that rotten smell.
- Fix stink fast: If it’s too wet, I add browns and turn more; if it’s too slow, I mix in greens.
These composting basics ensure my pile stays active and doesn’t rot.
Balance Green-Brown Ratio
| Problem | Fix | How Often |
|---|---|---|
| Wet, stinky pile | Add browns, start turning the pile | Weekly |
| Dry, slow decay | Moisten, add green materials | As needed |
| No heat (below 130°F) | Check green-to-brown ratio, adjust | Each addition |
| Pests appearing | Bury greens deep, cover with browns | Every time |
My pile now reaches 130–160°F due to proper aeration, moisture, and a balanced ratio. You’ll know when you achieve the right conditions.
Improve Air Circulation
Once you’ve established your green-brown balance, your pile still needs one crucial element to thrive: air. Ignoring aeration can turn your compost pile into a stinky, soggy mess that deters gardening.
Here is how I maintain air circulation:
- Turn your pile every few weeks or at least several times a year; this prevents compaction and gets oxygen to those busy microbes.
- Balance green materials with brown materials (roughly 2–3 parts greens to 4–1 browns) so the structure remains porous and breathable.
- Monitor moisture closely; aim for a wrung-out sponge feel to support oxygen movement and microbial activity.
- Spread and fluff when odors arise; add browns, turn aggressively, and cover with a tarp to retain heat without suffocating airflow.
Tell When Your Compost Is Ready to Use
How do you know when your compost is ready to use? Trust your senses rather than your calendar. Finished compost shrinks to about one-third its original size and turns dark, loose, and crumbly, indicating a stable texture. After your pile stops heating, even with mixing, allow for proper curing time of at least four weeks. Rushing this process can lead to subpar results; patience is essential.
Indicators of readiness include an earthy odor (not ammonia or rot), no recognizable food scraps, and a rich, coffee-ground consistency. When the proper ratio of browns to greens is maintained, the decomposition process transforms waste into valuable compost. Once ready, this soil amendment provides slow-release nutrients to your plants. I view my finished compost as a beneficial addition to my garden, as it truly enhances plant health.