
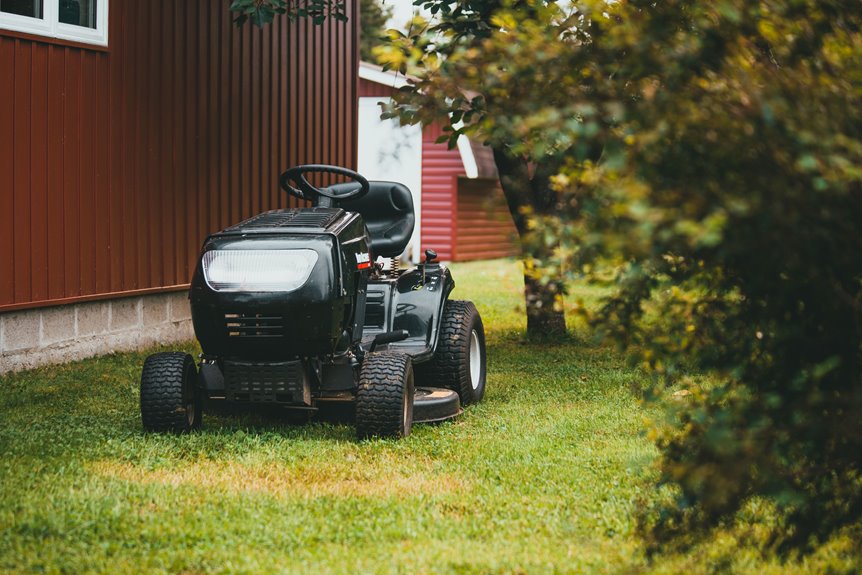
I learned the hard way that mower boxes need six inches of breathing room around your machine, so I measure length, width, and height first. Then, I choose pressure-treated lumber with integrated vents since moisture can damage engines more than bad gas. I prep level ground with gravel sleepers for drainage, build a reinforced 4×8 foot frame topped with half-inch plywood, and install a hinged lid with rounded corners plus a secure latch. I seal all gaps with caulk, overlap roof panels three inches, and drill vent holes high on opposite walls; my first box warped because I skipped these steps. The complete measurements, material specifications, and assembly order are provided ahead.
Measure Your Mower and Select Weather-Resistant Materials
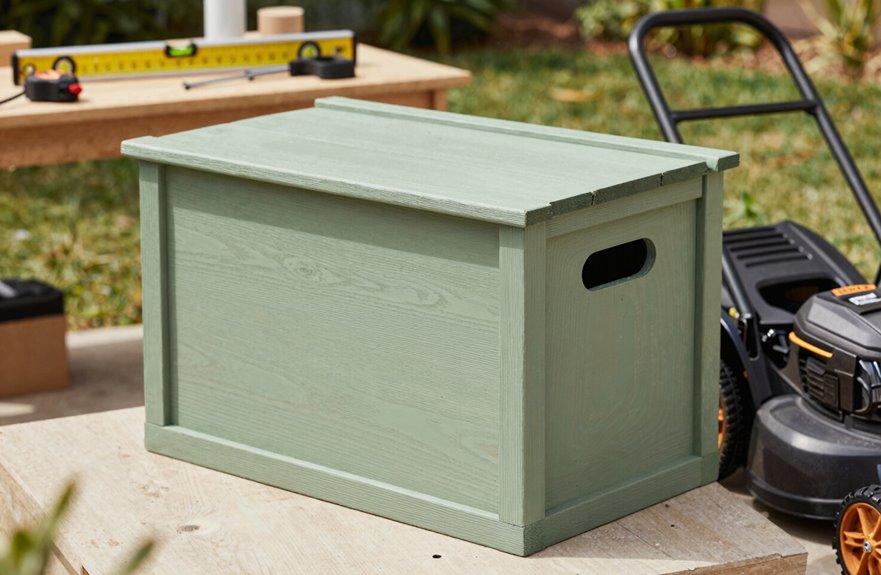
Where do you start when you’re faced with a lawn mower and a pile of lumber? I’ve experienced it—measuring tape in hand, making mistakes, and building a box my mower wouldn’t fit into. Let’s ensure you get it right.
Grab Your Tape Measure
- Measure your mower’s length, width, and height (add 6 inches each way for breathing room).
- Account for long-handled tools you’ll store alongside.
- Aim for roughly 4×8 feet as your footprint reference; this will help avoid issues later.
Pick Materials That Last
I learned that cheap wood rots quickly. For durable lawn mower storage, choose weather-resistant materials such as resin or pressure-treated lumber with built-in vents. Moisture can damage mowers more than poor fuel, so proper ventilation is essential.
Get your measurements right, select smart materials, and you’re on the right path.
Prep the Site and Cut Panels to Mower-Specific Dimensions
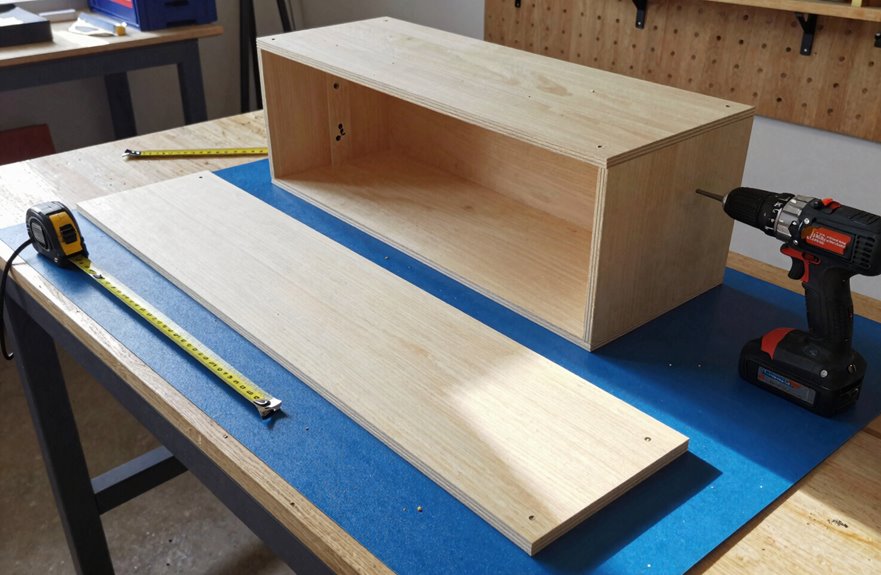
The foundation is crucial for this project. My first storage box sat on a slight slope, and every time it rained, water pooled underneath and warped the floor within a year. A flat surface is necessary from day one.
Prep Your Site
- Find level ground (or make it level) with 3 feet of door clearance for your walk-behind mower.
- Lay gravel, then position sleepers for drainage.
- Verify your 4 x 8-foot footprint works with your actual mower dimensions. Measure twice, cut once, to avoid mistakes.
Cut Your Panels
Mark treated lumber and ½-inch plywood to your specific mower dimensions. Dry-fit everything with a carpenter’s square before committing. For the roof, halve 9-foot panels with equal overhangs, drilling pilot holes every third peak. Caulk plug strips, then overlap panels 3 inches to keep water out.
Build a Reinforced Frame and Floor for Mower Weight
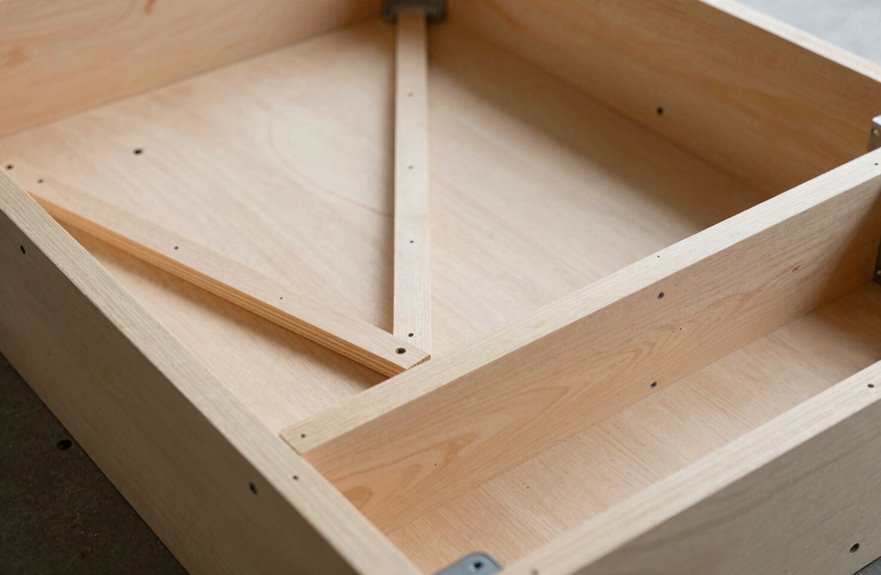
Lay a foundation that will hold up, as a sagging floor can ruin everything. Start by digging trenches, filling them with pea gravel, and laying level sleepers four feet apart. This will give your storage shed a better chance against ground moisture.
Frame the Base
Build the frame on flat ground using treated lumber, then top it with half-inch treated plywood. Fasten it securely with screws or nails; do not skimp here.
Lock It Down
Place that plywood over your sleepers, square those corners, and secure everything tightly. Your lawn mower is heavy, so this reinforced floor needs real strength.
Brace While Building
Add temporary bracing during wall assembly to keep things plumb. Use treated materials throughout along with solid fasteners, and you will have a floor that can withstand weight and time.
Install the Lid With Hinges and a Secure Latch
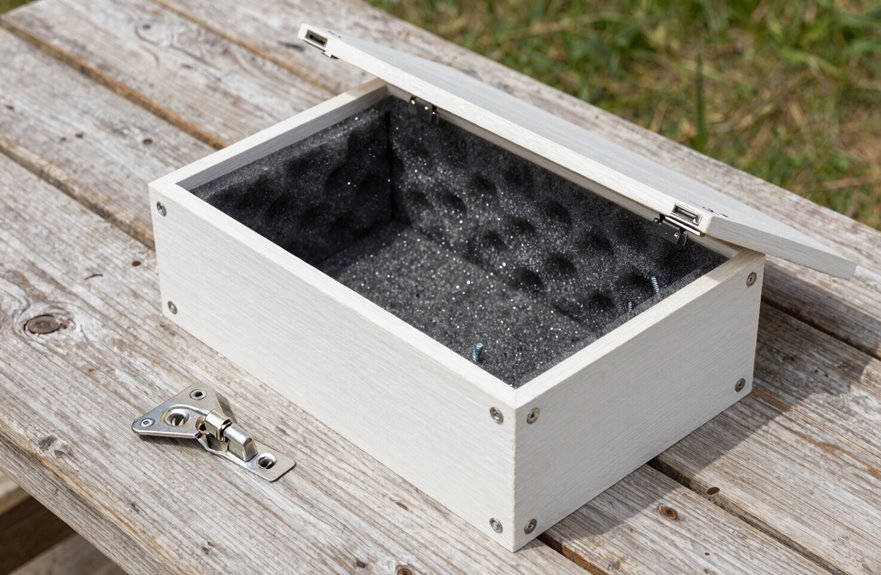
How do you prevent your lid from warping, sagging, or snapping shut on your fingers? A poorly built lid can ruin the entire storage box.
Build the lid assembly first. Use biscuits or dowel joinery for strength, and add internal supports to prevent flexing when opened. Round the corners with a jigsaw to avoid snagging sleeves and catching rain.
Mount the hinges. Position them so the lid clears the top edge and sits flush. Space them about six inches from each end, using exterior-grade screws that won’t rust.
Add a lid stay. This slows the descent, reducing the risk of smashing fingers.
Install the latch. A secure latch deters theft and keeps wind from flipping your lid. Choose one with a hasp if you want padlock security.
Test everything twice before completing the project.
Seal Gaps and Add Ventilation to Prevent Rust
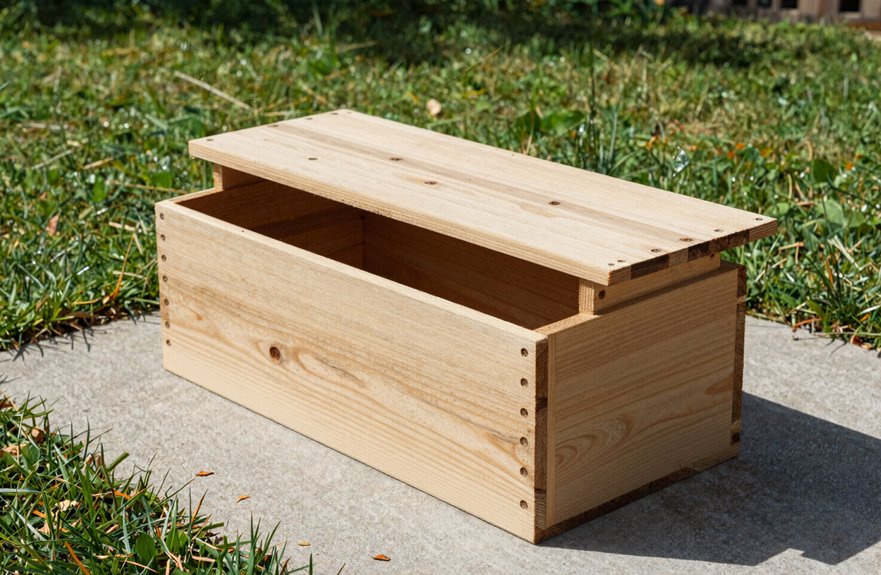
With your lid working smoothly, it’s time to focus on what I’ve learned is essential after building my first box: keeping water out and air moving. I neglected this step once, and rust damaged my mower deck within a season. I won’t make that mistake again.
Seal Every Gap
- Run caulk along all panel joints and seams, smoothing with a wet finger for airtight protection.
- Install roof plugs flush with fascia, drilling pilot holes and securing with 4d nails. This blocks birds, bees, and moisture.
- Overlap roof panels by 3 inches, cutting the final piece to maintain a continuous water-resistant line.
Add Ventilation
Drill vent holes high on opposite walls or build in integrated ventilation features. This moisture control step keeps air circulating, preventing condensation from settling. Proper ventilation will protect your mower and extend its lifespan.