
I’ve built more garden storage boxes than I care to admit. A solid plan can prevent misaligned panels and wobbly lids. Start by calculating your dimensions and sketching a simple rectangle that fits through your gate.
Build a square base frame with a central batten to prevent sagging; that middle support is essential. Clad the frame with feather-edge boards, overlapping them for a clean shadow line.
Construct your front, back, and side panels using 15mm x 45mm trim strips to hide rough edges.
For the lid, create a lipped frame with plywood, countersinking screws to avoid snagging, and wrap the edges with roofing felt for waterproofing.
Finally, install your OSB flooring, add rust-resistant handles with back-screws, and raise the entire box on feet to keep it dry.
If you follow these six steps carefully, you can avoid the headaches I’ve experienced, and there are additional details ahead to ensure your box is square, sturdy, and built to last.
Calculate Dimensions and Design Your Wooden Garden Storage Box
Why guess at measurements when a little planning saves hours of frustration later? I’ve learned this the hard way.
A little planning saves hours of frustration—I’ve learned this the hard way.
Sketch Your Vision
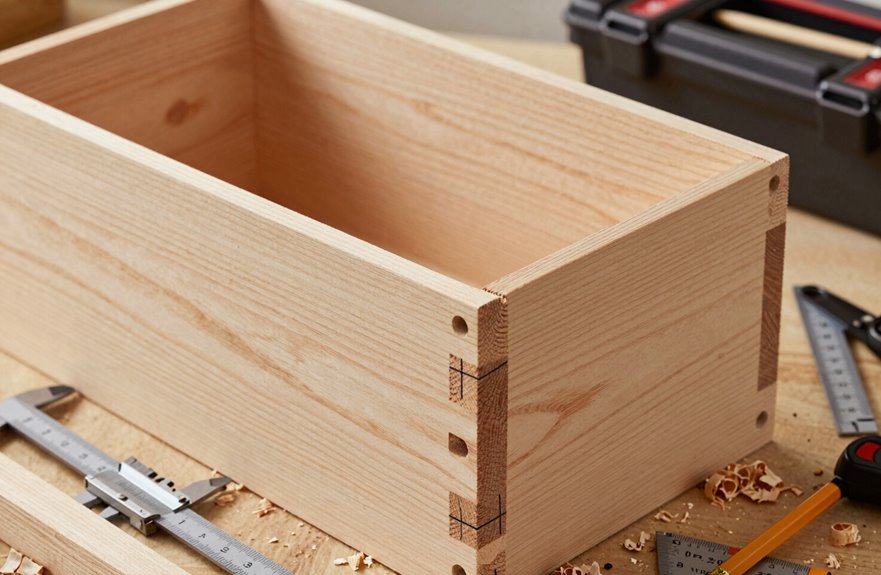
I start by drawing a simple rectangle or sloped-roof shape for my outdoor storage. A sloped roof sheds rain better, and I ensure it fits my available space. There’s no point in building something that won’t squeeze past the garden gate.
Test Before Cutting
I create a spacer and skirting board to check top width and length. This prevents that moment when your final strip is too narrow to nail properly. I’ve experienced that.
Mark and Prep
Using a straight edge or chalk line, I mark consistent cut lines on timber. I clamp frames together and pre-drill every hole; skipping this leads to split wood and regrets. I also plan my central batten and 15mm x 45mm trim battens early for stability and clean edges.
Build the Storage Box Base Frame With Central Support
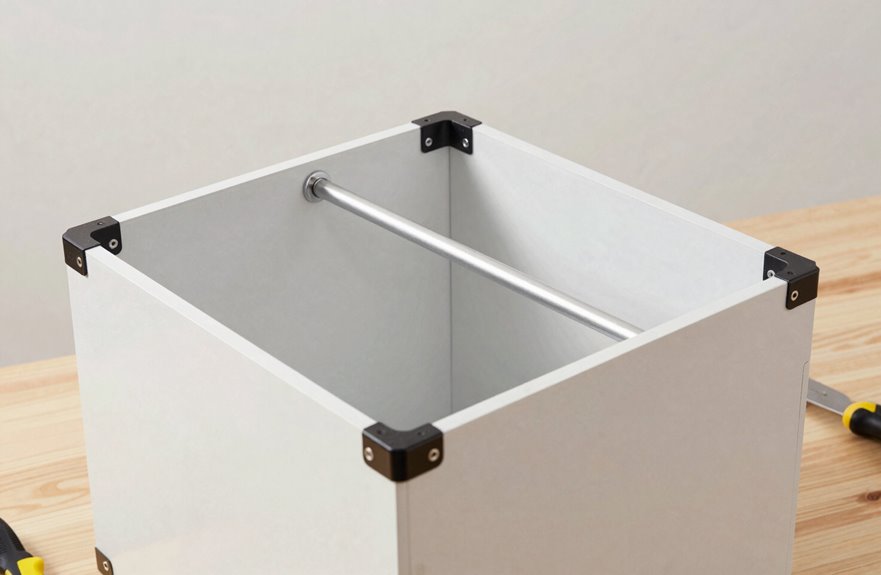
I start every base frame by clamping my corners tight and checking them with a roofing square, as I learned the hard way after one wobbly box. Then, I attach a central batten running lengthwise; it prevents the floor from sagging when I pile in heavy planters. Pre-drilling everything is essential because split wood means starting over.
Frame Assembly Basics
How do you keep a storage box from warping like a potato chip after the first rainy season? Start with a sturdy base frame.
Build Your Foundation
- Cut your timber to length (mine were 45mm x 45mm, about 1200mm long), then clamp the corners together before drilling. Skipping the clamping can result in a frame that resembles a rhombus instead of a rectangle.
- Pre-drill every hole. Splitting wood at this stage means starting over.
- Drop in a central batten now. This prevents sagging in the middle when you load it with potting mix and forgotten tools.
- Check for square with a tape measure—corner to corner should match.
- Add base battens underneath, running perpendicular. They lift everything off damp concrete, providing solid mounting points and eliminating the wobbles I dealt with for two seasons.
Central Batten Support
Once you’ve got your corners clamped and your frame resembling a rectangle, it’s time to address the central batten—an essential step that many overlook. I’ve learned this through experience.
| Step | Tool | Purpose |
|---|---|---|
| 1 | Roofing square | Check battens are square with frame |
| 2 | Drill with countersink bit | Pre-drill holes to prevent splitting |
| 3 | Clamps | Hold central batten in position |
| 4 | 50mm screws | Secure batten to base frame |
Fit your middle battens before attaching side panels. I always secure the central batten first, then build outward; this keeps everything true. Pre-drill and countersink every screw; split timber won’t hold anything. When you’re cladding later, use that central batten as your straight edge reference. Your feather-edge boards will provide a finish that looks professional and even.
Clad the Frame With Feather-Edge Boards
Clad the Frame With Feather-Edge Boards
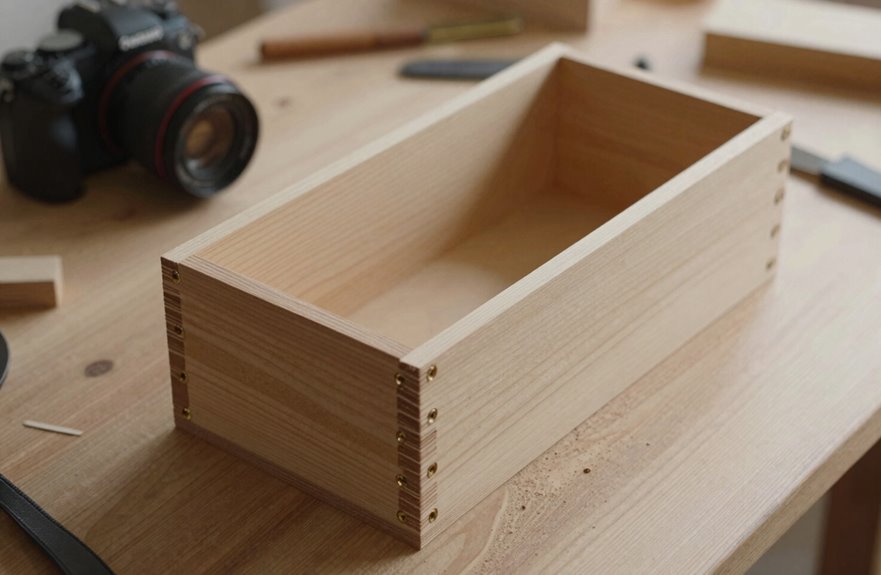
The feather-edge boards will make this box resemble a proper garden storage unit instead of just a pile of lumber in your yard.
Transform your lumber pile into a proper garden storage unit with feather-edge boards.
Prep Your Boards
I clamp my timber frames together first, then pre-drill every hole before screwing. I cut all feather-edge boards to identical widths, holding them against a straight edge so both sides match perfectly. Wavy edges can undermine the overall look.
Attach With Care
I nail one board at a time, working my way across the frame. Each board overlaps the next, creating that classic shadow line. I trim excess with a handsaw for clean edges; measuring twice is essential.
Finish Clean
Finally, I fit 15mm x 45mm trim strips over those cut edges. This detail enhances the project’s overall appearance.
Construct the Front, Back, and Side Panels
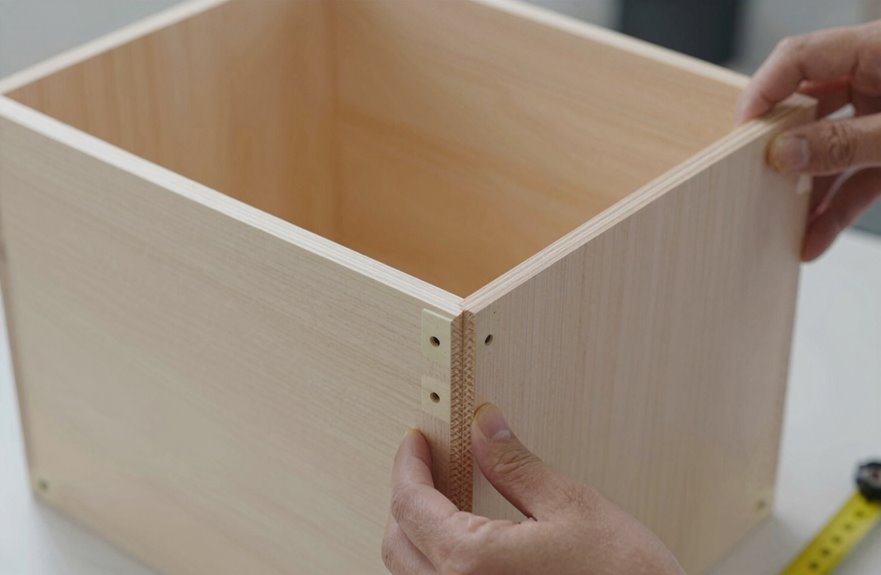
I’ll start by building the front and back frames first, ensuring the orientation is correct so the flooring stays consistent. I’ve made mistakes with this in the past and had to start over. I cut a middle batten for extra strength, using my roofing square to keep the corners perfectly square. Then, I clamp everything together, pre-drill my holes, and screw the panels to the base with longer screws when the wide side faces forward.
Panel Frame Assembly
Because I learned the hard way that wobbly frames create poorly constructed boxes, I will guide you through building panels that maintain their shape.
I start by cutting square or rectangular frames, ensuring the widest side faces forward where necessary. I use longer screws for those positions, as they provide deeper engagement and maintain alignment. Before I drive any screws, I clamp the corners tightly and pre-drill every hole. Skipping this step often results in wood splitting.
Once the frame is square, I place a middle batten across it. This brace prevents racking when I attach the feather-edge boards. I use a straight edge as a guide and hammer each board flush, with the thick edge down, overlapping like shingles. I trim the last board evenly and cover the raw edge with 15mm x 45mm trim strips for a clean finish.
Batten Installation Steps
With the frames squared up and braced, you’re ready to tackle the panels that will form the box. I clamp the framework tight, then pre-drill every hole; I learned that lesson the hard way when I split my first cedar board. You’ll want longer screws if the widest side faces forward, and don’t forget to countersink those heads for a clean look.
| Panel Position | Batten Placement | Key Check |
|---|---|---|
| Front | Middle horizontal | Square with carpenter’s square |
| Back | Middle horizontal | Level alignment |
| Left Side | Center vertical | Flush with frame edges |
| Right Side | Center vertical | Pre-drill before screwing |
I install a central batten across each frame for rigidity, then align feather-edge boards for an even surface. Check that every panel stays square; your box will not come together correctly if they are off. Building crooked boxes can lead to unnecessary complications.
Build and Waterproof the Hinged Lid
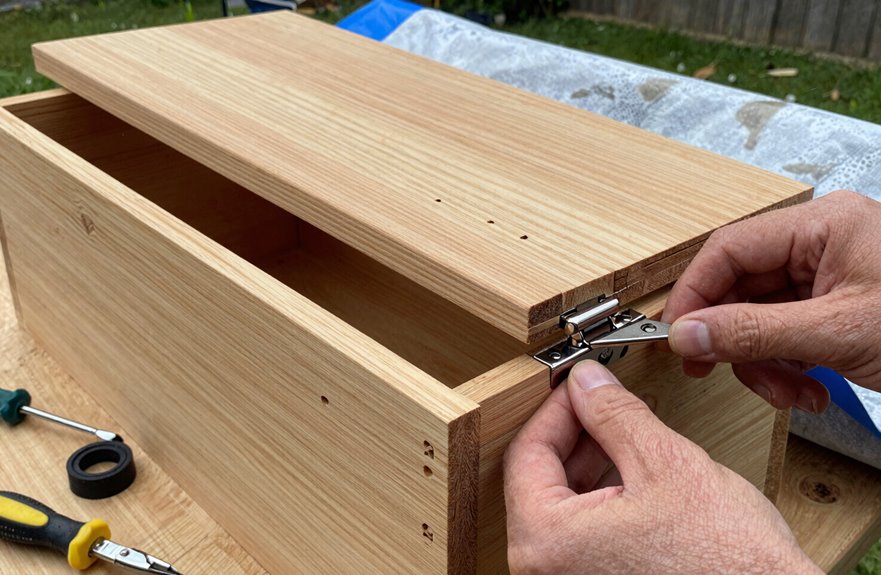
With the walls standing solid, it’s time to focus on the lid.
Build the Frame and Surface
I build a top frame that matches our base, creating that essential lip. Then I lay a whole plywood sheet on top, countersinking screws so nothing catches. My mitre saw is crucial here; I cut 15mm x 45mm trim strips to conceal the cut edges. This ensures clean corners and a professional finish.
Hinge and Seal
I install hinges for smooth, one-handed opening, checking alignment twice to avoid mistakes. Predrilling prevents splits. Finally, I wrap roofing felt around the edge with a 50mm overlap to keep rain out and maintain the integrity of the lid.
Install Flooring, Handles, and Base Protection
The lid is done, so let’s prepare this box for actual use. I’m cutting OSB flooring to size and notching corners to ensure it fits securely into the frame. I measure twice and cut once to ensure accuracy. I pre-drill and countersink every screw to prevent splitting, then secure the flooring flush to the base.
Base Protection
I add raised feet or a support system underneath to keep the wood off the damp ground. This prevents rot and adds rigidity.
Handles
I fit rust-resistant metal handles with back-screws, countersinking the heads to eliminate snagging. This provides a solid grip with a clean appearance.
Finishing Touches
Once the flooring and lid are in place, I nail 15mm x 45mm trim strips over exposed panel edges. This process takes about an hour, resulting in a polished look rather than a makeshift one.