

I’ve inflated pools with leaf blowers several times, and after one failure involving a cracked valve and an angry neighbor, I figured out a safe method.
You’ll need three things: a handheld leaf blower (set to cold air, medium speed), a DIY adapter (I use a water bottle cap and duct tape), and a helper to keep things steady.
First, build your nozzle by taping the bottle cap to your blower outlet to match your pool’s air valve diameter. Test for leaks on low power before going full blast.
Position your pool on level, wind-sheltered ground away from sharp objects, and check seams and the valve for pinholes.
When you’re ready, use 2-3 second bursts, not continuous blasting, holding the nozzle 6-8 inches away while your helper monitors for an even shape.
Pause every thirty seconds to squeeze the walls; they should feel firm but give slightly, never rock-hard.
Once inflated, remove the blower quickly and twist the cap tight until you hear the seal click.
Walk the perimeter pressing for squishy spots, and stop immediately if you find any.
If your blower feels too powerful, try a shop vac on reverse or a manual foot pump instead.
Following these steps can help you avoid common pitfalls.
Tools and Materials for Leaf Blower Pool Inflation
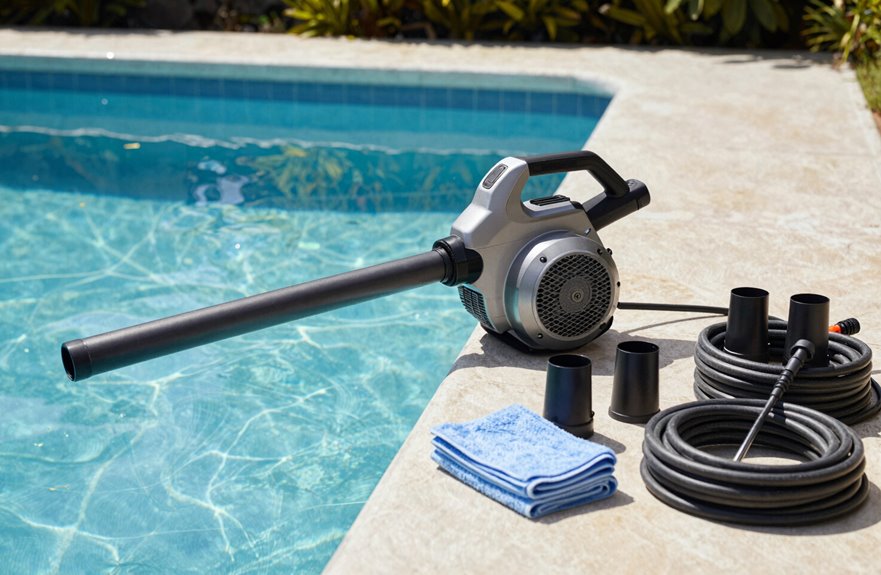
Why complicate things? Having the right setup can prevent the frustration of dealing with a wobbly connection that leaks air.
What You’ll Need
- Your leaf blower (any handheld model works)
- The pool’s air inlet valve location (check near the top ring)
- An adapter or improvised seal—I’ve used a cut water bottle cap, duct tape, or pool repair patches
- A helper; four hands are often better than two
Safety Essentials
- Use cold-air mode only; never heat
- Set to medium blower speed, as high pressure can tear seams
- Keep electronics away from water
I once over-pressurized and popped a seam. Now I start low, check connections twice, and keep my blower’s manual handy for water proximity guidelines.
Build a Nozzle That Fits Your Leaf Blower Valve
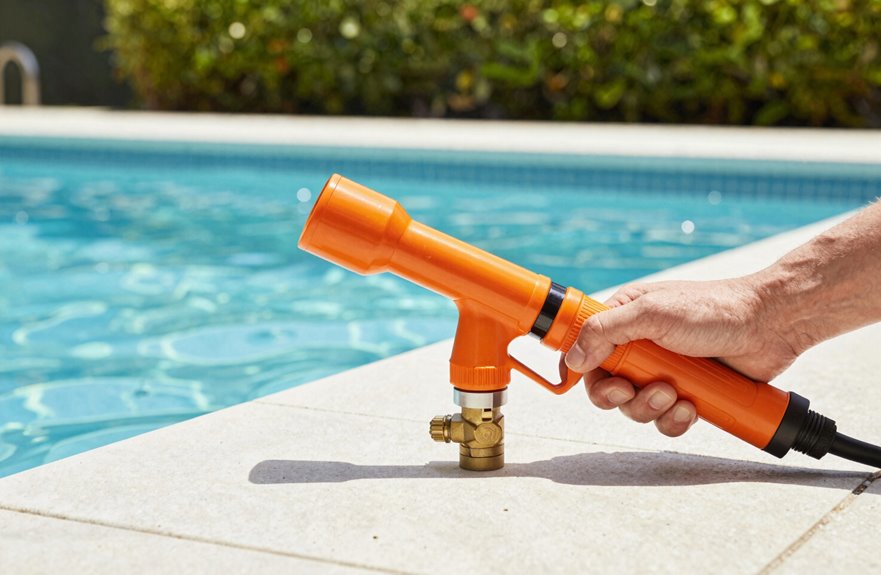
Once you’ve gathered your gear, the real work begins with making these two mismatched pieces communicate effectively. I grab a water bottle top and some duct tape, then start experimenting. The goal is simple: build an adapter that connects your leaf blower’s outlet to the pool’s valve without leaks or blockages.
| Component | Purpose | Common Fix |
|---|---|---|
| Leaf blower nozzle | Delivers airflow | Match diameter to valve |
| Pool air inlet | Receives air | Check for obstructions |
| Duct-taped adapter | Seals connection | Layer until snug |
Loose connections can cause air to escape, so I wrap tape until the fit feels tight. Then I test at low power, checking for stability before using full power. A clear airflow path is essential for optimal performance.
Prep Your Pool: Position and Leak-Check First
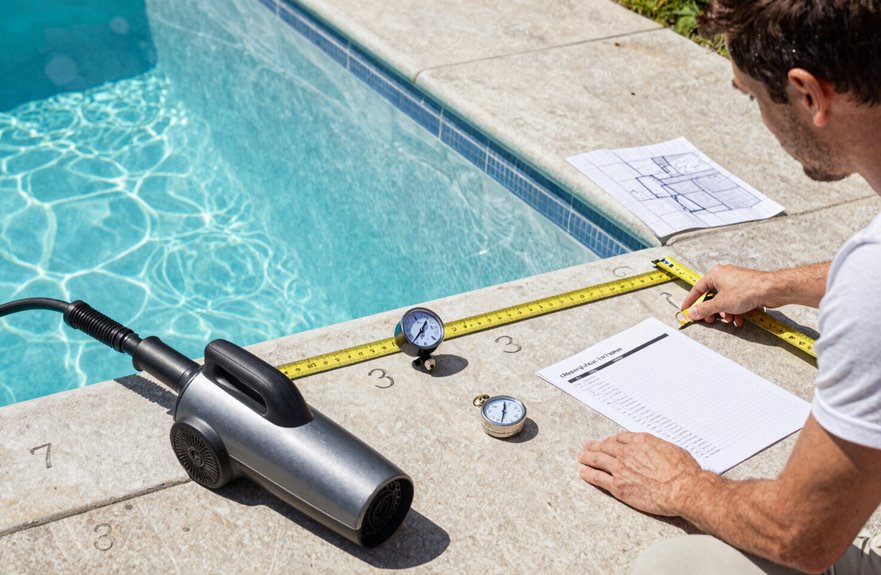
I start by positioning the pool where I actually want it filled with water, not just where it’s easy to inflate. I learned this lesson after inflating one in my driveway and then having to drag it across gravel. Before I use the leaf blower, I check every seam and press around the air inlet valve to find any pinholes or worn spots that could lead to sagging later. Identifying a leak now helps avoid the frustration of discovering it once the pool is inflated, especially when you’re already sweaty and the kids are wondering why the pool looks deflated.
Pool Placement Matters
Before I think about firing up the leaf blower, I’ve learned that where you put your pool is just as important as how you inflate it. I once set up on what looked like flat grass; hidden twigs turned my afternoon into a patch job.
Here’s what I’ve figured out about smart pool placement:
- Find shelter from wind; gusts fight your blower and slow everything down.
- Scout for level, smooth ground; rocks and debris can cause punctures before you even start.
- Map your power situation; I keep cords dry and hoses untangled because tripping mid-inflation is not enjoyable.
I also clear sharp edges that could snag the material or block the nozzle. Getting your pool placement right significantly improves your chances of having a smooth setup and enjoying that first splash.
Check For Leaks
With the pool positioned on that smooth, level ground I fought hard to find, I’m ready to ensure it holds air before I commit to full inflation. Skipping leak detection can lead to hours of re-inflation later.
My Leak Detection Checklist:
| What I Check | Why It Matters |
|---|---|
| Seams and valve | Prevents slow deflation disasters |
| Blower attachments | Loose fittings waste effort |
| Early hissing sounds | Catches problems before they spread |
| Marked weak spots | Saves time during repairs |
I fill gradually, listening closely—my ear is my best tool. If I hear escaping air, I stop immediately, mark the spot with tape, and patch it. Starting over is acceptable; many have experienced the same situation.
Inflate Your Pool With Controlled Air Bursts
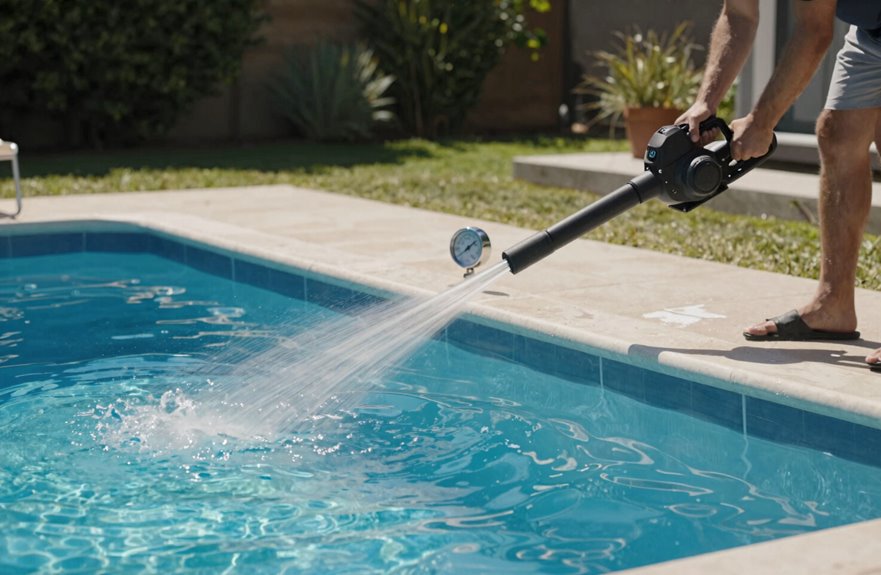
Why rush the one step that can save your pool from an early grave? I learned that patience here separates the pros from the pool-less.
When I use my leaf blower, I never blast continuously; that’s how seams split and valves fail. Instead, I attach a makeshift nozzle (a bottle cap plus tape works fine) to control the airflow.
Here’s my rhythm:
- Short bursts first – I hit 2-3 second pulses to seat the valve gently.
- Pause and feel – I run my hand along the chamber, checking for uniform stiffness.
- Keep distance – I stay back 6-8 inches to avoid tearing the material.
I check the pool’s shape between every few bursts. Uneven inflation indicates that I’m rushing. The leaf blower’s power requires careful handling. Slow and steady leads to success in pool setup.
How Long to Inflate and When to Stop
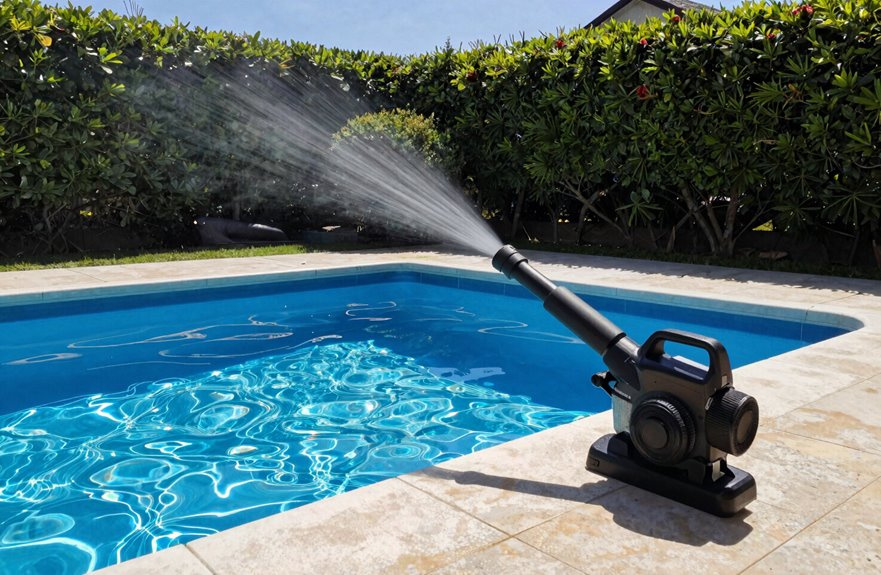
How do you know when enough air is enough? More isn’t always better.
Watch for These Signs:
- Press the pool wall with your palm; it should feel firm, not rock-hard. I once made mine rigid and regretted it.
- Listen for the leaf blower straining; when air pressure builds resistance, you’re close.
- Check every 30 seconds. Bulging seams mean stop immediately.
I inflate in short bursts, maybe 10 to 15 seconds each, then pause. The pool should have slight give when you push it. If too soft, add another burst. If too tight, you’ve overinflated.
Reliance on your hands is more effective than timing. Every pool is different, and you’ll develop a feel for it after your first try.
Seal the Valve and Confirm Full Inflation
Once I have the pool feeling right—firm but forgiving, like a well-pumped basketball—it’s time to lock that air in before my hard work escapes. Here’s how I seal the valve effectively:
- Remove the blower quickly, keeping one hand ready to cap the valve. I’ve fumbled this before and watched the sides sag, which is frustrating.
- Twist the cap tight, pressing until I hear or feel the click that means we are sealed properly.
- Walk the perimeter, pressing palms against walls to confirm even firmness, ensuring there are no squishy spots hiding anywhere.
That valve seal is essential. I’ve learned that rushing this step means starting over, which is inconvenient when the sun is blazing and the kids are waiting.
Leaf Blower Too Strong? Try These Safer Alternatives
I’ve learned the hard way that brute force isn’t always the answer, so let’s discuss gentler tool options and pressure control tips that can help protect your pool and maintain your peace of mind. Sometimes your leaf blower has too much power for the task at hand, and that’s common; many of us have stood over a wobbly inflatable with regret. I will share some smarter alternatives I’ve discovered over the years, including a method involving a shop vac that transformed my approach to pool inflation.
Gentler Tool Options
Sometimes a leaf blower feels like bringing a fire hose to a water balloon fight; I’ve learned that lesson the hard way. When that strong gust threatens to damage your pool seams, I have found gentler options that won’t leave you patching vinyl at midnight.
Here’s what works:
- Grab a shop vac and flip it to blow mode. This provides a steady airflow that you can actually control.
- MacGyver a proper nozzle using a water bottle cap or small tube to create a snug seal on your valve, preventing air from escaping.
- Call in backup. Having a second person guide the nozzle while you monitor pressure means you won’t be wrestling alone when things get wobbly.
These alternatives help keep your pool intact and maintain your reputation.
Pressure Control Tips
You can reduce the chaos without giving up your leaf blower. Valve protection is crucial for maintaining the integrity of your equipment.
Dial It Down
Start on low or medium speed. Using high blast pressure can lead to popped seams.
Hack Your Nozzle
Use a funnel or cut a bottle cap to create a gentler airflow, similar to a diffuser for a hair dryer.
Angle and Distance
Hold the nozzle at an angle rather than directly on. Maintain distance from sharp pool edges to prevent ice from cracking liners and causing lasting damage.
Buddy System
Having someone assist while you blow helps ensure even air distribution and prevents bulges.
Pulse and Check
Blow for thirty seconds, then pause to squeeze the wall. If it feels rigid but still gives slightly, that’s ideal. If it’s rock hard, stop immediately.
Overinflation is a common issue, but following these tips can help you avoid it.