
I’ll guide you through installing a retractable awning on vinyl siding, which requires finding solid wood studs since the siding itself won’t support weight. First, I check for cracks, warping, or soft spots that indicate water damage; mounting over rot can lead to costly repairs.
Next, I mark the height, ensuring there is six inches of clearance above doors to prevent scrapes and heat buildup. Then, I locate the studs with a finder, marking edges from both directions, and double-check the spacing—16 inches apart in most cases, or 24 inches in older homes.
I pre-drill pilot holes, seal them with exterior caulk, and use 3/8″ x 3″ stainless steel lag bolts driven directly into the studs, not just the siding. After leveling the mounting brackets, I attach the housing, test the full extension for any interference, and finish with flashing above to divert water.
Conducting annual inspections helps identify deterioration early, and the detailed breakdown ahead explains how to avoid common pitfalls that often challenge first-timers.
Check Your Vinyl Siding for Cracks and Water Damage First
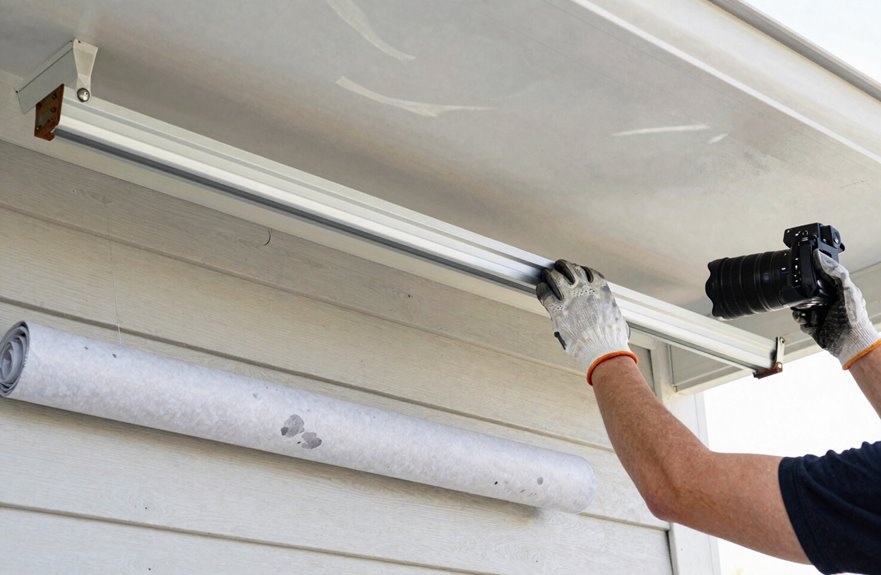
Before I even think about unboxing that shiny new awning, I need to take a close look at what I’m actually attaching it to. Skipping this step can lead to issues, and discovering soft siding after drilling holes is not ideal.
Inspect your mounting surface thoroughly before unboxing—discovering damage after drilling holes creates headaches you don’t need.
What I’m hunting for:
- Cracks, loose panels, or warping that indicate water damage
- Soft spots or swelling that suggest rot is present
- Misaligned seams that will affect my bracket placement
I always snap photos and jot notes, as my memory isn’t what it used to be. This documentation informs every flashing and sealing decision later. Checking against local building codes now prevents the need for future repairs. If my siding isn’t flush and level, my brackets won’t seat properly, compromising the weatherproof seal I rely on.
Mark Awning Height to Clear Doors and Windows
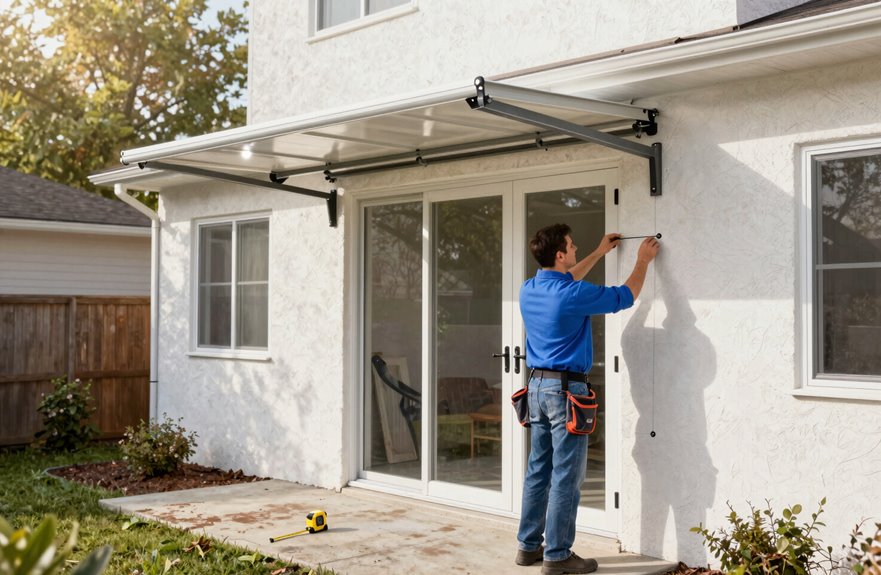
Why does six inches of clearance matter? I’ve learned that too little space can cause your awning to scrape the doorframe every time you walk through or trap heat against your windows. I measure from the threshold up and then add that 6–8 inch buffer for breathing room.
Here’s what I check before marking anything:
| What to Check | Why It Matters |
|---|---|
| Door swing radius | Prevents collision when entering |
| Window cranks/handles | Avoids interference with operation |
| Trim and molding depth | Affects where brackets actually sit |
| Sill protrusion | Changes your effective clearance |
| Neighbor’s overhang | Keeps you from encroaching boundaries |
I grab my level, draw that horizontal reference line, and double-check both open and closed positions. Measure twice now, or you’ll be drilling fresh holes later; nobody wants that.
Locate Studs Behind Your Vinyl Siding for Solid Anchoring
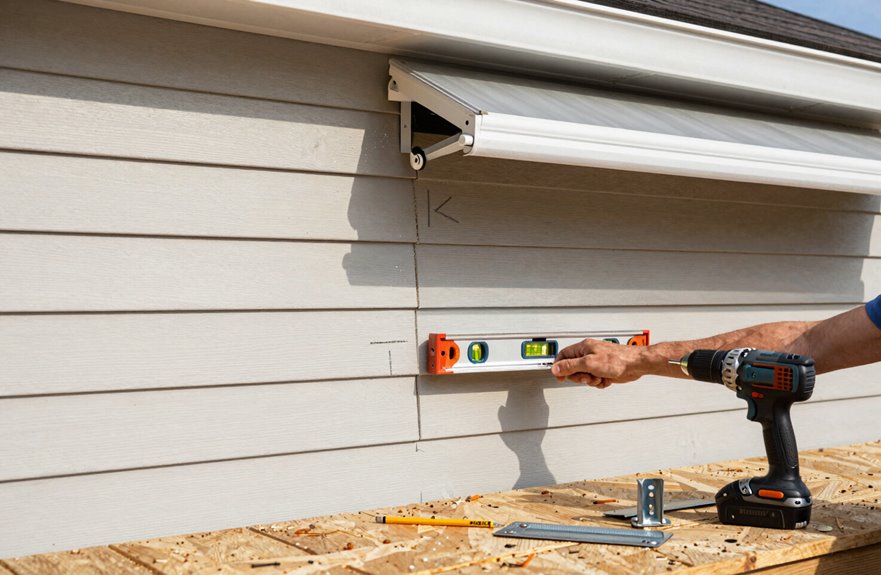
I’ll grab my stud finder first, as guessing where studs hide behind vinyl siding can lead to crooked awnings and complaints from my spouse. A magnetic detector can also be used to find the nails securing your siding to the studs, but I’ve had better success with electronic finders that beep when they detect density changes. Once I’ve marked three points per stud location, spaced about 16 inches apart (standard spacing), I double-check by tapping and listening for a solid, dull thud instead of the hollow sound you hear between studs.
Stud Finder Technique
Where do you drill when your wall is covered in thin, hollow vinyl that bends easily? Here’s how I found my studs without damaging my siding.
I grab my electronic stud finder and slide it horizontally across the wall, marking each edge where it beeps. Vinyl can be tricky since it has hollow channels that can mislead inexpensive finders; I scan twice, once high and once low, to confirm the same spot.
| What I Felt | What It Meant | What I Did |
|---|---|---|
| Solid beep, narrow width | Found the stud edge | Marked both sides with tape |
| Wobbly, inconsistent signal | Hit a gap or channel | Moved 6 inches, tried again |
| Double beep close together | Two studs or a false read | Measured from window frame to verify |
| No reading at all | Dead batteries (yep, did this) | Swapped batteries, started over |
I measure 16 inches from my confirmed stud to locate the next one, then pre-drill pilot holes dead center. Slow and steady is key; vinyl can crack if you rush it.
Magnetic Detection Method
Sometimes electronic stud finders let you down, so I reach for my magnetic stud finder instead. I learned that vinyl siding can trick sensors, but magnets consistently latch onto metal studs hiding beneath.
Here’s my routine:
- Sweep horizontally across your wall, expecting hits every 16 inches (standard spacing).
- Map multiple lines to confirm you’re tracking actual studs, not random flashing.
- Verify each hit; slide slowly until the magnet pulls strongest, which indicates the center.
Keep in mind that magnets miss wood blocking and soffit gaps. I’ve drilled into nothing before, so I always double-check.
Once located, I mark the dead center for bracket alignment. Avoid the siding surface; your bolts need solid backing. After any siding repairs, I re-sweep. It’s better to be thorough than to patch holes later.
Marking Anchor Points
Why risk a wobbly awning when a few careful marks make all the difference? I’ve learned that vinyl siding won’t hold anything heavier than a welcome sign, so finding those studs behind it is essential.
| Method | What I Actually Do |
|---|---|
| Stud finder | Slide slowly, mark both edges, find center |
| Test holes | Drill tiny 1/16″ holes to feel resistance |
| Outlet alignment | Boxes usually attach to studs—start there |
| Trim clues | Corner boards often reveal stud spacing |
| Mounting blocks | Use when siding waves make brackets sit crooked |
Once I’ve marked solid locations with tape, I double-check they’re level and plan my bracket height for proper water runoff. Measuring twice here can save you from explaining to your spouse why the awning sags.
Pre-Drill Holes and Seal Them to Stop Leaks
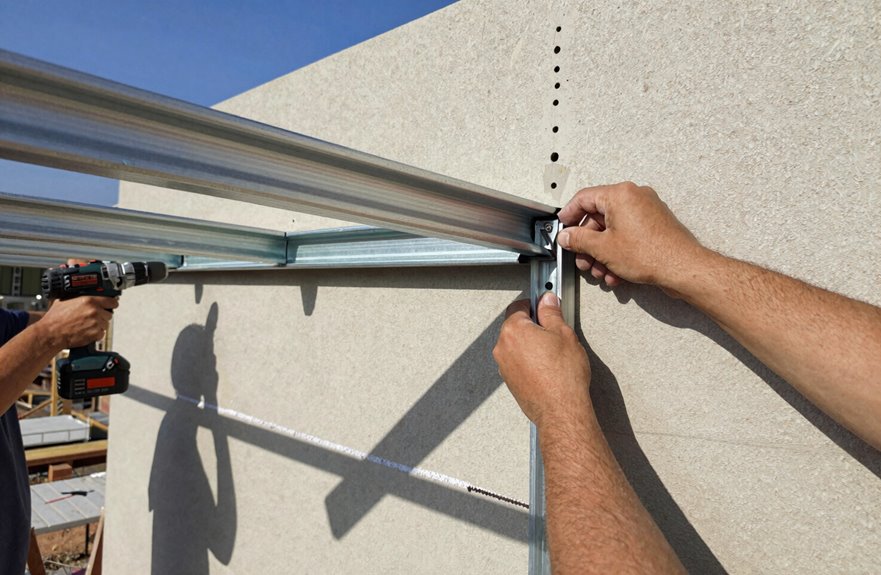
How do you prevent your new awning from becoming a leaky headache? Skipping prep work can lead to significant issues.
Pre-Drill with Purpose
I take my drill bit, slightly smaller than my lag bolts, and create pilot holes at every marked point. This prevents vinyl siding from cracking and ensures smooth bolt insertion.
Seal Everything Twice
My sealing routine includes two steps:
- Squirt exterior-grade caulk into each pilot hole before inserting bolts.
- Apply silicone caulk around bracket bases and every penetration point.
I use stainless steel lag bolts that reach deep into studs, tightening gradually so I do not crush the siding or break my seal. Rushing this step can crack the caulk bead, allowing water to find those gaps quickly.
One afternoon of careful sealing can significantly reduce the risk of interior water damage.
Mount Brackets Directly Into Studs, Not Just the Siding
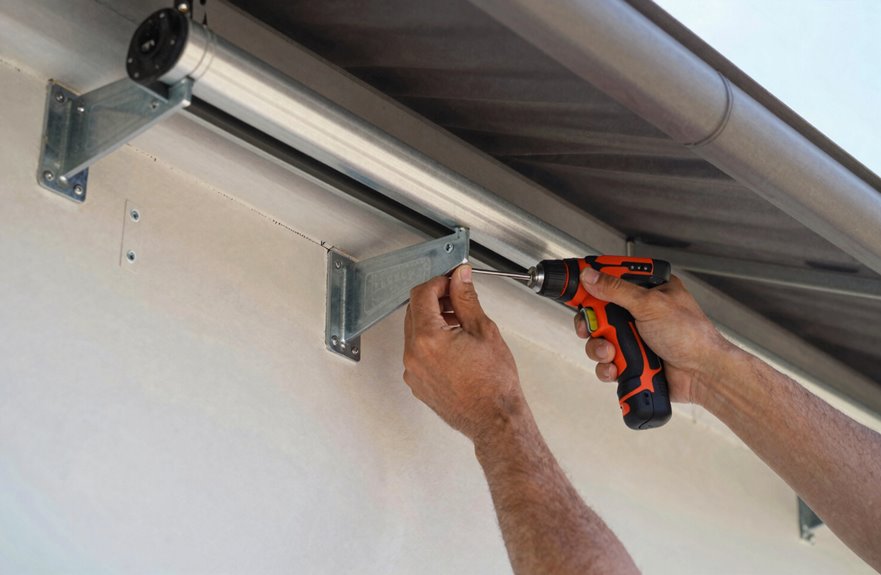
I learned the hard way that brackets need real structural support, not just a grip on vinyl that can warp and pull loose with changing weather. Before I drill anything, I grab a stud finder (about $15 at any hardware store) and mark the center of each stud at 16-inch intervals, as that is where the real strength resides. I will only use 3/8-inch by 3-inch stainless steel lag bolts that bite deep into solid wood, rather than using shorter screws that may feel tight but often fail within a season.
Structural Integrity Requirements
Because I learned this the hard way, your retractable awning is only as strong as what’s holding it up, and vinyl siding alone won’t suffice. I’ve seen brackets rip clean off during a moderate breeze; you don’t want that kind of surprise.
Here’s what actually matters when we talk about structural integrity:
| What You’re Doing | Why It Matters | What Happens If You Skip It |
|---|---|---|
| Anchor into studs, not siding | Bears the awning’s full load (200+ lbs extended) | Bracket tears off, damaged siding, possible injury |
| Stainless steel lag bolts | Resists rust and provides grip strength | Corrosion weakens connection over 2-3 seasons |
| Pre-drill pilot holes | Prevents vinyl from cracking under pressure | Ugly cracks, compromised seal, water damage |
| Level, aligned brackets | Distributes weight evenly, smooth operation | Warped frame, binding mechanism, early failure |
| Seal bracket bases | Blocks water intrusion behind siding | Rot, mold, expensive repairs you can’t see |
Don’t over-tighten those fasteners either. I’ve crushed siding that way, and once it’s damaged, you’re starting over.
Locating Wall Studs
Where do you think those brackets should go? I learned the hard way that they shouldn’t go straight into that vinyl siding. I once tried that shortcut, and my awning ended up tilting, which was quite embarrassing.
Finding Your Studs
Grab a stud finder (about $15 at any hardware store) and slide it horizontally along the wall. When it beeps, mark the edge, then approach from the other direction to find the center. I double-check by measuring 16 inches from known studs near outlets or corners, as old houses sometimes have 24-inch spacing.
Preparing to Mount
Once I’ve located solid wood, I pre-drill pilot holes through the siding. This prevents cracks and helps the lag bolts secure properly. If your siding is uneven, use proper mounting blocks to keep everything level. This will ensure that your awning rolls out smoothly season after season.
Proper Fastener Selection
With the studs marked and pilot holes ready, it’s time to discuss what actually holds your awning in place when the wind picks up. Many DIYers, including myself, have learned that siding alone is insufficient.
Why Studs Matter
Your vinyl siding acts like a raincoat, not a structural support. Fasteners must engage with solid wood studs; otherwise, you risk wobble, leaks, and eventual failure. I recommend using stainless steel lag bolts, which are rust-proof and strong, and pre-drilling to prevent cracks.
Quick Reference
| What You Need | Why It Matters | My Rookie Mistake |
|---|---|---|
| 3/8″ x 3″ lag bolts | Reaches past siding into studs | Used 2″ bolts, pulled out in first storm |
| Pilot holes (1/4″) | Prevents siding from splitting | Skipped this, cracked three panels |
| Mounting blocks | Levels uneven siding profiles | Tried shimming with washers instead |
Pre-blocking helps with wavy siding, but always anchor to studs behind. Level brackets distribute load evenly, ensuring your awning remains stable for years.
Attach the Awning Housing and Test Full Extension
Grab your stud finder and mark every stud location along your mounting line. Siding alone won’t hold; always anchor into solid wood. Follow these steps for proper installation:
Secure the Housing
- Pre-drill pilot holes through your brackets, sealing each hole as you go. Skipping this invites rot.
- Drive stainless steel lag bolts into every stud. No shortcuts.
- Check level and plumb constantly; crooked brackets can cause a binding awning later.
Test Before Finishing
Extend the awning fully. Watch for interference with siding panels, listen for grinding, and feel for resistance. Ignoring a slight bind can ruin the motor in six months. Ensure smooth operation to avoid future issues. Verify that your weatherproof seals sit tight against the wall.
Add Flashing and Final Seals to Block Water Intrusion
Because water always finds the weakest path, I will show you how to stop it before it damages your wall. Many good installations have rotted from the inside out due to skipped steps, and I want to ensure that doesn’t happen.
Here’s my battle-tested checklist for keeping things dry:
- Install flashing above your bracket line to divert water away from those mounting points.
- Seal every penetration with exterior-grade caulk, applying silicone around each hole and bracket base for joints that remain watertight.
- Protect hardware and siding with proper flashing where brackets pierce the wall.
- Plan annual inspections to catch deterioration early; I continue to learn this discipline myself.
- Pre-drill pilot holes and hit real studs, not flimsy siding, so your flashing has solid material to seal against.