
I learned that labeling your pieces upfront saves significant headaches later. You’ll need a 2-foot 2×4 and an 8-foot 2×8 (have the store cut it), plus Douglas Fir for consistent grain. Sand everything to 220-grit and stain with Antique Walnut. Build a U-frame using 21-inch and 34-inch 2×4s with pilot holes and framing screws. Attach a 26-inch base, add your top with a one-inch overhang, and install a centered eye hook 2¼ inches from the front edge to prepare for hanging. The details below will help you avoid the mistakes I made with proportions.
Gather Materials and Cut Wood to Size
Where do you start with a project like this? It’s essential to get your materials sorted before you pick up a tool.
Getting your materials sorted before you pick up a tool is the smartest place to start.
What You’ll Need
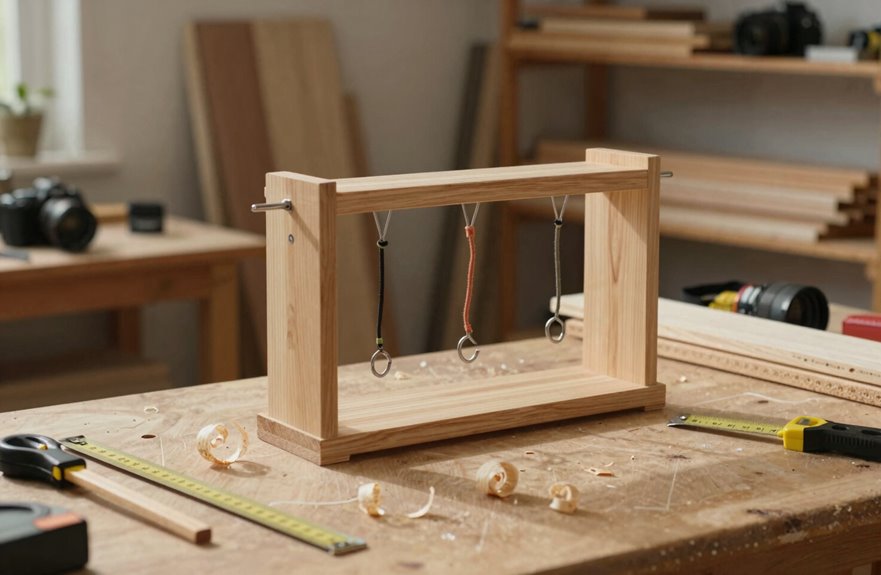
For this wooden hanging stand, grab one 2×4 board (2 feet long) and one 2×8 board (8 feet long). I always ask the hardware store to cut the 2×8 to size for me; fitting an 8-footer in a compact car can be quite challenging.
Prep Work
- Label every piece immediately to avoid confusion.
- Sand all sides with an orbital sander or sanding block.
- Smooth every end and surface.
I use Douglas Fir for its consistent grain when staining later. For assembly, I plan to use pocket holes and screws, so drill pilot holes first to prevent splitting. Your planter deserves high-quality wood without cracks.
Sand and Stain Now (Or Paint the Stand Later)
Why rush to assemble when you’ll just have to disassemble it later to finish properly? I’ve learned this the hard way.
Prep Your Wood
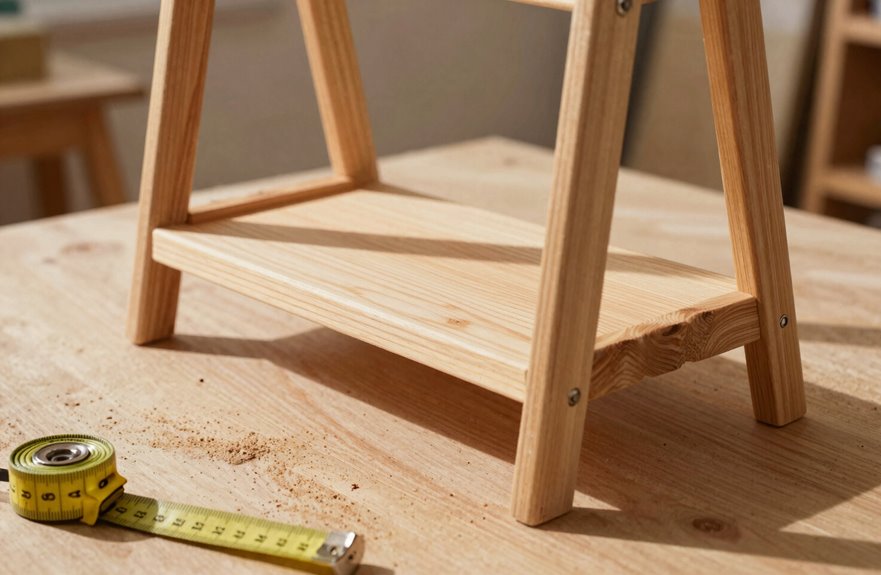
I sand every cut piece now, using my orbital sander or a simple sanding block, working through 120-grit then 220-grit until the wood feels smooth as glass. Staining assembled furniture can create challenges.
Choose Your Finish
For staining, I stick with Douglas Fir boards from the same batch since color matching is essential. I apply Antique Walnut with a foam brush. One coat provides a warm base; wiping off excess gives lighter tones, while adding another coat increases depth. Let it dry completely between coats.
If you prefer painting, assemble first, then paint later, and seal with polyurethane at the end.
Either way, we are building something beautiful together, one patient step at a time.
Build the U-Shaped Plant Stand Frame
Once your finish is completely dry, we’re ready to put this frame together. I’ll walk you through how I do it without the headaches I caused myself early on.
Once your finish is completely dry, we’re ready to put this frame together. I’ll walk you through how I do it without the headaches I caused myself early on.
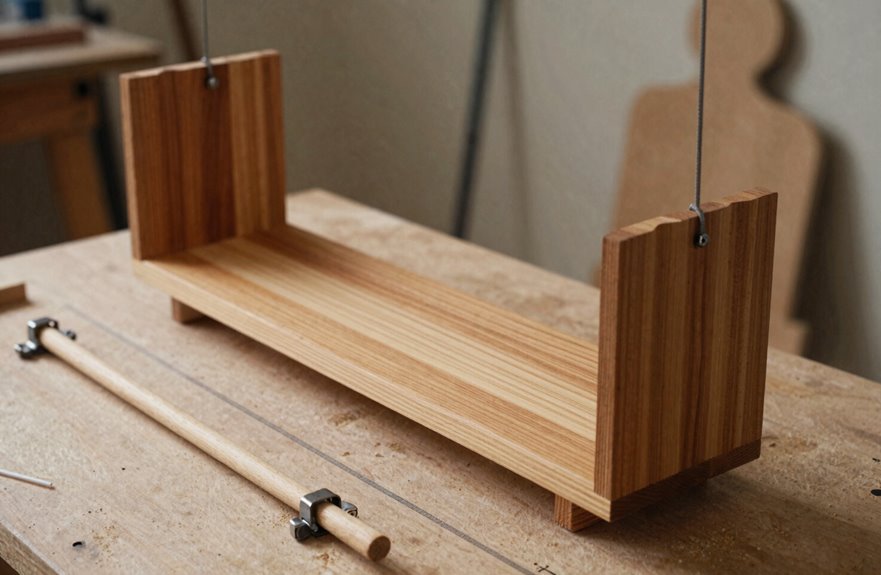
I grab my 21-inch 2×4 and two 34-inch 2×4s for this U-shaped frame. Here’s what I’ve learned matters most:
- Drill pilot holes first; skip this and you’ll split your wood.
- Pick your prettiest side for the front before you start.
- Use two framing screws per side; no shortcuts.
- Pre-drill saves time and effort.
I attach the longer pieces to each end of my shorter piece, checking that my nicer face points outward. Then I slide a 21-inch 2×8 between the top edges, securing it with two screws on each side. That’s the woodworking foundation completed.
Attach Base, Top, and Install the Plant Hook
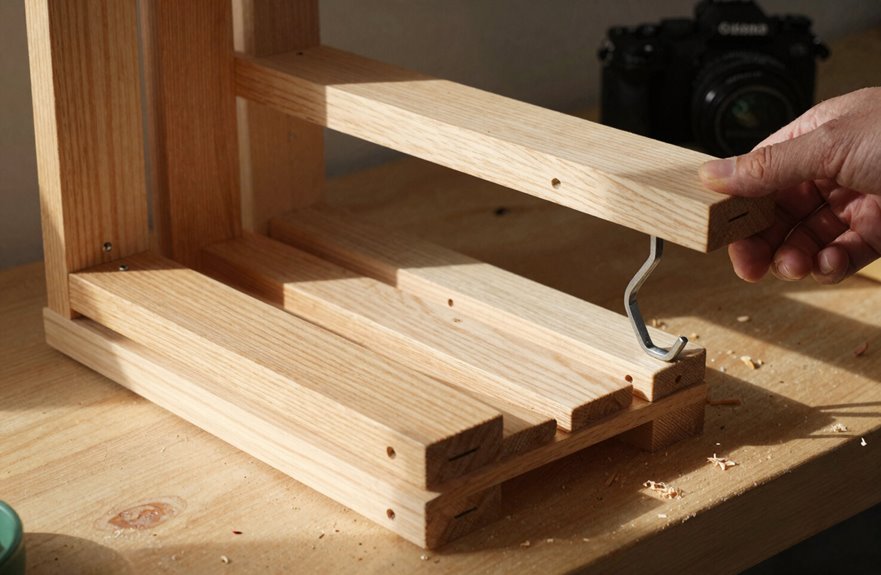
With the U-frame built, I will move on to the components that hold your plants: the base, the top shelf, and the hook for hanging.
Base Attachment
I lay a 26-inch piece of 2×8 flat, center my frame on it, and drive two screws down through the base into the frame sides. Then I flip it and add two more screws from underneath. I learned the importance of double-anchoring when my first stand wobbled.
Top Piece
I position the top piece so it overhangs about an inch on each side, then screw it down. This is straightforward woodworking that ensures stability.
Plant Hook
I drill a pilot hole centered 2¼ inches from the front edge of the 2×4, then twist in the eye hook. The hanging plant stand is nearly ready to support your plants.
Add a Sign and Hang Your Planter
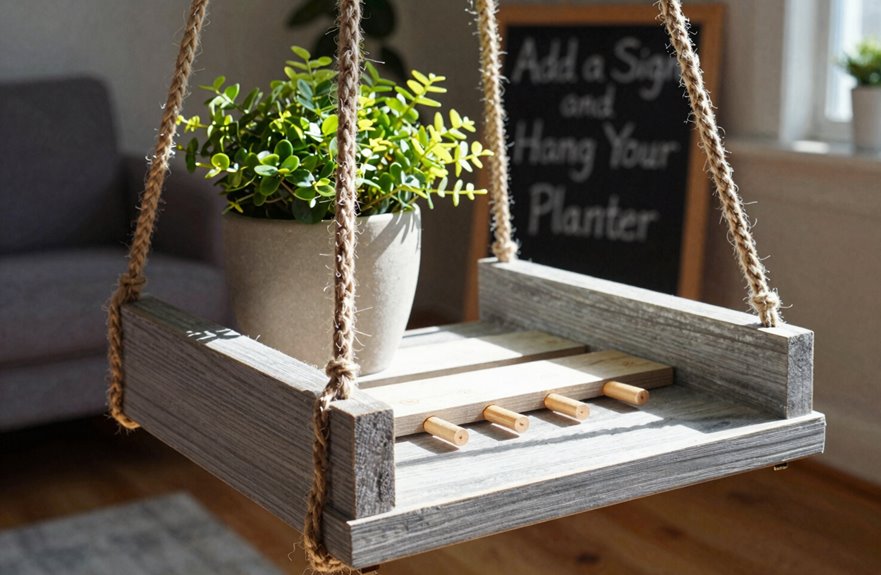
Although the stand is sturdy enough on its own, adding a personalized sign transforms it from a simple plant holder into a finished piece, resembling something from a curated garden shop rather than your garage. I sand Piece D smooth, apply two coats of spray primer, then paint or add vinyl lettering; chalkboard paint is my go-to for changing messages by season. For sign installation, I drill a center pilot hole under Piece D and twist in a screw hook, double-checking planter compatibility to ensure stability. Here are some tips to keep your hanging plant stand looking professional:
- Sand until the wood feels like satin, not splinters.
- Prime twice; skipping this can lead to paint peeling by month two.
- Use a level, not your eyeball (I learned that the hard way).
- Hang low enough to water, high enough to walk under.