
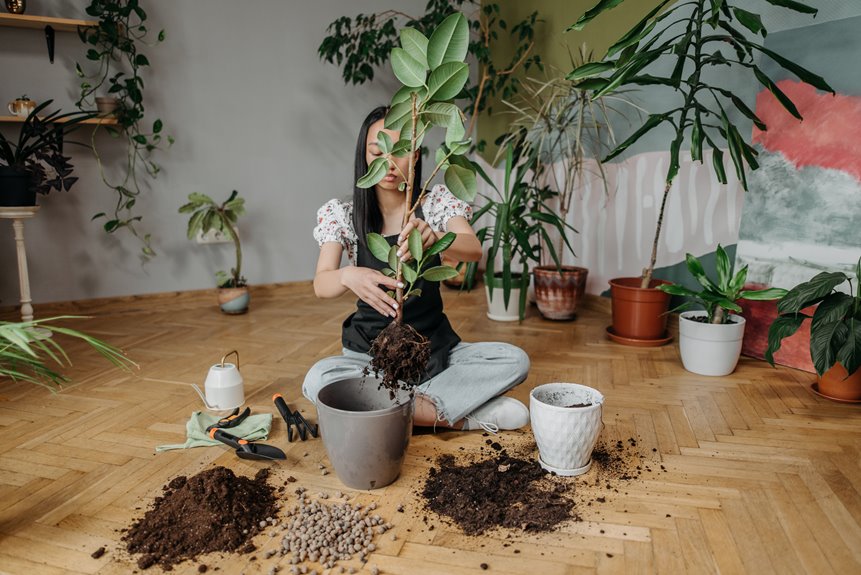
I learned the hard way that soilless potting mix isn’t just “dirt without the dirt.” It is a carefully engineered blend of organic and inorganic materials, such as peat moss or coco coir, perlite, and compost. This mix balances moisture retention with drainage, maintains consistent aeration to prevent root suffocation, and starts with a sterile foundation that eliminates pests, weeds, and diseases often found in garden soil. The effectiveness comes from three key mechanisms: 1) coconut coir or peat moss holds water like a sponge without drowning roots, 2) perlite or vermiculite creates air pockets so roots can breathe, and 3) added compost feeds plants slowly without the issues associated with garden soil. I used to kill seedlings with heavy backyard dirt until I switched; now my container tomatoes thrive. The mix remains fluffy instead of compacting, which allows roots to grow faster and healthier. Be sure to pre-moisten everything before planting, as dry peat repels water. Check the top 2–3 inches before watering again. Most mixes need replacement every 12–18 months, as perlite breaks down and organic matter deteriorates. I will show you how to build your own for a low cost per pot.
What Is Soilless Potting Mix and How Does It Work?
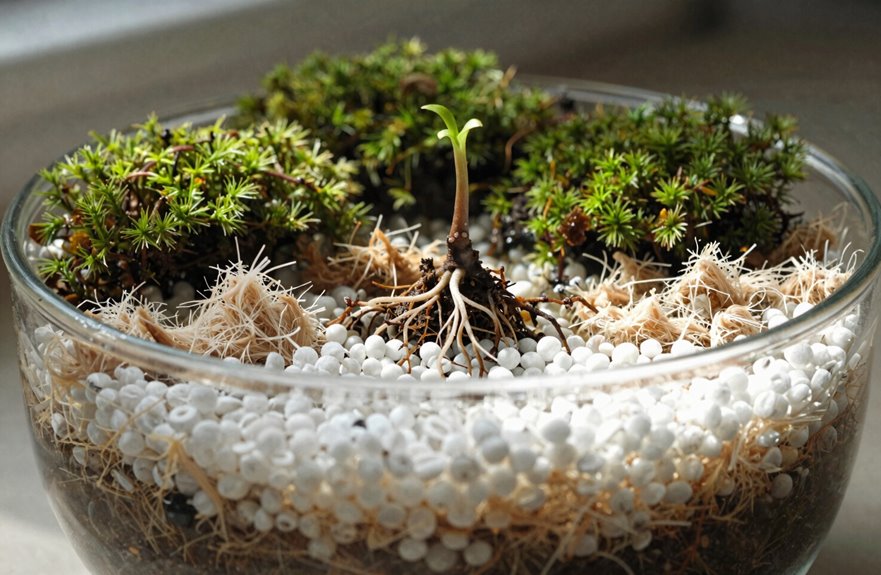
Soilless mix contains no actual dirt. Instead, it blends organic and inorganic ingredients that roots prefer. Here’s what each part does:
- Coco coir (or peat moss) handles moisture retention, holding water where roots need it.
- Perlite, those white styrofoam-looking bits, creates drainage and aeration so roots breathe and excess water escapes.
- Added compost provides nutrients without the baggage of garden soil.
Why This is Important
Regular soil compacts in containers, which can suffocate roots. My soilless mix remains fluffy, allowing for better pH balance (peat lowers it; coco coir stays more neutral). It is also typically sterile, preventing unwanted bugs or weeds.
Why Soilless Mix Beats Garden Soil for Containers
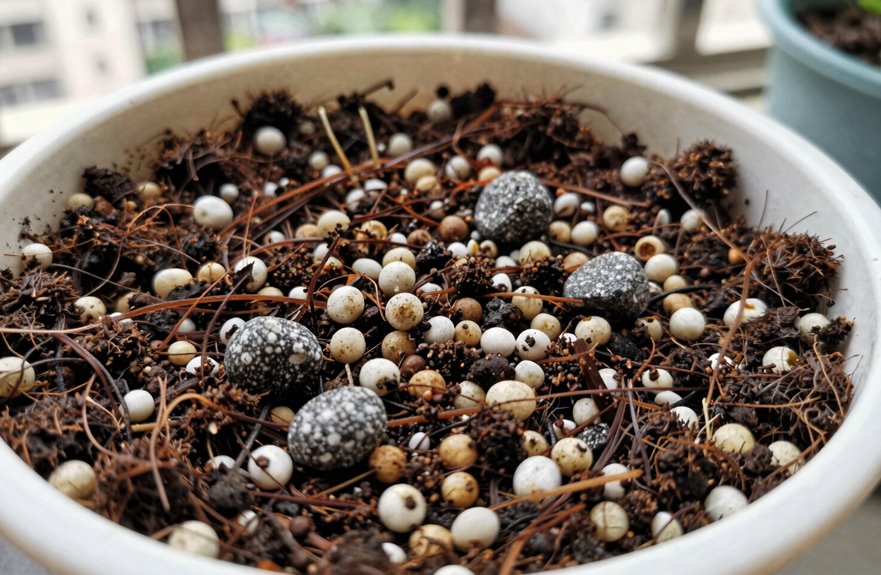
Here’s why container gardening experts prefer soilless mix:
- Moisture retention and drainage work together; coco coir or peat holds water while perlite prevents soggy roots.
- Aeration remains consistent; no compaction allows roots to breathe easily.
- Weed-free media eliminates unexpected invaders that steal nutrients.
- Sterile ingredients significantly reduce pest and disease pressure.
Garden soil often compacts in pots, attracts local pests, and is heavy. Soilless mix provides plants with a light, fluffy medium that promotes healthy growth and performance.
The 5 Essential Ingredients in Every Soilless Mix
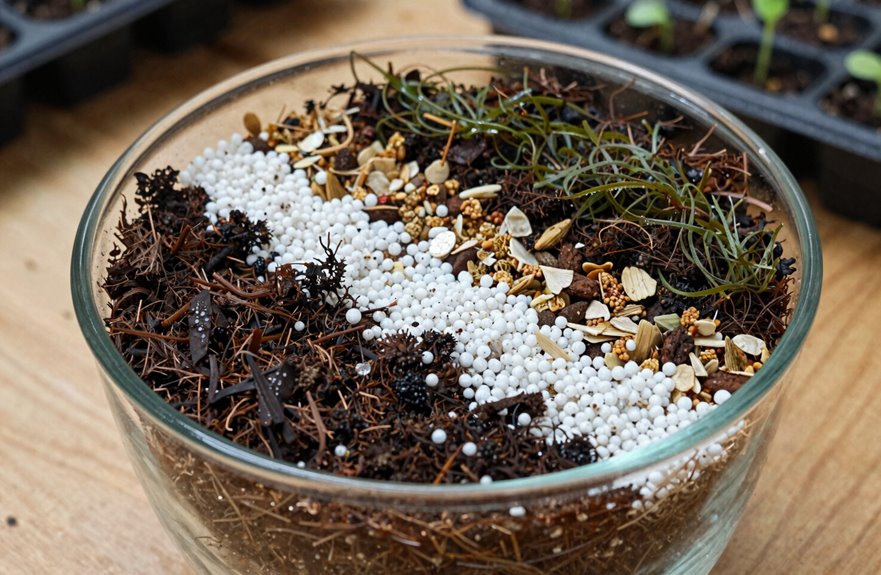
What goes into that bag of fluffy mix you see at the garden center? It’s not magic; it’s smart engineering. A good soilless potting mix balances five essentials that work together.
| Ingredient | Primary Role | Why It Matters |
|---|---|---|
| Sphagnum peat moss or coconut coir | Moisture retention | Holds water without drowning roots |
| Perlite or vermiculite | Aeration and drainage | Prevents compaction, lets roots breathe |
| Dolomitic limestone | pH balance | Supplies calcium and magnesium |
| Compost or bark | Nutrient delivery | Feeds plants naturally |
| Sterile base | Clean foundation | No weeds, no pests, no surprises |
I once killed seedlings with dense garden soil. This blend gives you control. The coconut coir, which is sustainable and rewets easily, or sphagnum peat moss, which is classic and acidic, forms a sponge. Perlite adds air pockets. Together, they create an ideal environment for container roots.
How to Match Soilless Mix to Your Specific Plants
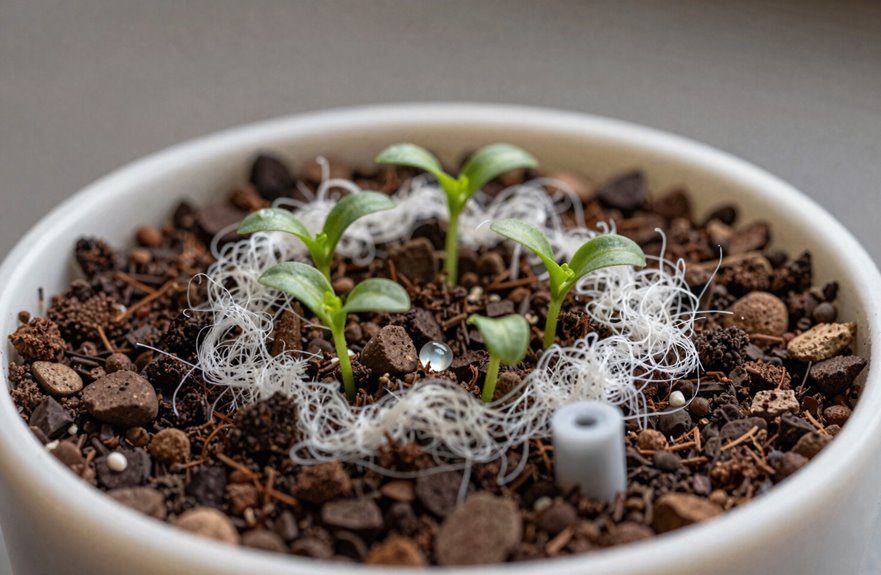
Why do some of my plants thrive in soilless mix while others sulk and yellow? I’ve learned that one recipe doesn’t fit all; my pothos loved moisture, but my orchid rotted until I adjusted drainage.
One recipe doesn’t fit all—my pothos loved moisture, but my orchid rotted until I adjusted drainage.
Here’s how I match soilless potting mix to what I’m growing:
- Assess your plant’s water habits. Leafy tropicals need moisture retention, while succulents demand fast drainage.
- Choose your base. Peat moss holds water and acidifies, which is great for blueberries, while coco coir offers neutral pH and slower decomposition.
- Balance drainage and moisture. I add perlite for my cacti, but keep coir-heavy blends for ferns.
- Consider pH adjustment. Lime counters peat moss acidity for vegetables needing neutral conditions.
Meeting specific plant needs turns struggles into thriving companions.
DIY Soilless Potting Mix: A Simple 3-Part Recipe
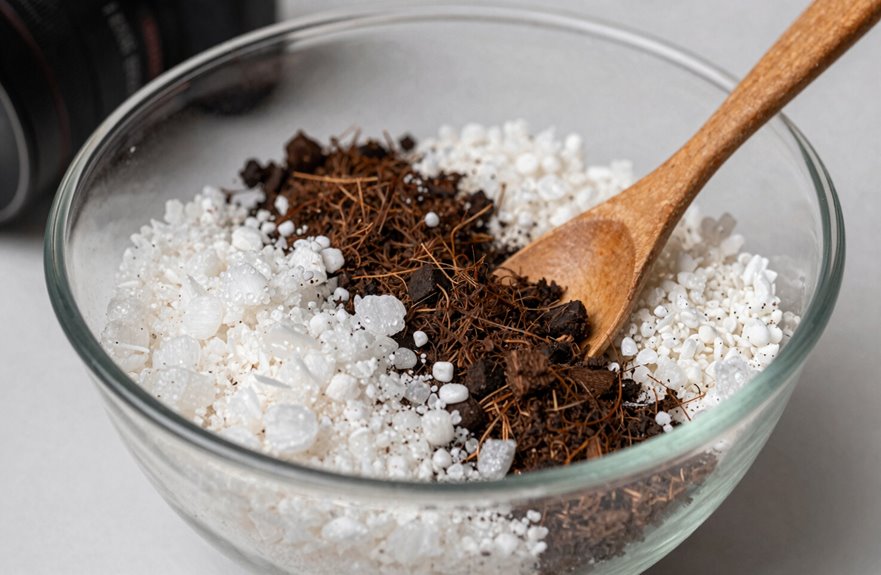
I’ll show you how to build your own soilless mix using three basic ingredients, and I’ll explain why getting the proportions right is important. I learned that skipping the pre-moistening step results in dusty, uneven results, so I always soak my peat or coir first. Once you have the base recipe down—one part each of peat or coir, perlite or vermiculite, and compost—you can adjust it for whatever you’re growing. For example, you can add bark chunks for orchids or extra moisture-holders for ferns.
Base Ingredients Selection
How do you create a potting mix that works without shipping in heavy garden soil? It’s all about choosing the right base ingredients that balance moisture retention, aeration, and drainage.
Here’s what I use for my three-part foundation:
- Peat moss or coconut coir — both excel at moisture retention; I prefer coir for its sustainability and natural pathogen resistance.
- Perlite or vermiculite — these lightweight minerals create essential air pockets around roots, preventing compaction.
- Quality compost — this adds life and nutrients to the blend.
I always pre-moisten compressed peat moss or coco coir bricks before mixing, as dry pockets can starve seedlings. After blending, water thoroughly to settle everything, then let the top layer dry slightly between waterings.
Mixing Proportions Guide
Once you’ve got your base ingredients lined up, the real magic occurs in how you combine them. I learned this through experience after my first batch turned into a swamp; equal parts matter, folks.
The Basic 3-Part Formula
- One part peat moss or coco coir (I pre-rinse coir to remove salt buildup).
- One part perlite or vermiculite for drainage and aeration.
- One part compost.
That’s your foundation. The peat moss or coco coir retains moisture, while perlite ensures roots can breathe. I’ve killed enough plants to know that improper proportions lead to root rot.
Prep Steps
Pre-moisten your blend to eliminate air pockets, then let it settle 2–3 inches before watering again. This approach is straightforward and allows for personal adjustments.
Plant-Specific Adjustments
Why treat every plant the same when their roots have different needs? I’ve learned that soilless mix proportions aren’t one-size-fits-all, and plant-specific adjustments can enhance your results.
Think of your base recipe—equal parts coir peat moss, perlite or vermiculite, and compost—as a starting point for customizing to different plant needs.
Here’s how I tweak mine:
- Boost drainage for succulents and orchids by adding extra bark or coarse perlite (I use a 2:1:1 ratio instead).
- Increase moisture retention for ferns and tropicals with more coir peat moss or compost.
- Maximize aeration for epiphytes by swapping half the base for chunky orchid bark.
- Pre-moisten your coir peat moss before blending; those compressed bricks need saturation first.
These adjustments can lead to healthier plants and improved growth.
Common Mixing Mistakes That Kill Plant Roots
Where do things go wrong when mixing up that perfect batch of potting medium? I’ve killed more plants than I care to admit, so let’s learn from my disasters.
The Fatal Errors
- Overwatering kills fast. Fine mixes hold moisture too well, and without proper drainage, those air pockets flood. Roots rot in days, not weeks.
- Compacted mix suffocates. I once packed peat too tight; it provided zero aeration and resulted in dead seedlings. Roots need breathing room.
- Skipping pre-wetting creates dry pockets. Water runs off instead of soaking in, leaving roots parched in spots.
- Wrong pH locks out nutrients. Even perfect moisture won’t help if acidity is off; roots starve surrounded by food they can’t access.
- Hot fertilizers burn. Soilless mixes start lean, so I go easy with half-strength at first.
How to Fix pH Problems and Choose Peat Alternatives
I learned that pH can significantly impact your soilless mix, as peat moss is naturally acidic, ranging from 3.5 to 4.5. I once observed my tomatoes struggling until I added dolomitic lime at about 5 pounds per cubic yard to raise the pH toward neutral. When adjusting mix acidity, I start with a simple meter or test kit, then add amendments in small doses: lime to increase pH and elemental sulfur to decrease it. I wait a week between changes because rushing it negatively affected my peppers last season. For sustainable peat substitutes, I’ve switched to coco coir, which has a pH around 6.0 and requires less adjustment. I will outline how I balance these components for different crops.
Adjusting Mix Acidity
How do you know when your mix is quietly turning on your plants? I watch for yellowing leaves and stunted growth—classic signs your pH has drifted off course. pH monitoring helps me avoid these issues, especially with peat moss-heavy blends that acidify over time.
Here’s my approach for pH adjustment:
- Test your mix every 2–3 weeks with a reliable meter.
- Add dolomitic limestone for slow, steady correction plus magnesium; calcitic lime works faster if you’re in a pinch.
- Swap peat moss for coco coir in acid-averse mixes, as it is more neutral and forgiving.
- Balance with pH-neutral perlite or pumice to stabilize your baseline.
I once ignored my blueberry batch and watched it crash to 4.0, which is too acidic even for them. Now I stay proactive, because addressing pH issues is more effective than replacing plants repeatedly.
Sustainable Peat Substitutes
Why keep wrestling with peat when better options are available? I switched to peat substitutes like coir and composted bark, and I wish I had done it sooner.
Why I Made the Switch
These alternatives significantly reduce environmental impact while maintaining good moisture retention and aeration. Coir, in particular, resists compaction better than peat, though I learned the hard way that it needs to be salt rinsed first. Those residual salts can disrupt your pH management if you skip this step.
Fixing pH in Peat-Free Mixes
For my blueberries, I target a pH of 4.5–5.5. When I need to raise pH for other plants, I gradually blend in dolomitic limestone instead of adding it all at once. Layered adjustments yield better results than a single large application.
When to Water and Fertilize Soilless Mix
What trips up most gardeners with soilless mix isn’t the mix itself; it’s knowing when to actually water it. Soilless mix balances moisture retention with drainage effectively, but it requires attention to its specific needs.
Here’s what works for me:
- Pre-moisten first — I saturate the blend after mixing to fill air pockets, then let the top 2–3 inches dry before watering again.
- Match watering frequency to your plant type — fast-draining blends need more frequent checks than moisture-retentive ones.
- Fertilize consistently — without native nutrients, I rely on slow-release fertilizer according to product instructions.
- Adjust for special cases — my orchids receive dilute, frequent feeds while my cacti prefer less frequent, concentrated applications during active growth.
Mastering this routine took several seasons of dealing with overwatering issues, but now my plants are thriving.
How Often Should You Replace Soilless Mix?
Although soilless mix doesn’t break down like garden soil, it still requires replacement eventually—usually every 12 to 18 months for most houseplants. Some heavy feeders, such as tomatoes in containers, need fresh mix annually. I’ve noticed that drainage and aeration suffer first as perlite crushes and peat compacts, leading to poor air circulation for plant roots. Moisture retention also becomes inconsistent; pre-moistened blends that were once effective can turn hydrophobic, repelling water instead of absorbing it.
I check root health by gently lifting plants. When roots are densely circling the pot or growth stalls, it indicates that it’s time to replace the potting mix. I have lost plants by waiting too long. Fresh mix restores the fluffy structure that roots need, promoting vigorous new growth.
Storing and Refreshing Used Soilless Mix
When refreshing mix, I follow a simple routine:
- Root debris removal: I pick out old roots and shake off what I can.
- Check for sour smells or mold; my nose knows when it’s gone bad.
- Compost rebalancing with fresh material and new perlite for aeration.
- Test drainage by watering a sample; if it pools, I adjust.
I won’t reuse if disease risk worries me, especially for prized plants. Seeds and cuttings are usually fine. My tomatoes get fresh mix each time.
Where to Source Quality Ingredients (and What to Skip)
So where do I actually find this stuff? I grab my perlite and vermiculite from garden centers or online retailers, always checking for horticultural-grade labels. The cheap construction stuff won’t work well. For coco coir, I learned to only buy salt-free, rinsed, and buffered options; otherwise, sensitive houseplants may suffer.
I skip anything unfinished or poorly composted, as that can lead to issues with weed seeds and pathogens. Instead, I use well-matured compost or composted bark. When mixing, I verify labels for pH adjustments and nutrient content, choosing peat-free alternatives when possible. I prioritize sustainability, looking for brands with clear environmental commitments. Better ingredients lead to healthier plants for everyone.