Plants thrive under LED lights when set up correctly. I learned this after months of leggy tomatoes and stunted peppers due to poor placement. LEDs allow you to target specific wavelengths: blue light (400–500 nm) promotes leafy growth, while red light (600–700 nm) encourages flowering. They also run cooler and are more cost-effective than traditional HPS systems.
I aim for 400–800 µmol·m⁻²·s⁻¹ PPFD at canopy height, which I measure with a $30 PAR meter, as guessing never produced good results. It’s important to keep fixtures 12–24 inches above plants, adjusting for each growth stage, and to overlap light pools to eliminate dark spots.
Matching the spectrum to your plants’ needs is crucial, rather than simply choosing lights labeled as “full spectrum.” Understanding this can significantly improve your results.
Do Plants Like LED Lights? Yes: Here’s the Science
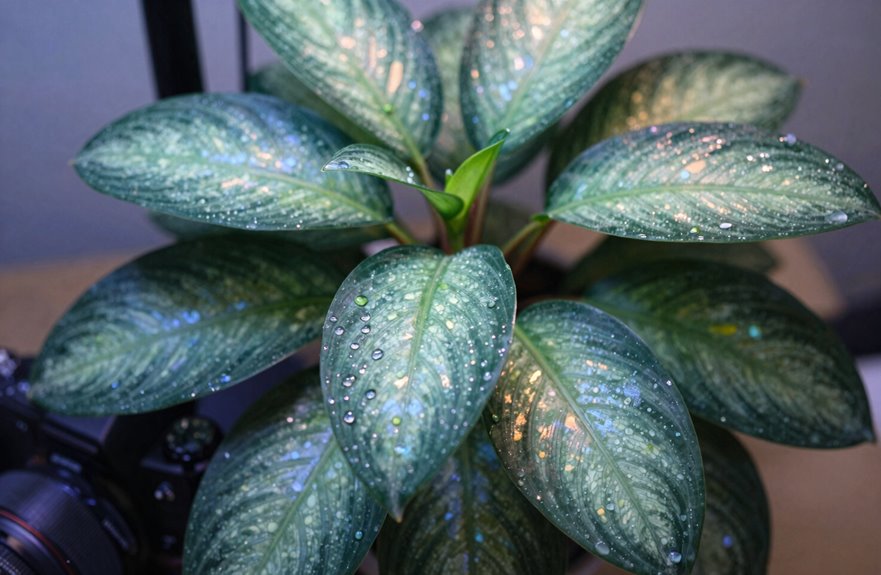
Why do plants thrive under LED lights? My seedlings stretch toward these panels as if reaching for the sun, and there is scientific reasoning behind this behavior.
Plants respond to specific wavelengths in the photosynthetically active radiation (PAR) range, which spans from 400 to 700 nanometers. Blue light (400–500 nm) promotes chlorophyll production, fostering leafy growth, while red light (600–700 nm) stimulates flowering and fruit development. LED technology allows us to target these precise wavelengths, eliminating wasted energy on colors that are not beneficial for plants.
Here are some effective strategies: 1) Choose full-spectrum LEDs for balanced growth from seedling to harvest, 2) Position lights 12–18 inches above your canopy since LEDs run cool and can be placed closer, 3) Set timers for 14–16 hours of light daily during vegetative growth, then reduce to 12 hours during flowering. I once left mine on continuously; plants need darkness to respire properly.
LED Grow Lights vs. Regular Bulbs: What Actually Changes
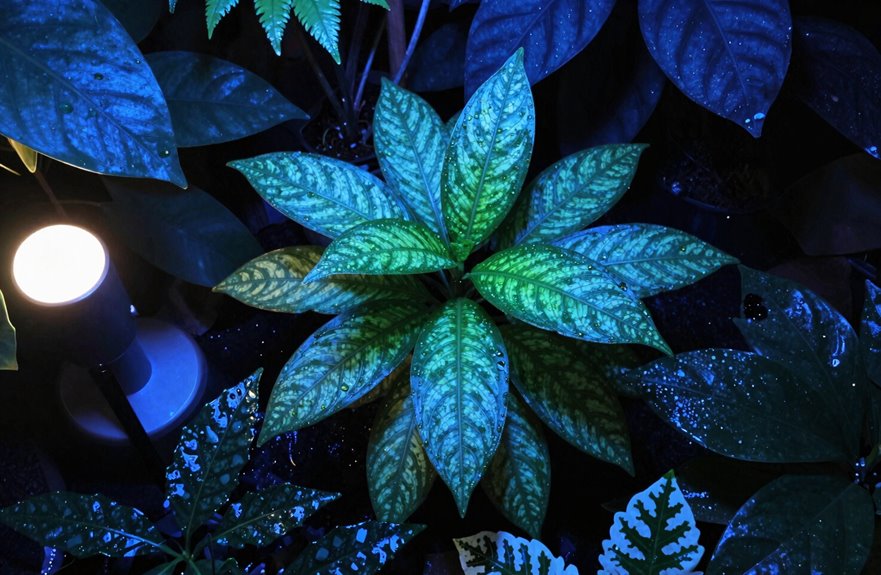
I’ve learned the hard way that not all LEDs are created equal when it comes to keeping plants happy. Regular bulbs might light up your room, but they lack the specific red and blue wavelengths that plants need for photosynthesis, which dedicated grow lights provide. Additionally, grow lights run cooler and consume less electricity, allowing me to position them closer to my seedlings without the risk of overheating or significantly increasing my power bill.
Color Spectrum Differences
How do LED grow lights differ from regular bulbs used in desk lamps? It all comes down to the color spectrum. I learned this after spending months with a bright desk lamp that resulted in leggy, unhealthy seedlings.
Regular bulbs emit broad, messy light, providing a lot of green and infrared that plants do not utilize effectively. LED grow lights, on the other hand, are precision tools. They deliver specific wavelengths that plants need: blue light (400–500 nm) promotes strong leaf growth, while red light (600–700 nm) is essential for flowering and fruiting. This targeted approach means no wasted energy.
With LED grow lights, you have the ability to adjust the spectrum. I increase blue light for my young tomatoes and switch to red when they are ready to bloom. Full-spectrum LEDs simulate sunlight across different growth stages, something my old bulb could not achieve. Regular bulbs limit your options, whereas LEDs offer flexibility.
Energy Efficiency Comparison
The color spectrum is important, but so is your electric bill. I learned this after running a 300-watt metal halide for three months before checking my utility statement. That mistake cost me about $45 monthly, and my plants weren’t thriving. LED grow lights made a significant difference for me.
| What I Used | Monthly Cost |
|---|---|
| 300W Metal Halide | ~$45 |
| 150W LED Grow Light | ~$18 |
| Regular LED Bulb (failed attempt) | ~$8, but leggy plants |
I discovered that LED grow lights convert electricity to usable light much more efficiently, with minimal wasted heat. Regular LEDs save money but lack the red and blue wavelengths plants require for photosynthesis. Quality LED grow lights have a higher upfront cost (mine was $85), but they last 50,000 hours compared to about 10,000 for traditional options. I run mine for 14 hours daily, and my herbs respond well. The math adds up if you’re serious about growing.
Match Your LED Spectrum to Each Growth Stage
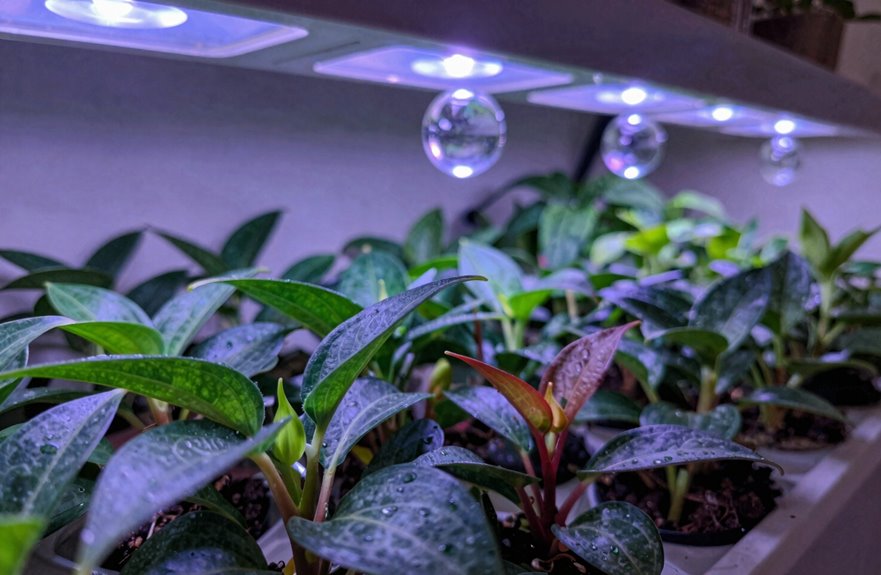
Why did I waste two growing seasons before realizing light spectrum matters? I crammed my plants under generic white LEDs and wondered why they stretched, stalled, or never fruited. Then I learned about photosynthetically active radiation (PAR), the 400–700 nm band where plants convert light into energy. This was a significant turning point.
Now I match my LEDs to each phase. Here’s what I’ve discovered:
- Seedlings crave blue and white light (400–500 nm) for compact, vigorous starts; no more leggy plants.
- Vegetative growth needs balanced blue/red to build leaves and stems that can support fruit.
- Flowering demands red-dominant spectra (600–700 nm) to trigger blooming and maximize yield.
Understanding the correct spectrum can greatly enhance your harvest.
Toplights, Interlights, or TLEDs: Pick Your Setup Type
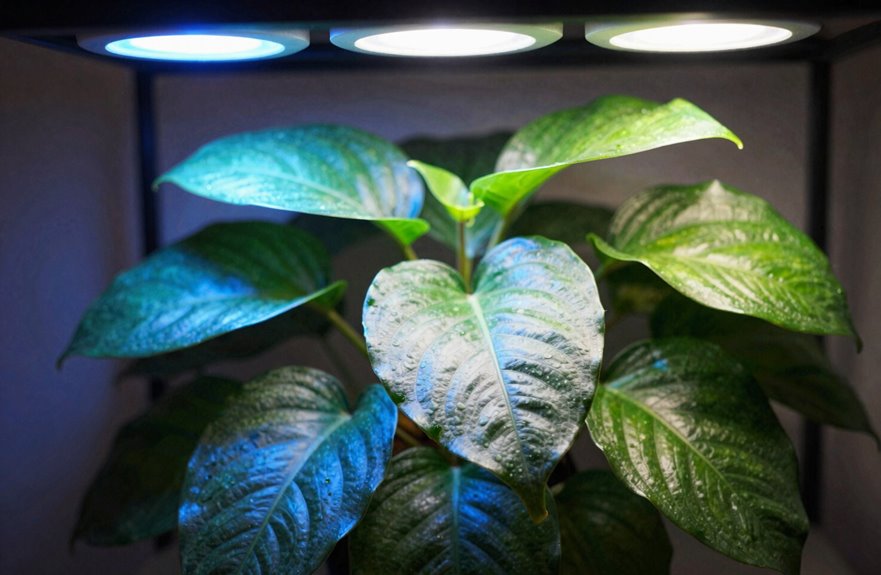
I’ve learned the hard way that picking the wrong fixture placement can cost you weeks of growth. Let’s break down two essentials: how high to hang your toplights, which is usually 12–24 inches above leafy greens and closer for seedlings, and why interlights need spacing every 3–4 feet to punch light through thick tomato canopies. I once crowded my interlights too tight and overheated the middle row; spacing is crucial for effective light distribution.
Toplight Placement Basics
So you’re looking at your grow space, wondering where to hang those lights. I’ve made mistakes along the way, especially with the distance. LED lighting has changed the game by providing substantial power without excessive heat, allowing for closer placement than older HID setups.
Here’s what I’ve learned about getting it right:
- Start at 12 inches above your canopy; measure it accurately to avoid issues like I had with my first lettuce batch.
- Overlap your fixtures so light pools blend together, as dark spots can disrupt uniformity and negatively impact yields.
- Adjust as your plants grow; what works in the first week may not be effective in week four, so check your setup at least twice a week.
Keep everything tight and measured to ensure successful growth.
Interlight Spacing Tips
Where you place your lights depends on your system. I spent months figuring this out the hard way.
Interlight Spacing
I position interlights between canopy layers, about 12-18 inches from plant stems. They push light horizontally and vertically, which addresses those shadowy middle zones that toplights miss. To enhance lighting efficiency, I overlap beams from adjacent fixtures, aiming for 6-8 inch gaps to eliminate dark spots.
TLED vs. Toplight Quick Pick
- TLEDs: Replace old fluorescent tubes; they run cooler and spread light evenly.
- Toplights: Offer high output with less heat, ideal for tall tomatoes or leafy greens.
Power Check
My 1-square-foot high-light zones pull roughly 25W with interlights or toplights. Low-light corners require about 16W to maintain efficiency without waste.
Wattage and Coverage: Size Your System Right
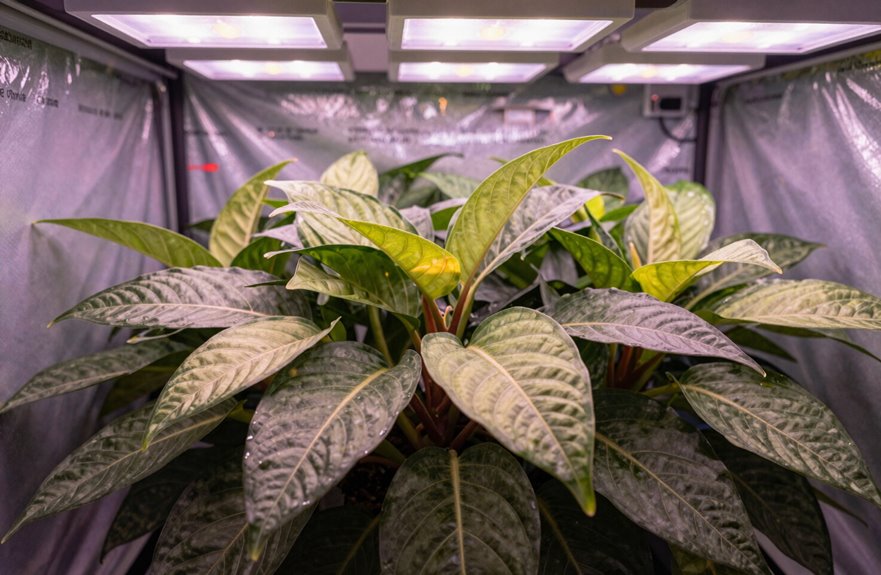
How do you determine if your LED setup fits your grow space? I’ve learned that wattage is crucial, and proper scaling prevents wasting money or underfeeding your plants.
Here’s a quick guide for fellow growers:
- Know your base needs: High-light plants require about 25W per square foot, while low-light plants need roughly 16W. I’ve made the mistake of estimating this before.
- Scale honestly: The coverage area influences your total wattage and the number of devices needed. One bar light cannot adequately cover a 4×4 tent.
- Check real specs: Some LEDs operate below their rated capacity, so verify actual draw instead of relying on marketing claims. Ensure your light patterns overlap for uniform coverage across the canopy.
How High Should LEDs Hang Above Your Plants?
Finding the right height for your lights is essential, as hanging them too close can damage seedlings. Start with a distance of around 12 inches for baby plants, adjusting according to the needs of your specific crops, whether they are sun-loving tomatoes or shade-tolerant herbs. Always refer to the recommendations of your lighting fixture, since each model distributes light differently.
Optimal Hanging Heights
Why does hanging height trip up so many growers? Many are concerned about burning their plants or starving them of PAR (photosynthetically active radiation). I’ve been there, measuring at 2 AM.
Most LEDs sit about 12 inches above the canopy for general growth. I’ve adjusted mine to 1.8 inches for established plants and raised them to 23.6 inches during intense growth. The key is observing your plants; they indicate when something is wrong.
Three mistakes that still haunt me:
- Ignoring leaf curling until it’s too late, then panicking.
- Forgetting that overlapping light prevents dark spots between fixtures.
- Relying on visual assessments instead of measuring actual PPFD levels.
I aim for 400–800 µmol·m⁻²·s⁻¹ during veg, adjusting based on plant responses.
Growth Stage Adjustments
Those late-night measuring sessions taught me that height isn’t static; it’s a moving target tied directly to what your plants are doing right now.
Seedlings (0–2 weeks)
I keep LEDs 6–12 inches above the canopy. They’re hungry for blue/red spectra to build sturdy stems, and I’ve burned enough delicate cotyledons to know that closer isn’t always better.
Vegetative stage (2–8 weeks)
I hover around 12–24 inches. This sweet spot prevents leaf scorch while spreading light evenly. This approach ensures that every leaf gets its photosynthesis moment without unnecessary issues.
Flowering (8+ weeks)
I adjust constantly, aiming for 400–800 µmol·m⁻²·s⁻¹. Sometimes I lower lights, sometimes I raise them; I do whatever keeps photosynthesis efficient without saturation.
Pro tip: I overlap light pools between fixtures, raising heights as my canopy fills. This strategy eliminates dark spots, promoting healthy plant growth.
Device Type Considerations
When should you hang lights differently? Device type matters for spreading photosynthetically active radiation (PAR) where your plants need it.
Three moments that stand out:
- You watch seedlings stretch desperately because your topper sat too high, and you feel that pang of regret.
- You discover inter-lights hugging mid-canopy leaves that toppers never reached, and suddenly your lower buds thrive.
- You notice TLEDs running cool and close without the scorch your old HPS gave, and you finally feel at ease.
Toppers generally hang 12–24 inches above the canopy, inter-lights nestle right within it, and TLEDs can drop to 2–6 inches. I always start with manufacturer specs, then adjust by observing my plants. Leaf tips curling up indicate the need to pull back, while sluggish growth suggests lowering the lights. Overlap your light patterns to avoid dark spots, as these can hinder growth.
How Long Should LED Grow Lights Run Daily?
How much light is too much? Plants need their beauty sleep just like we do.
Most growers run LED lights for 12 to 16 hours daily. This range balances photosynthesis with necessary rest cycles. Here’s what works:
Find Your Schedule
- Start with 14 hours for vegetative growth.
- Drop to 12 hours for flowering stages.
- Never run lights 24/7; plants need darkness to repair cells.
I once left lights on constantly, thinking more light would lead to faster growth. My tomatoes stalled out completely. That was an embarrassing lesson.
Full-spectrum LEDs covering 400 to 700 nanometers support all growth stages within that timeframe. Pair this with a PAR sensor for precision; I wish I had bought mine sooner.
Watch your plants closely. Slower growth or curled leaves can indicate you’re pushing too hard. Adjust the distance and duration before problems escalate.
Stop Heat Stress Before It Damages Your Crop
Where does the heat go if LEDs run so cool? It doesn’t vanish; it shifts. High-power LEDs still produce heat through their diodes, and without proper heat sinks and spacing, that warmth can creep into your canopy. I have observed leaves yellowing and growth stalling when lights were hung too close, below about 1.8 inches in some setups.
The heat doesn’t vanish; it shifts—creeping into your canopy when LEDs hang too close, yellowing leaves and stalling growth.
Heat stress can develop gradually. Your plants cannot communicate their struggles until the damage becomes visible.
Here’s what I have learned from other growers:
- Feel the canopy yourself—if it’s too hot for your hand, it’s too hot for them.
- Crank ventilation before problems start, not after leaves curl.
- Track temperature and humidity daily—consistency helps create a thriving environment.
Keep that canopy in the optimal range to prevent heat stress.
What PAR, PPFD, and DLI Mean Without the Jargon
You can hang your lights at the perfect height and still miss the mark if you don’t understand what they’re actually emitting. Let me break this down, as I spent months guessing before I learned this information.
PAR (photosynthetically active radiation) is the light that plants use, specifically wavelengths between 400 and 700 nanometers. Not all light counts; only this portion matters.
PPFD measures how much PAR reaches your canopy at any given moment, expressed in micromoles per square meter per second. I aim for 400–800 µmol·m⁻²·s⁻¹ depending on what I’m growing.
DLI totals the photons received throughout the day, measured in micromoles per square meter. A higher DLI can enhance growth potential, but too much can stress the plants.
Adjust these numbers according to your growth stage to improve your results.
Will Regular LEDs Grow Anything? (Reality Check)
So here’s the question I get asked most often: can I just grab some LED bulbs from the hardware store and grow tomatoes in my closet? I’ve tried it myself, and the truth is clear.
Regular LEDs focus on making rooms look appealing for human eyes, not on photosynthesis efficiency. They miss the specific red and blue wavelengths that plants need. Your seedlings might sprout, but they’ll stretch thin and weak, struggling for better light.
Here’s what I learned through experience:
- The hopeful feeling when you first see green shoots, only to watch them fade.
- The frustration of leggy plants reaching for window light you can’t provide.
- The relief when you finally switch to real grow lights and everything thrives.
Standard bulbs cannot compete with purpose-built LEDs for sustained, healthy growth.
High-Light or Low-Light? Match Your LED to Your Plants
Once I stopped wasting time on regular bulbs and bought actual grow lights, I faced a new puzzle: my tomatoes were burning under the same setup that my snake plants loved. You need to match your LED to your plant’s appetite for photosynthetically active radiation (PAR).
My tomatoes burned under the same grow lights my snake plants loved—turns out, not all plants crave the same light intensity.
Know Your Plant’s Needs
High-light plants (tomatoes, peppers) want 20–30+ mol·m⁻²·d⁻¹ DLI, roughly 400–800 µmol·m⁻²·s⁻¹ PPFD. Low-light plants (snake plants, pothos) need just 5–10 mol·m⁻²·d⁻¹ DLI. That’s about 16–25 W per square foot for them, which is straightforward.
Get the Setup Right
- Overlap your lights; no dark spots allowed.
- Move high-light LEDs closer for more intensity, and keep low-light setups farther back.
- Match spectrum: reds and blues for hungry plants and simpler broad-spectrum for the more tolerant ones.
Check your plant’s tag, do the math, and avoid crispy leaves.
Why Your LED Setup Isn’t Working (And Proven Fixes)
Why do so many of us watch our seedlings stretch into sad, lanky strings when we’ve invested in what seemed like decent LEDs? I’ve experienced the frustration of seeing spindly tomatoes and wondering what went wrong.
Your PPFD is likely insufficient. This measures the actual light intensity hitting your canopy, not what the box claims. Most of us hang lights too high, which deprives plants of the 400–800 µmol·m⁻²·s⁻¹ they need. I lowered mine to 18 inches, and my plants developed sturdy stems.
Three important insights to consider:
- You’re measuring nothing. Buy a cheap PAR meter, or continue guessing why your peppers are sulking.
- Your “full spectrum” may not deliver. Seedlings need blue-heavy light; flowering plants require red. Match the light to the stage of growth, or watch them struggle.
- Hotspots can cook plants, while shadows may starve them. I added reflective film and rotated pots weekly. Uniform coverage is crucial for optimal growth.
Improve your PPFD for healthier plants.
How to Choose Between Philips, Osram, and Other Grow Light Brands
How do you start comparing brands when every box claims “full spectrum” and “high efficiency”? I’ve found myself staring at shelves of LED grow lights, questioning whether the extra $200 truly translates to healthier plants.
Every box claims full spectrum and high efficiency—so how do you actually choose?
Focus on manufacturers that grasp horticulture rather than just bulbs. Philips (Amsterdam), Osram (Munich), Cree (Durham, NC), Illumitex (Austin, TX), and LumiGrow are leaders for a reason. They have built their reputations through research, not marketing jargon.
What truly matters:
- Coverage match — measure your grow space first, then find lights designed for that footprint.
- Spectrum control — can you adjust for veg versus flower? Fixed spectrums can limit your options.
- Placement guidance — reputable brands specify toplights, interlights, TLEDs, or flowering lamps for your setup.
Avoid general consumer lighting brands. They may grow lettuce, but you could end up chasing deficiencies without understanding the causes.
LED vs. HPS: Costs, Yields, and When to Switch
I’ve run both LED and HPS setups over the years and wasted money on cheap LEDs early on before learning what actually matters. When you compare costs, HPS wins on upfront price; a 600W HPS kit runs around $150 versus $300-500 for a quality LED. However, that advantage flips quickly once you factor in electricity bills running 12-18 hours daily and bulb replacements every 8,000-12,000 hours. For yields, I’ve pulled 1.5-2 grams per watt with both technologies, though LEDs now edge ahead when you dial in the spectrum. Just don’t expect miracles if you’re growing tomatoes under blurple lights from 2015.
Cost Comparisons
When you’re reviewing your first grow light invoice, the numbers can feel overwhelming. LEDs often cost 30-50% more upfront than HPS setups. I nearly bought the cheaper sodium bulb my first time around, a choice I later regretted. However, LED grow lights offer a solid return on investment. Mine consume less electricity, leading to lower summer cooling bills since they don’t emit as much heat as sodium lamps. With lifespans reaching 50,000 hours compared to around 10,000 for HPS, I avoid the hassle of replacing burnt bulbs every year.
Why the initial cost becomes manageable:
- Your first electricity bill arrives, and you notice the kilowatts have decreased.
- In year two, no replacement parts are needed; just consistent growth while your HPS friends shop for bulbs.
- You appreciate the quieter environment; no noisy ballasts, just healthy plants thriving under cool, efficient light.
Start small if you’re hesitant. I tested one square foot at 20 watts before fully committing to my entire tent.
Yield Differences
After three years of watching my electricity bills shrink, I started wondering if my plants were actually happier too, not just my wallet. Here’s what I’ve learned about yields.
The Real Numbers
My LEDs now match or beat my old HPS harvests. The secret comes down to two factors: spectrum targeting (those blue and red diodes hit exactly what plants crave) and running lights closer without burning leaves, since LEDs run cooler.
What Actually Matters
- PPFD levels: Keep 400–800 µmol·m⁻²·s⁻¹ at canopy height. I use a cheap meter.
- Spectrum control: Full-spectrum LEDs with heavy red and blue outperform HPS in flowering, based on my experience.
- Placement: Avoid gaps between light footprints; I learned this the hard way with patchy first grows.
HPS still works, but modern LEDs eliminate cooling costs and maintenance headaches. I broke even by year two.