
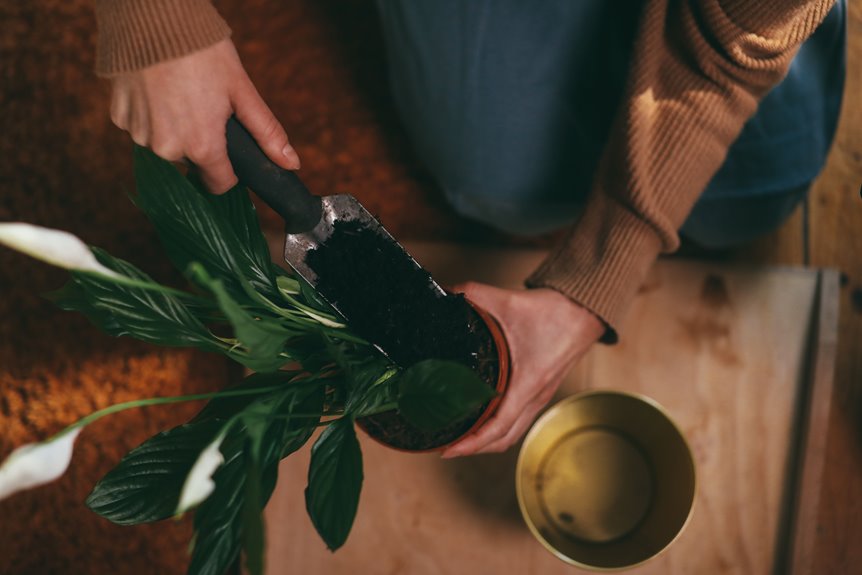
I store my potting soil in a cool, dry spot, such as a garage shelf, elevated deck box, or indoor closet. I use either an airtight sealed bin that I open monthly to vent gases or a loose-lid tote for better airflow. I always keep containers 4–6 inches off the ground on blocks or stands to prevent moisture creep, and I check weekly for condensation. Dry the mix completely before sealing to avoid mold issues. Proper storage involves more than just choosing a container.
Where to Store Potting Soil: Garage, Deck, or Inside?
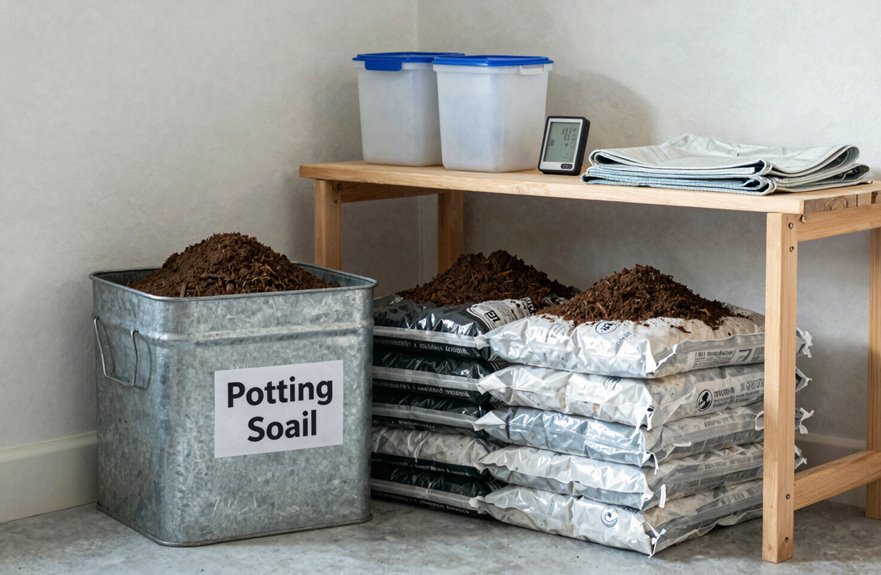
Where should you store that half-used bag of potting soil to prevent it from becoming a science experiment? I learned this the hard way; gnats once turned my garage into their personal nightclub.
Your Storage Options
- Garage or utility closet works well with a plastic tote and loose lid. I check mine weekly for condensation, as I had a mold incident that I prefer to forget.
- Deck storage requires elevation. Set containers on short stands, about 4-6 inches high, to block ground moisture and allow air circulation underneath.
- Indoors in a cold storage room or cool closet keeps potting soil viable year-round, as long as it remains dry and out of direct sunlight.
Avoid the windy, shaded corner of the garage where I once found my bag hosting a pest convention. Your potting soil deserves better conditions.
Sealed or Vented: Choose the Right Storage Container
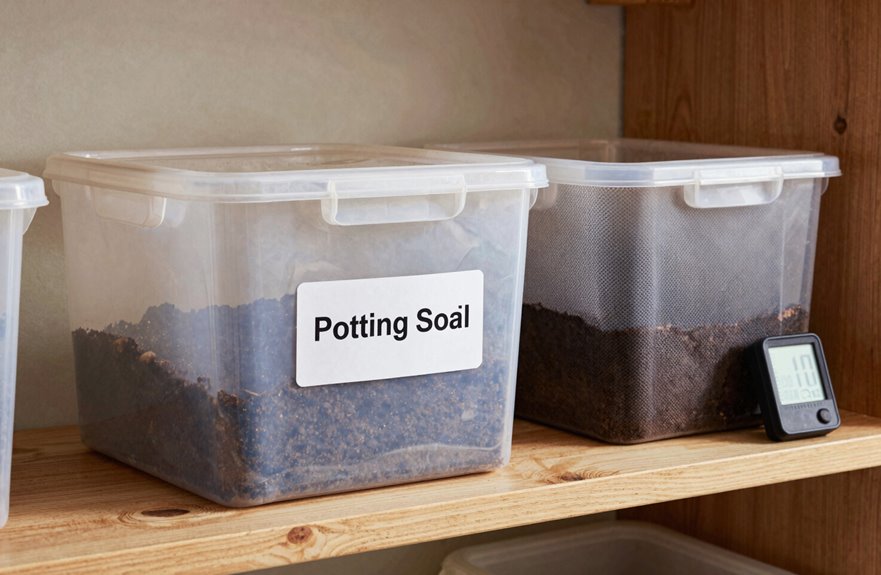
Why does the right container matter? Your choice protects the soil you’ll eventually trust with your favorite pots.
Your container choice is the silent guardian of every plant you’ll ever pot.
My Two Go-To Options
- Airtight sealed bins: I use these for long-term storage. They block moisture and pests completely, though I open them monthly to let gases escape and check for trouble.
- Loose-lid plastic totes: Better airflow means less condensation risk, but I’ve found ants are attracted to these if the soil isn’t bone-dry first.
My Hybrid Hack
I double-bag soil in its original packaging, then seal that inside an airtight container. This balances protection with some breathability. Just avoid leaving inner bags open; I’ve made that mistake.
One Critical Step
Always elevate your container off wood or decking. I use concrete blocks to stop moisture transfer that can ruin both soil and your deck boards.
Prevent Mold and Condensation in Stored Potting Soil
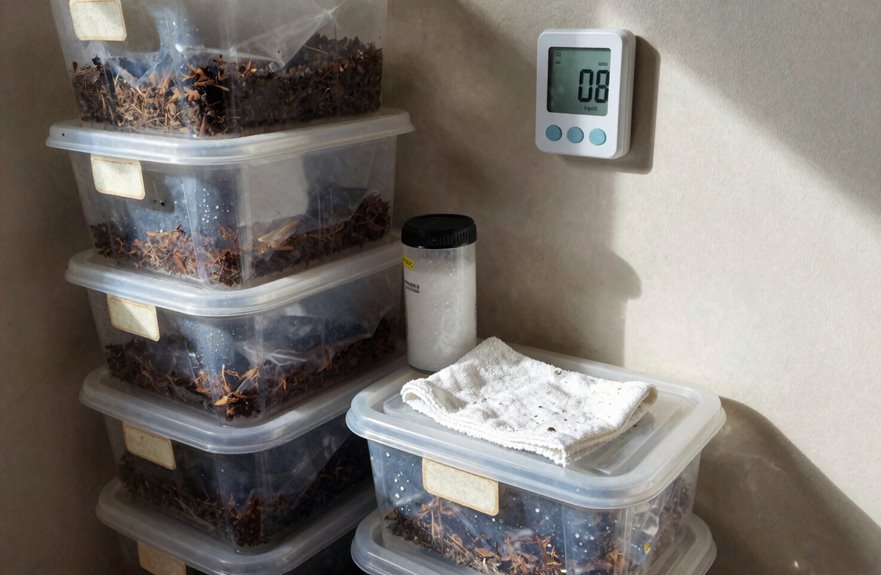
I learned the hard way that soggy soil leads to mold, so I always dry my potting mix completely by spreading it on a tarp for 2-3 days, stirring occasionally, before it touches any container. Choose storage bins that haven’t held unknown chemicals; scrub them with a 1:10 bleach solution, rinse thoroughly, and dry them in the sun for 24 hours. Skipping this step once cost me a whole bag to white mold. Once your soil is bone-dry and your container is clean, monitor moisture closely, as even a little trapped humidity can turn your stash into a breeding ground for mold.
Choose Dry Containers
How do you keep potting soil from turning into a science experiment over winter? Your choice of container can significantly impact the outcome.
Pick Your Container Wisely
- Choose clean, dry bins with airtight seals, such as Rubbermaid Brilliance or simple snap-lid totes.
- Allow your potting mix to dry completely before sealing; spreading it on a tarp for 48 hours works well.
- Avoid buckets with loose lids, as they can trap condensation and create a damp environment.
Elevate Everything
Place containers on stands, pallets, or even spare bricks to lift them off concrete or wood. I use inexpensive plastic shelving from Home Depot. This airflow underneath helps prevent dampness from creeping up from garage floors.
I lost three bags to mold because I neglected to seal them properly. Don’t make the same mistake.
Monitor Moisture Levels
Even when you’ve done everything right with your containers, moisture has a sneaky way of creeping back in if you’re not vigilant. I’ve learned this after finding fuzzy surprises in my supposedly “dry” stash. Here’s what I check now:
- Let soil dry completely before sealing anything up, as humid spots can feed mold quickly.
- Watch for condensation under lids or inside totes and increase airflow if you spot any.
- Repack into breathable containers when moisture appears unexpectedly.
- Keep opened bags out of airtight plastic if they’re even slightly damp.
- Elevate containers off the ground in shaded, ventilated areas to prevent condensation from surfaces.
I wash my bins with a 1:9 bleach solution first, rinse thoroughly, and dry completely. Ten minutes of prevention can save an entire batch.
How Long Can You Store Potting Soil?
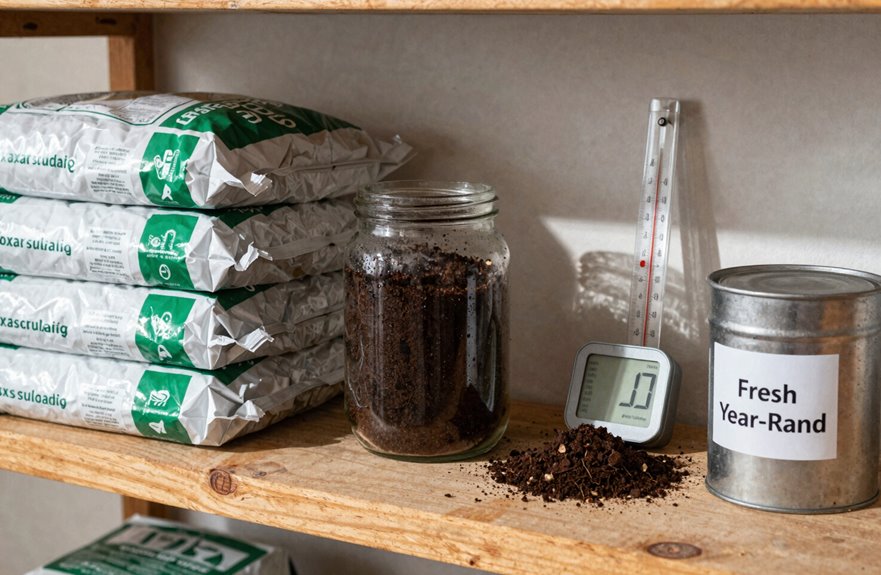
When you’re looking at that half-full bag of potting soil in your garage, you might wonder how long it stays good. Proper potting soil storage can determine whether you have a usable mix or a moldy mess.
The Timeline
With the right conditions, potting soil can remain viable for 1-2 years, sometimes longer. Here’s what works:
- Dry it completely first. Spread soil on a tarp, stir it weekly, and wait until it feels crumbly, not damp. Humidity is detrimental.
- Seal it airtight. Use 5-gallon buckets with tight lids or heavy-duty bins. This prevents pests, mold spores, and moisture from getting in.
- Watch for condensation. If you notice droplets inside your container, improve airflow or find a better seal. Dampness can cause problems quickly.
Open bags left outside can attract bugs and spoil in a matter of months.
Don’t Store Potting Soil With Fertilizer: Here’s Why
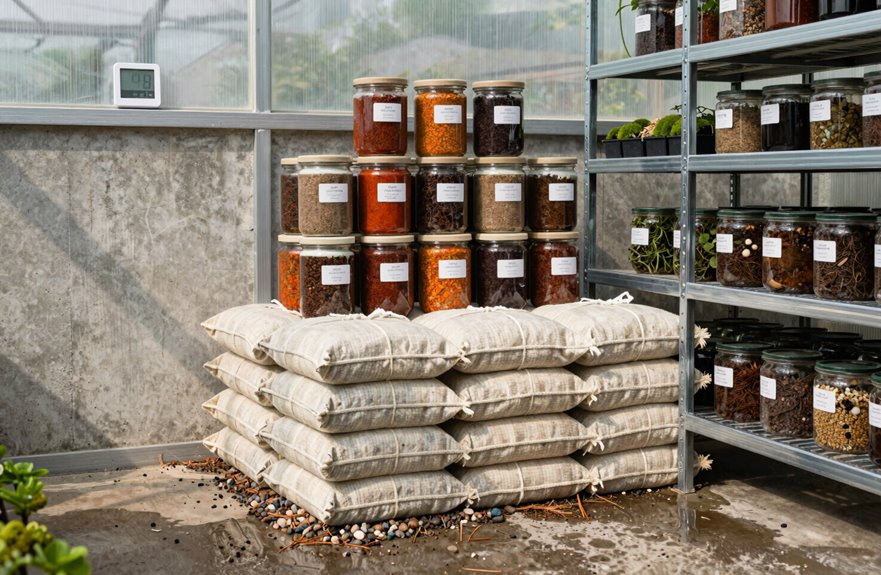
Why did my seedlings turn crispy at the edges last spring? I stored my potting soil with controlled-release fertilizer already mixed in, and moisture triggered early nutrient release. That was fertilizer burn waiting to happen, and I learned my lesson so you don’t have to repeat it.
Here’s what happens when you store soil with fertilizer:
- Moisture activates prills prematurely, causing nutrient spikes before plants even touch the soil.
- Salt buildup accumulates silently, damaging delicate roots when you finally plant.
- Damp, enclosed storage creates anaerobic conditions that generate off-gassing and odors.
- Chemical degradation reduces soil quality during months of storage.
- Airtight containers trap moisture, accelerating the whole messy process.
I keep CRF-free soil separate, storing it in dry, ventilated bins. Before reuse, I refresh with fresh mix or compost. Your future seedlings will thrive.
Reuse Old Potting Soil? Sterilize It First
The temptation to dump last season’s soil straight into new pots is real, and I’ve absolutely done it. This can lead to problems. Old potting soil harbors pests, diseases, and weed seeds that can sabotage your plants before they even start. Here’s my current approach.
Sterilize it first. For small batches, microwave damp soil in a covered container until it reaches 180°F internally; this takes about 2-3 minutes depending on volume. If you don’t have a microwave, steam it in a covered pot for 30 minutes. If you have time and sunshine, spread the soil 4 inches deep under clear plastic for 4-8 weeks. Keep in mind that solarization also kills beneficial microbes.
Rejuvenate after sterilizing. Mix in fresh compost, worm castings, or new potting mix at a ratio of roughly one-third amendments to two-thirds sterilized soil.
Clean your containers. Soak pots in a 1:9 bleach-to-water solution for 30 minutes, rinse thoroughly, and allow them to air-dry completely.
Store sterilized soil in clean, airtight containers, avoiding those pest-magnet bags left outside.