
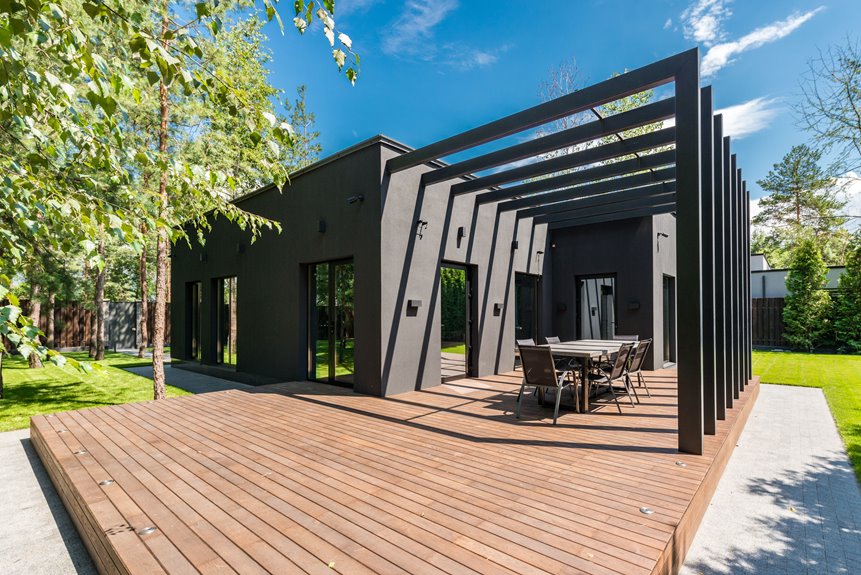
I learned that building a deck pergola requires patience, not just muscle. First, I measure my deck with 30 inches of clearance around furniture and map post placement. Then I choose between a DIY kit ($800–$2,000) or custom lumber ($2,500–$5,000).
I gather tools—a drill, level, circular saw—and grab a helper before clearing my deck surface. Next, I dig six holes 24 inches wide and 30 inches deep, adding gravel and setting posts plumb with temporary braces. After pouring concrete, I wait a minimum of seven days before installing beams with 5/8 inch galvanized bolts.
Finally, I add rafters 10–16 inches on center for shade, finishing cedar beforehand or waiting 2–3 months for pressure-treated pine. The specifics in this process are crucial.
Plan Your Deck-Mounted Pergola: Size, Layout, and Attachment Method
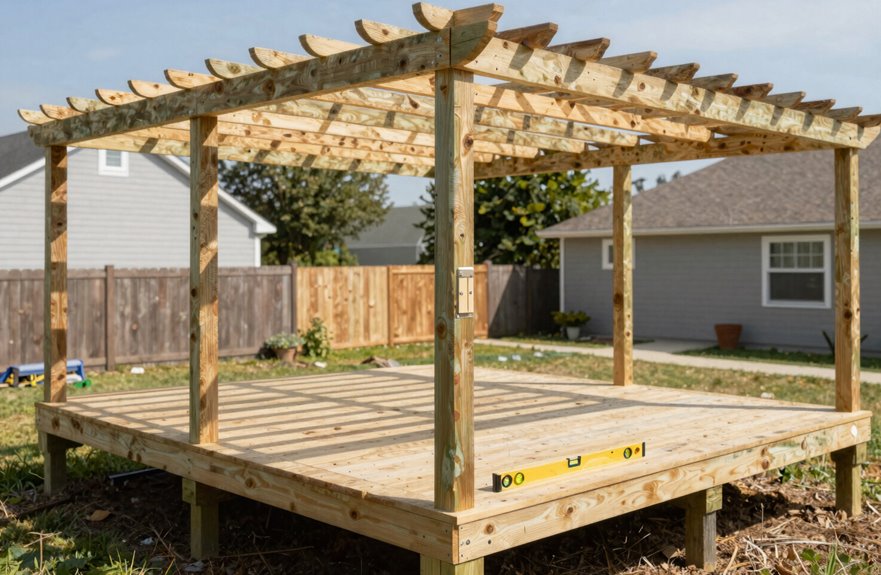
Where do you want this pergola to sit? I’ve learned that guessing can lead to issues, so I measure twice and cut once.
Step One: Map Your Space
I grab a tape measure to determine my deck-mounted pergola’s footprint, allowing for 30 inches of walking clearance around furniture. There’s nothing worse than bumping into a post while barbecuing.
Step Two: Determine the Post Layout
Your post layout depends on your deck’s structure. I’ve mounted through joists, bolted to ledgers, and poured footings below frost lines. Each attachment method adheres to different building codes, so I always consult my local inspector before proceeding.
Step Three: Mark and Prepare
I stake a mason’s line for even spacing and remove deck boards where the posts will be placed. I use brackets, bolts, and hardware rated for outdoor loads; cutting corners here can lead to instability.
Choose Your Path: DIY Kit or Custom Lumber (and When to Finish)
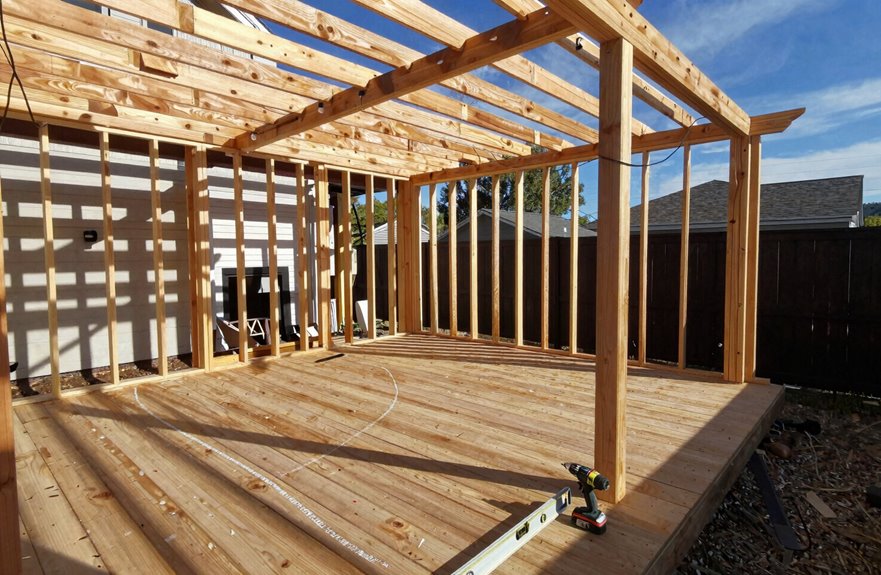
Once you’ve mapped your space and marked your posts, you’re faced with a decision that will shape your entire build: choose a DIY pergola kit or head to the lumber yard and craft something from scratch.
A DIY pergola kit ($800-$2,000) offers pre-cut cedar parts and straightforward instructions, making it ideal for solo weekend projects. Custom lumber ($2,500-$5,000) allows you to tailor the size to your deck’s specifics, but it requires skill in cutting and measuring.
Finishing timing is crucial. For cedar, stain the beams before assembly to avoid sticky situations. With pressure-treated pine, allow it to cure for 2–3 months before sealing. Taking these steps now prevents issues like peeling and graying in the future.
Gather Tools, Helpers, and Prep the Deck Surface
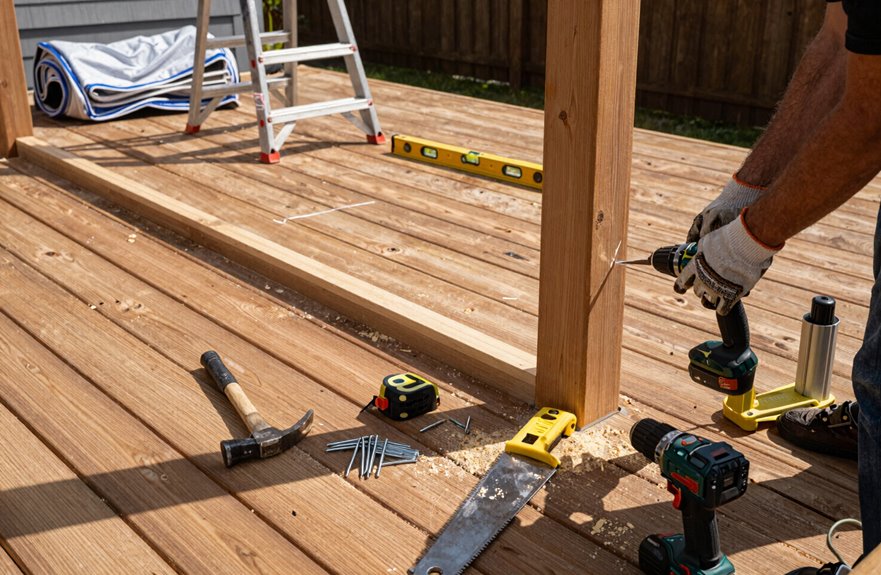
The right preparation separates a smooth build from a weekend of frustration. I learned this after showing up to a job site without my post-hole digger.
Your Essential Toolkit
- Grab your drill, hammer, circular saw, level, measuring tape, post-hole digger, and clamps, plus safety glasses and work gloves.
- Recruit at least one helper for unloading lumber and holding pieces steady.
Deck Prep and Marking Post Locations
Clear your deck completely, then measure twice and mark post locations with bright spray paint or chalk. For direct mounting, you’ll pull up deck boards at these spots later. Check your wood type now; cedar needs pre-staining while pressure-treated pine can wait. Read every instruction page before cutting anything.
Set Posts Plumb: Ground Footings or Direct Deck Mount
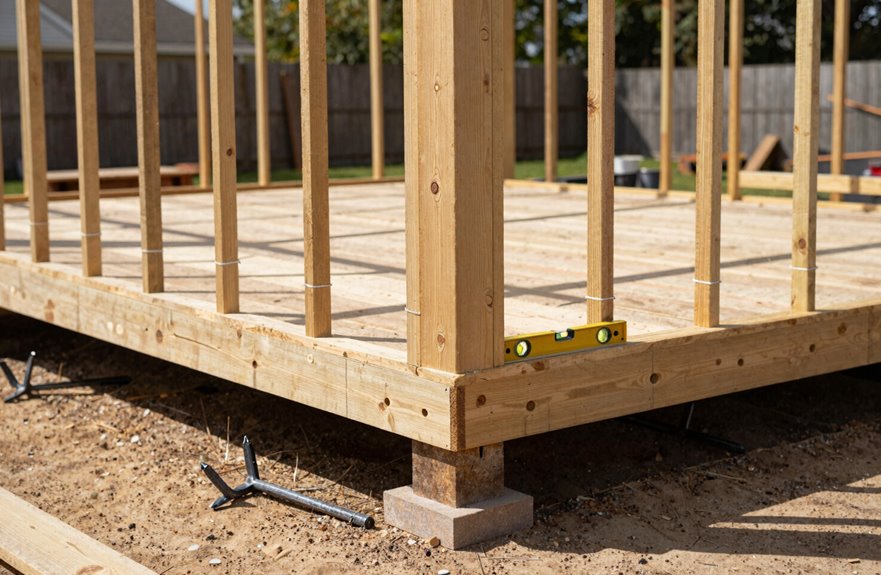
With your deck cleared and tools ready, I’m picking up where I left off—this time, I’m actually bringing my post-hole digger.
I dig six holes about 24 inches wide and 30 inches deep (check your local frost line; I learned that the hard way), then drop in 6 inches of gravel for drainage. Here’s how I keep everything straight:
- Mark with mason’s line — I stretch string between stakes to visualize where my posts will stand before I commit.
- Set posts plumb — I check all four sides with a long level, shimming with temporary 1×2 braces so nothing shifts.
- Double-check footings depth — I verify placement accounts for weather exposure and any sealing I’ll need later.
I also mark my beam height now, since measuring is more reliable than guessing once concrete is involved.
Pour Concrete and Wait for Full Cure
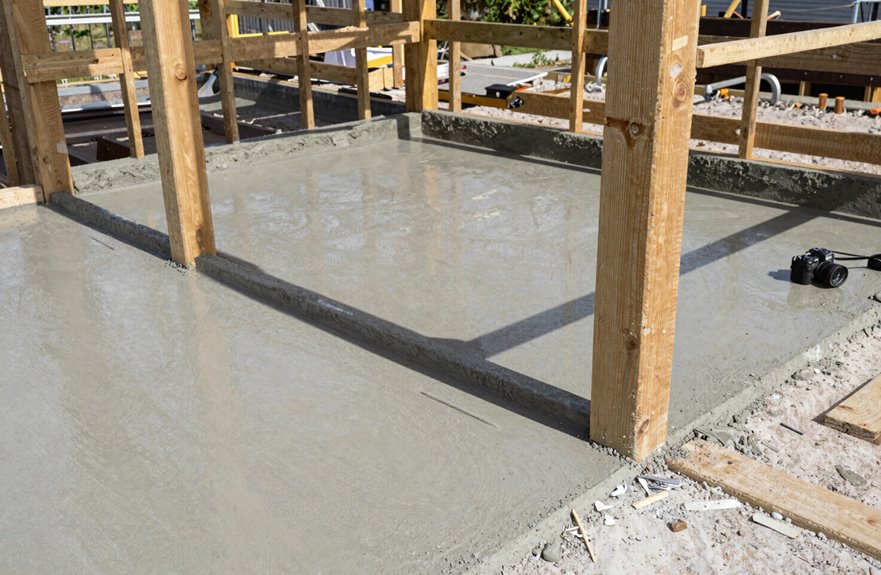
I mix concrete according to the bag instructions, pour it into each post hole, and let it sit undisturbed for at least 48 hours. I once rushed it at 24 hours and regretted every wobble later. It’s best to pour on a dry day, keep the mix thick like peanut butter so it holds the post upright, and ensure that each base stays level before the mix starts setting. Skimping on curing time can lead to structural issues with your pergola, so allowing sufficient time is essential to avoid needing to rebuild everything soon after.
Mixing and Pouring
Once you’ve got your posts braced up plumb, it’s time to anchor them securely. Grab your concrete and let’s get mixing—this is where your pergola becomes permanent.
- Mix your concrete according to the bag instructions (usually about 2-3 quarts per 80-pound bag), aiming for a thick oatmeal consistency.
- Shovel it in around each post, checking for plumb as you go since wet concrete can shift.
- Screed the top for leveling and mound it slightly so water drains away from your posts.
Don’t rush the curing process. Concrete needs time to reach full strength before you hang anything on it. Taking the time now will prevent issues later.
Curing Time Requirements
Curing Time Requirements
Patience is essential; it can determine whether your pergola lasts for decades or leans like a tired fence post. Here’s a straightforward look at curing times.
Concrete Curing Basics
After pouring, concrete curing requires restraint. Standard mixes set in 24–48 hours, but that merely indicates stiffness, not strength. The actual curing time for post installation safety is a minimum of 7 days for workable strength and up to 28 days for full capacity. I once rushed at day three, and my beam sagged within months.
Protect Your Work
In hot, dry weather, mist the concrete or cover it; cracks can form quickly when moisture escapes. Always check your bag instructions, as they contain important guidance.
The Golden Rule
Do not load posts or beams until the recommended curing period has passed. This ensures safety for everyone gathering beneath your pergola.
Install Beams and Secure With Galvanized Bolts
Why guess at placement when a simple mark saves a lot of trouble? I mark the bottom-of-beam height on every post first, then cut 2x3x12 braces to hold beams level while I work. Wobbly beams lead to crooked pergolas, so bracing is essential.
Here’s my process:
- Drill bolt holes through beams and posts using a 5/8 inch auger bit, keeping everything plumb.
- Secure temporarily with decking screws, checking alignment twice (measure once, curse twice, right?).
- Insert galvanized bolts with washers and nuts, then wrench everything tight for load-bearing strength.
Galvanized bolts resist rust and keep your structure solid for years. I tighten in stages, checking square as I go. Your beams and posts are now one strong unit, prepared for whatever comes next.
Add Rafters for Shade: Finish Cedar Now or Pine Later
Where do you want shade, and how much? I space my rafters 10 to 16 inches on center for consistent coverage, mounting them atop cross beams with angled screws or brackets. I learned that 45-degree angles hold heavy pieces steady while working alone.
Timing for finishing can trip people up. With cedar, you have flexibility—stain before installation or wait until after. I prefer pre-finishing cedar rafters because it’s cleaner. Pine is different; pressure-treated pine needs to dry out, so I wait 2 to 3 months after installation before sealing. Rushing this process traps moisture, which can cause warping.
Match your material choice to your timeline. Cedar allows for convenience, while pine requires patience. Check against your SketchUp render or rough sketch to ensure the shade pattern fits your space.