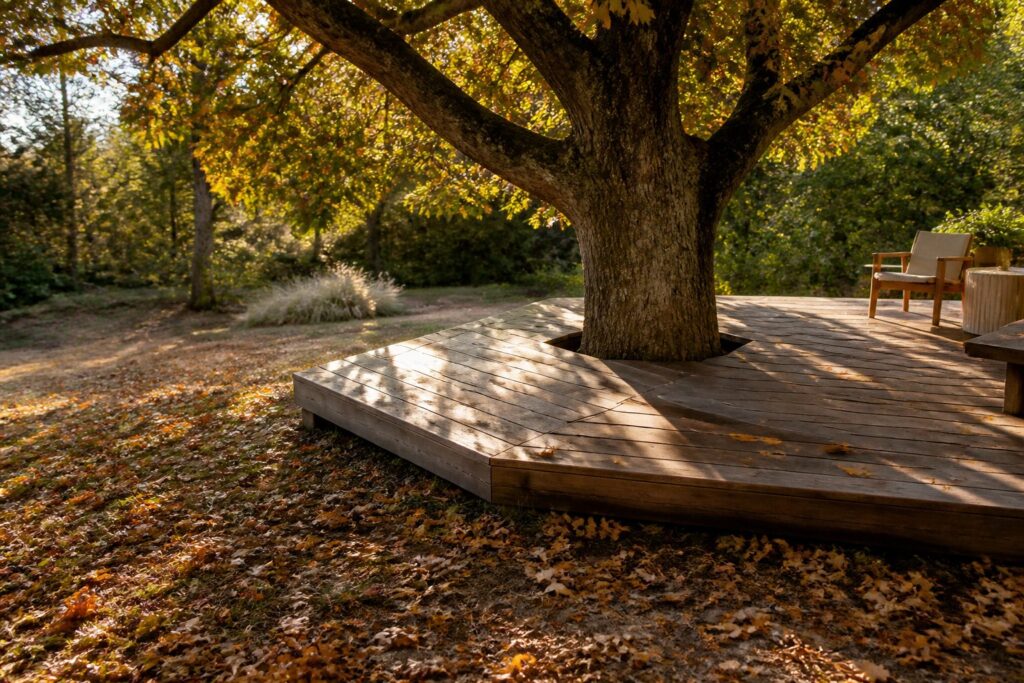
A deck under a tree is a freestanding or ledger-mounted platform built around an existing trunk while keeping the root system intact.
Most trees die from compaction and drainage changes, not from the boards above them, so the construction method matters more than the decking choice.
I use composite boards for the surface, but the real decision is whether to float on blocks, elevate with an air gap, or hand-fit a ground-level cutout, because a pier driven through feeder roots can starve a mature oak just as surely as girdling its trunk with a too-tight framing gap.
Tree Health and Root System Check
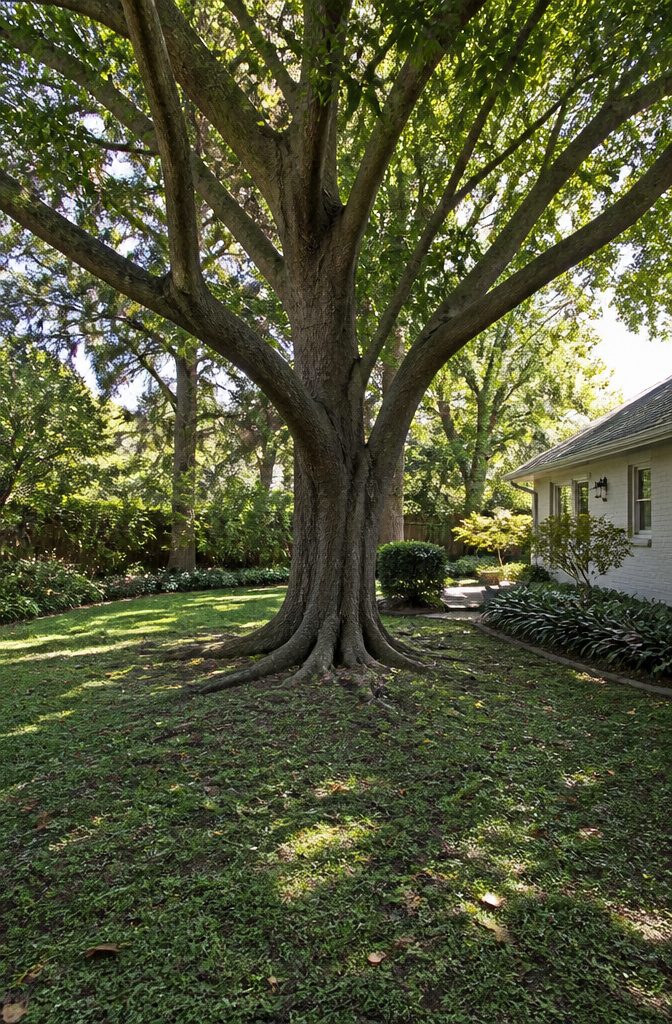
Before you draw a single joist, the tree itself has to pass inspection. I look for disease, decay, or structural weakness that would make construction unsafe for either the deck or the tree.
A hollow trunk, dead branches, or fungal conks at the base are signals to stop and call an arborist; building around a failing tree risks both the structure and anyone standing on it.
Roots typically extend to the drip line, 20–40 feet or more, and the most active zone sits even farther out, about 1.5 times the canopy radius.
This matters because your footing placement is not about trunk clearance alone. A pier driven through feeder roots just a foot or two below the surface can starve the tree, while heavy loads compact the soil and suffocate what remains.
I keep footings outside that critical zone unless an air-spade excavation proves I can work between structural roots without cutting them.
Shallow-rooted species like pines and willows demand more caution than deep-rooted oaks or maples, but no tree tolerates girdling or drainage that pools at the base.
Plan the deck to shed water away from the root zone; wet soil rots roots faster than almost any cut.

Versatile Applications: These foundation blocks are ideal for various projects, including decks, sheds, pathways, raised walkways, and other outdoor structures. Designed for easy installation, these pier pads offer solid footing for different building projects, providing robust deck support without the need for digging. This makes them a reliable solution for any home improvement or construction project requiring stable foundation blocks.

Durable and Strong Handi Block: Crafted for maximum strength, this Round Floating Deck Blocks ensures your structures remain secure and resilient, withstanding the test of time and harsh outdoor conditions.
Site Plan and Permits
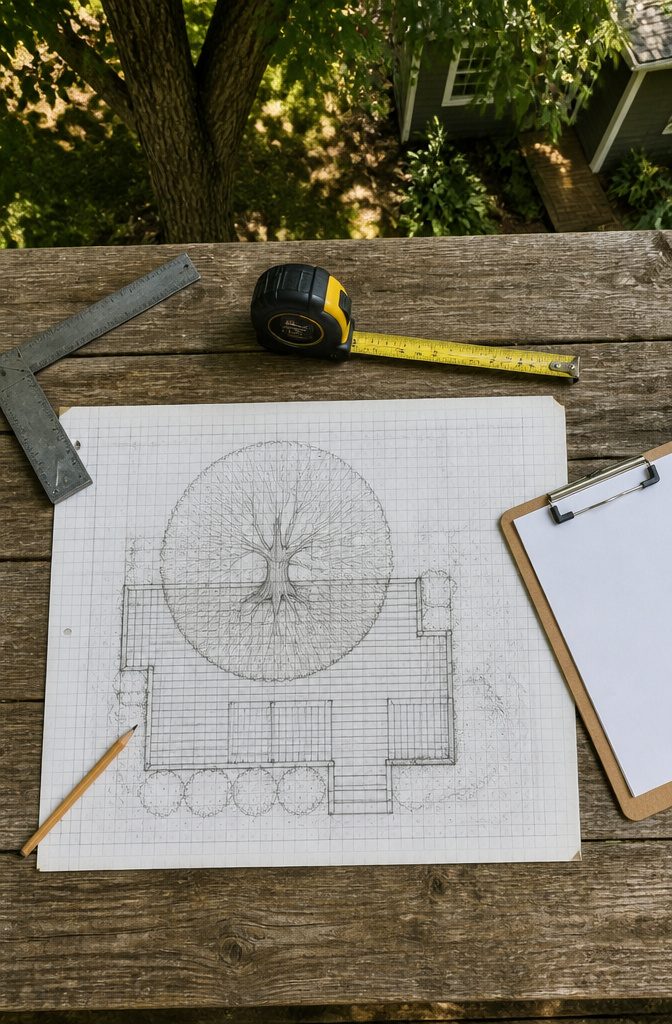
A scale drawing keeps the deck honest before the first board leaves the truck.
I start with graph paper or a free drafting app, marking the house wall, the tree trunk, and the drip line, then sketch the joist layout so I can count footings and beam lengths while I’m still inside.
Most municipalities want setbacks from property lines, load calculations for the live weight of furniture and people, and a site inspection before you dig the first footing hole.
The inspector checks depth and soil bearing; skip this step and you risk pouring concrete the code would have rejected.
Concrete footings land about every 8 feet on a standard residential deck, though your span and beam size shift that number.
I take the drawing to the building department early, because tree decks trigger extra questions: some jurisdictions treat the root zone as protected space, especially if you’re working near an oak or other slow-growing species, and they may want an arborist letter alongside the structural plans.
Codes vary by city and by whether the deck is freestanding or ledger-mounted, so the permit fee is less important than the conversation that comes with it.
Ask whether they require caisson holes or standard footings, and whether the pre-dig inspection happens before or after the rebar goes in. The answer changes your Saturday schedule by hours or by weeks.
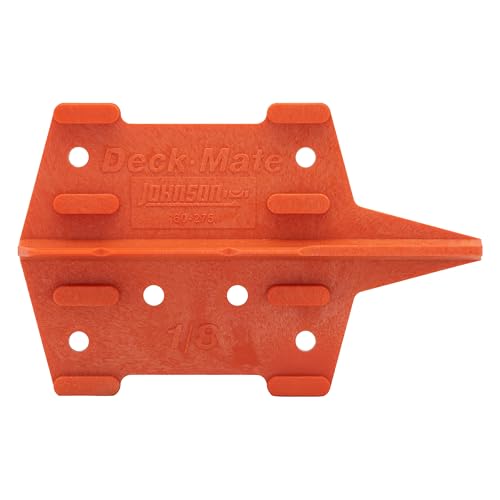
QUALITY CONSTRUCTION: The decking tool features a high-impact body that promises to withstand the test of time. The compact tool can survive the toughest outdoor situations...
Decking Material Options
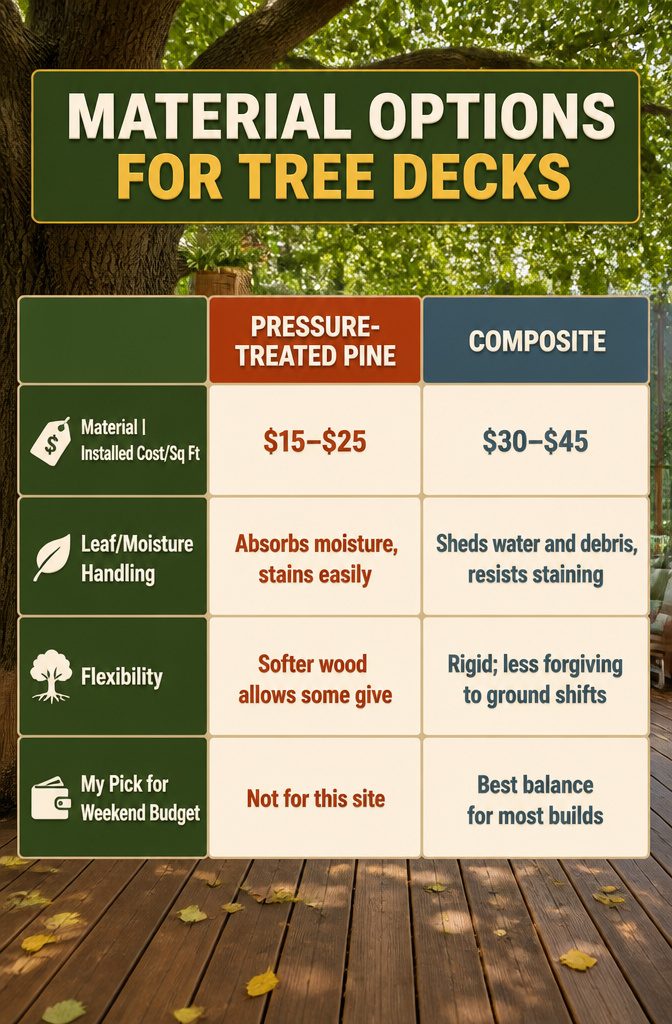
The material you choose for a deck under a tree matters more than usual because leaf litter and trapped moisture never stop coming.
Pressure-treated pine runs cheapest at roughly $15–$25 per square foot installed, but it stains, warps, and needs resealing every couple of years where branches drip sap and autumn leaves mat against the boards.
Composite decking, usually $30–$45 per square foot, sheds both moisture and organic debris without absorbing stains, though it can heat up in direct sun and feels less forgiving underfoot if the tree shifts slightly over time.
Rot-resistant hardwoods like ipe or cumaru land at $40–$60 per square foot and handle moisture beautifully, yet the upfront cost pushes most weekend builds past what I would spend on a first project.
| Material | Installed Cost/Sq Ft | Leaf/Moisture Handling | Flexibility for Tree Movement | My Pick for Weekend Budget |
|---|---|---|---|---|
| Pressure-treated pine | $15–$25 | Absorbs moisture, stains easily, needs annual maintenance | Softer wood allows some give | Not for this site |
| Composite | $30–$45 | Sheds water and debris, resists staining | Rigid; less forgiving to ground shifts | Best balance for most builds |
| Rot-resistant hardwood | $40–$60 | Excellent natural resistance | Dense and stable, but costly | Skip unless budget exceeds $12,500 |
For a real weekend build with real tools and a real budget, I would go composite every time.
The total deck cost range runs $4,300–$12,500 with an average around $8,200, and composite keeps you toward the lower middle of that range while cutting the maintenance that turns a tree-shaded deck into a yearly chore.
You pay more upfront for composite, but you skip sanding and staining later, which under a maple or oak that drops leaves eight months a year is a trade I will take.


Prevents Unrestricted Root Growth: Our Tree Root Barrier, measuring 25 feet long x 24 inches deep x 60mil thick, effectively restricts root expansion, safeguarding driveways and walkways from lifting.

For Trees and Shrubs - For planting and transplanting trees and shrubs into planting soil
Site Prep and Footings

- Drive temporary barriers around the tree base before anything else. Snow fencing or scrap lumber works fine; keeping equipment, foot traffic, and material piles out of the root zone while you work is what matters.
- Dig footings 24 inches deep and 24 inches wide, but keep them outside the critical root area near the trunk. Shallow roots sit only a foot or two below the surface and handle most of the tree’s nutrient uptake, so placing heavy support too close does real damage.
- Drop steel rebar into each hole for extra structural support, then fill with concrete mixed to a peanut butter-like consistency. Let it cure at least 24 hours before loading any weight on it.
- If you want a floating design instead, skip the poured footings entirely and set concrete blocks on grade. It saves digging and keeps root disturbance to an absolute minimum.

Serrated Blade with Inverted V Cutting Tip: Designed with aggressive ripsaw-style teeth and a sharpened V-shaped tip that helps cut through roots, compact soil, and dense ground. Ideal for digging, planting, and root removal in garden beds or landscaping areas.

Serrated Digging Shovel for Tough Soil: Engineered to help reduce strain on hands and wrists during demanding gardening tasks. The serrated blade design improves cutting power when digging through compact soil, roots, and dense ground.

SIZE & WEIGHT - The drain spade root saw spade shovel measures 7.8x2.3x45.3 inches(LxWxH) and weighs 4.8 lbs.
Ledger Board Installation

The ledger board is where your deck meets the house, and half-inch wedge or carriage bolts spaced every 12 inches, offset diagonally, are what keep that connection from failing under load.
Drill through the ledger with a half-inch bit, then through the rim joist or concrete sub-wall behind it. Never anchor into siding or brick facade alone; it will pull free.
Flashing belongs behind the ledger, not just above it.
Slip metal flashing under the house wrap and over the top of the ledger so water runs out, not in. Skip this and you are routing rainfall into the wall cavity you just drilled full of holes.
Lag screws are an alternative to through-bolts, though I tend toward bolts when the deck is carrying significant load. The inspector will look here first, so the spacing and diameter need to match code.
For decks built around trees, I sometimes prefer a freestanding design and skip the ledger entirely. Tree roots make footing placement unpredictable, and a freestanding frame lets you adjust the perimeter without being locked to the house line.
The extra footings add labor, but you avoid tearing open a wall for a connection that may sit awkwardly against root-dictated post locations.
If the tree is the reason for the deck, the freestanding approach keeps the tree in charge of the layout, not the house.

Enhanced Root Systems: Tree Saver's mycorrhizal fungi establish a secondary root system, significantly improving your plant’s ability to extract water and essential minerals. This is crucial for the rapid establishment and long-term survival of newly transplanted trees and shrubs.
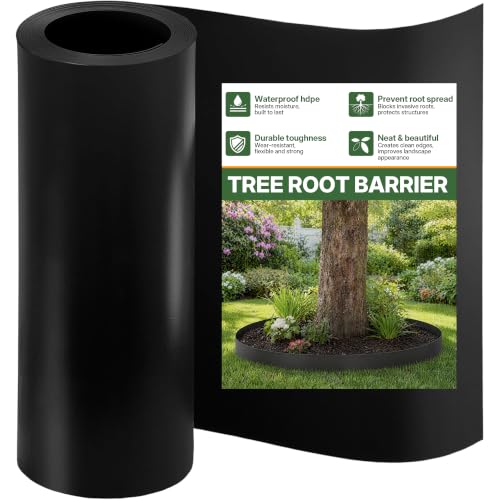
Prevents Unrestricted Root Growth: Our Tree Root Barrier, measuring 15 feet long x 18 inches deep x 60mil thick, effectively restricts root expansion, safeguarding driveways and walkways from lifting.

✅ **Stop Root Damage in Its Tracks** Engineered to block invasive tree roots from cracking driveways, sidewalks, and foundations. Safeguard your property’s value with proactive protection.
Framing Around the Tree
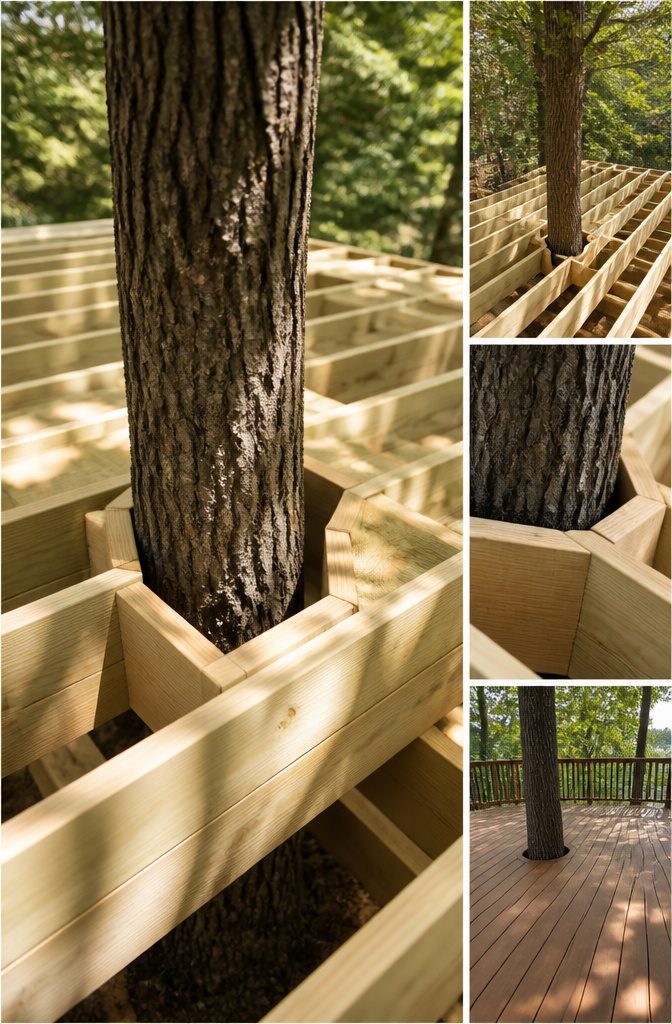
Joists at 16 inches on center give the deck the stiffness it needs, but the layout has to bend where the tree stands.
I mark a cutout or raise that section, leaving a 5-inch minimum gap around the trunk on every side.
That gap is not negotiable; a hardwood can add an inch or two of diameter each year, and a joist bearing against bark turns into a slow chokehold.
Irregular trunks complicate the framing.
A live oak with spreading flare or a maple with buttress roots does not fit a neat square, so I scribe the opening to the actual shape and let the decking run past in a gentle arc rather than forcing a circle.
Boxing the tree in on all sides is what I would skip. It looks tidy in a rendering, but it traps moisture, blocks air, and turns one bad season into rot or fungal stress.
An open cutout, 4 to 8 feet across depending on the tree and the deck, keeps the trunk in direct light and rain and gives the roots the breathing room they need.
If the tree sits where a cutout will not work, I would raise the deck 12 to 24 inches and use slatted decking near the base to let water and oxygen through.
It is less protection than an open ring, but it beats sealing the ground flat.

Durable and Strong Handi Block: Crafted for maximum strength, this Round Floating Deck Blocks ensures your structures remain secure and resilient, withstanding the test of...
Laying the Decking Boards

Boards run to the tree cutout the same way they run to any edge, but the gap matters more here. I cut each board to stop 3/8 inch shy of the bark so summer growth and winter swelling both have room.
Mitering those short returns against the trunk gives a cleaner line than a blunt butt joint, though a square notch works fine if the tree’s profile is irregular enough to make miters look fussy.
Fasteners stay out of the root zone by keeping them in the joist bays that frame the cutout, not the boards closest to the trunk.
I use hidden clips on the field and face-screw only where the board ends at the tree, spacing the whole deck at 1/4 inch for drainage.
Composite boards need that gap more than cedar does, and either way debris packs tight against a trunk if water sits.
I prefinish every board before it goes down, especially the ones wrapping the tree.
Stain on all six sides, then install. Touch-up after cutting is inevitable, but the face and edges that matter most are already sealed, and I’m not crawling under branches with a brush to catch what I missed.
Railings, Access Hatch, and Finishing

Railings on a deck under a tree follow the same code height and spacing as any other deck, typically 36 inches for the rail and 4 inches maximum between balusters.
I frame them with 4×4 posts and span with 2×4 rails, then fill the run with balusters in whatever material matches the decking.
The spacing rule is the one that matters; inspectors measure it, and a kid can test it with a fist.
The detail I would not skip is the access hatch near the trunk.
I cut a removable panel into the decking, sized wide enough to kneel through, with a simple lift-out frame or a few screws I can back out with a driver.
Through that opening I reach the mulch, check the root flare for rot or insect damage, and clear leaves before they pack down and hold moisture against the bark.
Without it, the gap between deck and tree becomes a blind spot you avoid until something is already wrong.
Drainage under the deck needs to stay open; I make sure the hatch sits where water does not pool.
For finish, I coat the decking and the hatch itself with the same product so the panel does not telegraph as a patch.
After the first season I pull the hatch and look at three things: whether the mulch has compressed and needs topping, whether the bark shows staining from standing water, and whether the framing around the tree has shifted.
That first check tells me if the gap I left was enough, or if the tree is already moving the deck in ways I need to address before the next growth year.
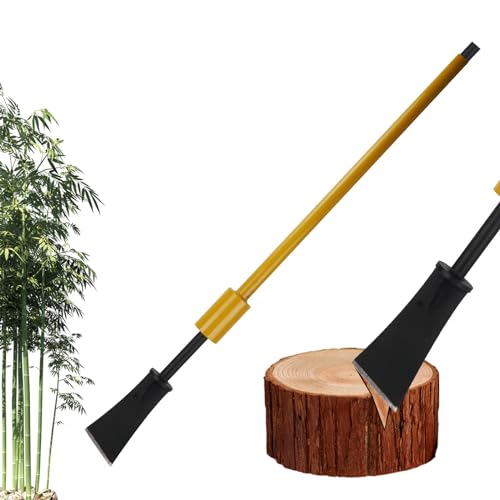
Hammer Impact Design Tree Root Removal Tool: Innovative sliding hammer mechanism allows for powerful and efficient root cutting tool, tree stump remover, shovel, digging bar, root cutting spade, root cutting shovel, tree root cutter, root cutter tool, smashing through tough roots with ease.
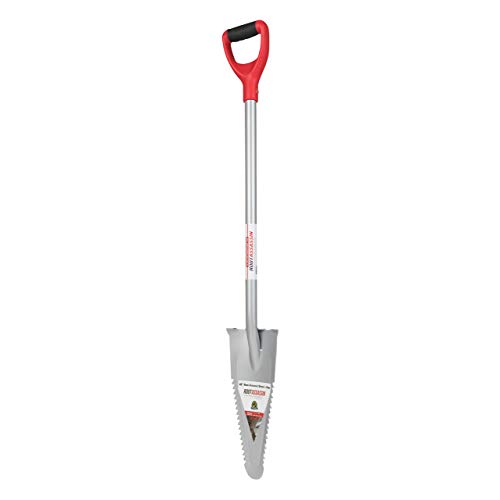
The Root Assassin serrated shovel can help you accomplish various gardening tasks faster than other conventional gardening tools; The enhanced shovel shape and curved tip with serrated edges are perfect for slaying roots and weeds

SIZE & WEIGHT - The drain spade shovel measures 7x2x44 inches(LxWxH) and weighs 4.4lbs
Floating, Elevated, or Cutout Design
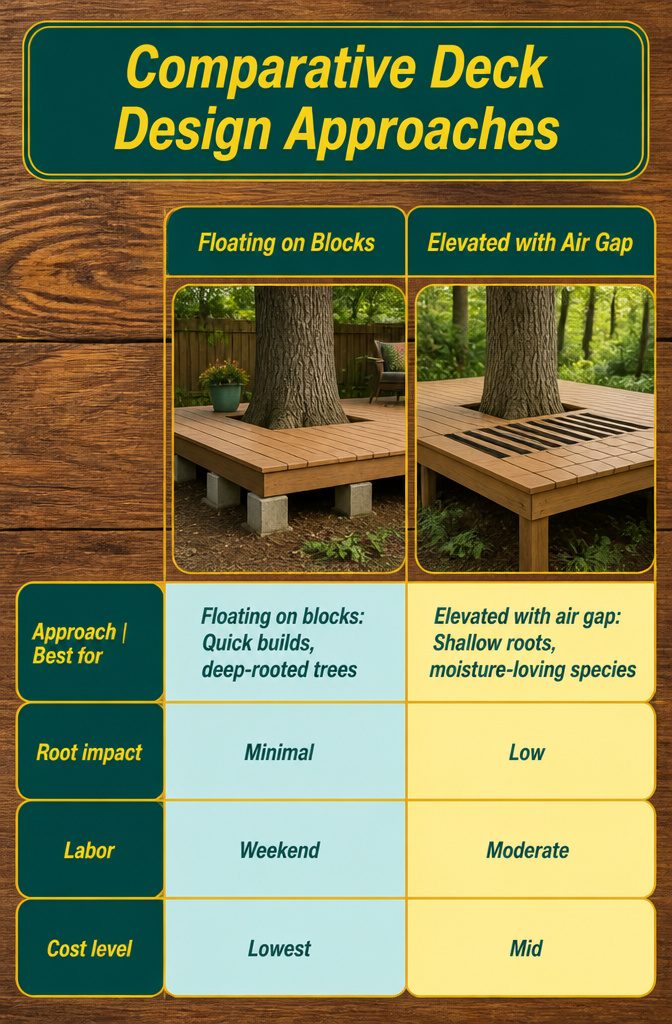
A floating deck on concrete blocks wins for speed and root safety, since you are not pouring footings that shear through roots.
You are building 12 to 24 inches above grade whether you need the elevation or not, and the frame shifts slightly with frost.
I would use this for a weekend build under a mature oak or maple where the roots spread wide and deep.
An elevated design, also raised 12 to 24 inches, is the middle path. The air gap lets water and oxygen reach the soil, and you can add slatted decking or grating near the trunk to improve flow.
It costs more than blocks and takes longer, but it protects shallow-rooted species like pine or spruce that suffocate under anything solid. Birch and ash need this generosity too; their roots bruise easily and rot when compacted.
A ground-level cutout frames the trunk directly and looks the most finished. You build a box around the trunk to carry the joist load, leave open space for future growth, and keep footings back at an arborist-calculated distance.
The labor jumps because you are hand-fitting around live wood, and one wrong cut is permanent. I would only attempt this if the tree is the reason I am building the deck in the first place.
| Approach | Best for | Root impact | Labor | Cost level |
|---|---|---|---|---|
| Floating on blocks | Quick builds, deep-rooted trees | Minimal | Weekend | Lowest |
| Elevated with air gap | Shallow roots, moisture-loving species | Low | Moderate | Mid |
| Ground-level cutout | Tree as focal point, long-term plan | Lowest if planned | Highest | Highest |
No design should touch the trunk itself.
Trees move and grow; anything bolted warps, cracks, or wounds the bark. A freestanding frame, whatever its height, is the only option I would consider.

50-feet Length x 30-inch Depth x 2 mm Thickness Protects sidewalks, roads, driveways, septic systems, and more from costly tree root damage. Standard Duty 80 Mil thickness is...
Root Protection During Construction

The root zone starts at the trunk and extends at least to the drip line, often farther.
During construction, plywood fencing or lumber barriers at that perimeter keep equipment, foot traffic, and supply piles from compacting the soil. Compaction squeezes out the air pockets roots need, and the damage does not show for months or years.
- Run equipment paths outside the fenced area entirely. Even a single pass with a loaded wheelbarrow compresses topsoil where most feeder roots live, just a foot or two down.
- Never stage lumber, stone, or concrete on root zones. The weight alone compacts soil; spilled mortar or paint alters chemistry slowly. I keep materials on the driveway or a tarped patch well beyond the drip line, even if it means more carrying.
- If the site needs grading, backfill with the original soil mix and let it settle naturally. Tamping it restores compaction you just paid to avoid.
- Design drainage so water reaches roots but does not pool. A deck that traps runoff against the trunk suffocates those same shallow roots and invites rot. Slope the surrounding grade away, or add a gravel channel that carries excess past the root zone before it seeps in.
Maintenance for Decks Around Trees
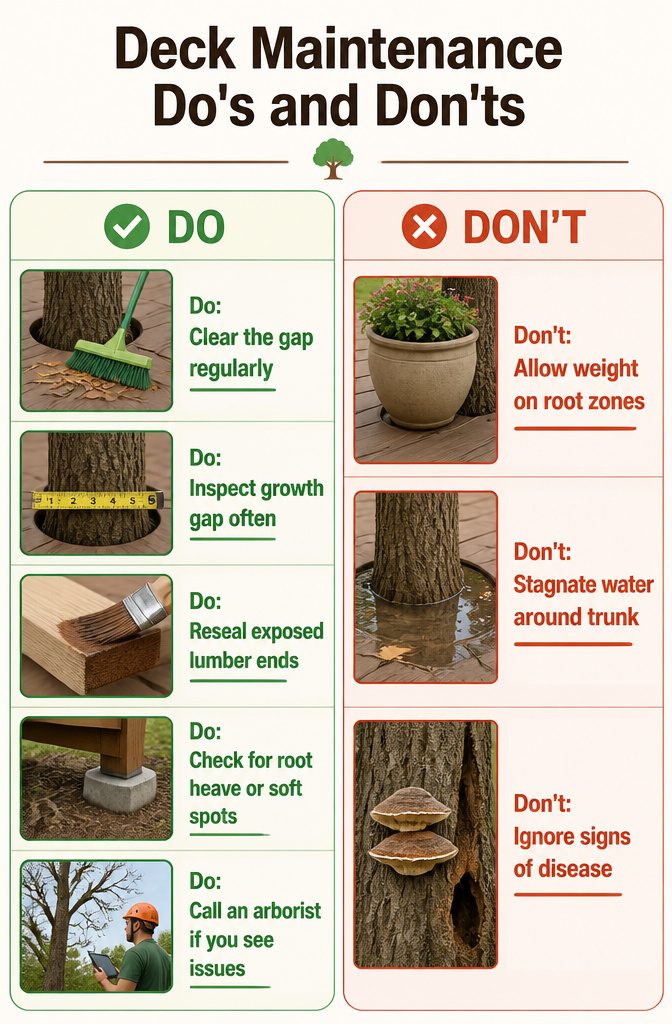
Annual maintenance on a deck under a tree runs different from an open yard. I would start each spring with five specific checks.
- Clear the gap. Leaves, fruit, and bark collect around the trunk opening and hold moisture against both the wood and the bark. I sweep this out quarterly, not just in fall.
- Check the growth gap the builder left. A 5-inch space can shrink faster than expected on a younger tree adding an inch or two of trunk diameter each year. If the opening is closing, the deck is girdling the tree and needs immediate correction.
- Inspect cut ends of framing lumber. The tree opening creates more exposed end grain than a standard deck. I reseal any that look gray or splintered before water works inward.
- Look for root heave or soft spots near footings. Sunken piers too close to the trunk can compress roots; raised areas may mean a root is lifting from below.
- Call an arborist if you see dead branches, fungal growth, or a sudden lean. Deck builders plan the structure; they do not diagnose disease. Build with the contractor, but treat the tree with a specialist.
Multi-Level and Challenging Sites
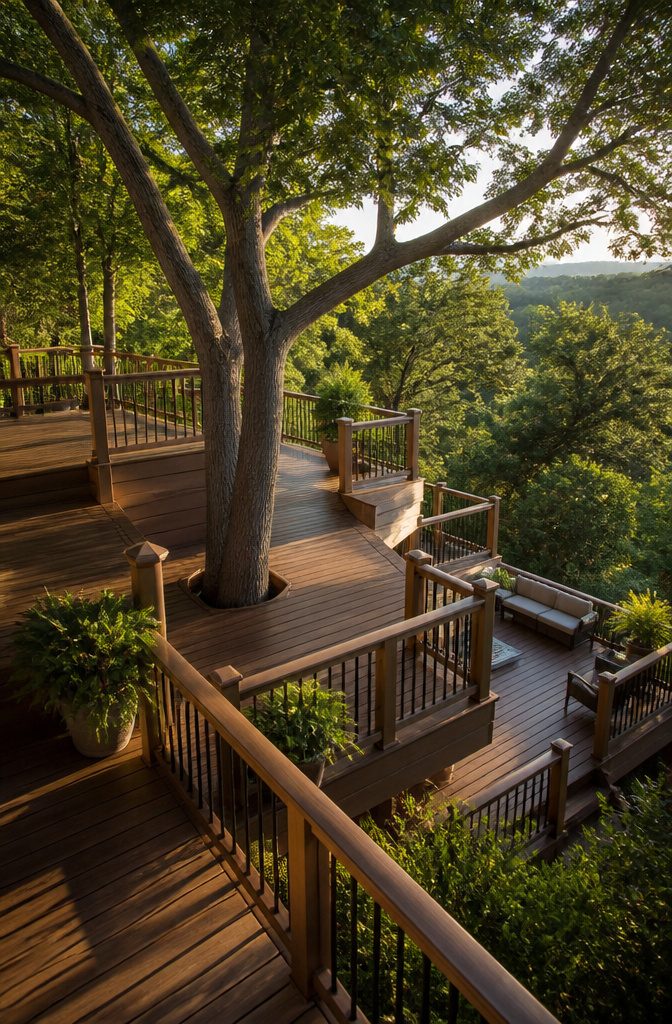
A multi-level design earns its keep when your yard slopes or when several trees cluster close together.
The primary deck can step down or around the trunk, routing foot traffic away from the most compressed root zones while the level change itself becomes the visual interest.
I would only build this if the grade genuinely demands it. On flat ground with one tree, a simple platform with a 4 to 8 foot cutout around the trunk is smarter, cheaper, and faster to frame.
When you do need levels, the framing gets fussy.
Shorter joists run parallel to the rim joists, extra bracing ties the interrupted structure together, and every joint needs a hanger. The labor adds up, and so does the hardware.
If your budget is tight and your weekend is short, the cutout wins. It still gives the tree direct sun and rain, prevents soil compaction, and turns the trunk into a built-in focal point without the engineering headache.
I have seen homeowners try to split the difference with a pretend level change, a single step that serves no grade.
Skip that. It costs almost as much as real tiers and gives back nothing in function.
Frequently Asked Questions
How do you build a deck under a tree?
Start by checking the tree’s health with an arborist, then plan a layout that keeps footings outside the critical root zone, which extends well past the drip line.
Use a scale drawing to place footings 24 inches deep but away from surface feeder roots, frame joists 16 inches on center, and leave a 5-inch minimum gap around the trunk.
Choose a floating, elevated, or cutout design based on how sensitive the tree’s root system is, and install an access hatch for maintenance.
What materials are best for a deck under a tree?
Composite decking at $30–$45 per square foot offers the best balance for most builds because it sheds moisture and leaf debris without staining.
Pressure-treated pine costs less at $15–$25 but absorbs moisture and needs annual resealing. Rot-resistant hardwoods like ipe run $40–$60 and handle wet conditions beautifully, though the upfront cost is steep for a first project.
What permits do I need to build a deck under a tree?
You need standard building permits with load calculations and setback compliance, but tree decks often trigger extra requirements.
Some jurisdictions treat the root zone as protected space and want an arborist letter alongside structural plans. Ask your building department specifically about caisson holes versus standard footings, and whether the pre-dig inspection happens before or after rebar placement.
How do you protect tree roots during deck construction?
Fence off the root zone at least to the drip line with plywood or lumber barriers to keep equipment and foot traffic out.
Never stage materials on root zones, run wheelbarrow paths outside the perimeter, and backfill with original soil without tamping if you must grade.
The feeder roots sit only a foot or two down, so even one pass with heavy loads compacts the air pockets they need.