I’ve encountered this issue more times than I care to admit, and it’s almost always due to one of six culprits: clogged air filter, stale fuel, fouled spark plug, blocked spark arrestor, cracked fuel lines, or a bad ignition coil. Start simple: pop off the air filter cover, hold the element to light, and replace it if you can’t see through it. Drain any fuel older than 30 days, swap in fresh 50:1 mix with stabilizer, and scrub your spark arrestor screen with a wire brush while the muffler is apart. Check your spark plug gap at 0.025 inches. If it still bogs down after 30 seconds of running, crack the fuel cap; if performance improves, you likely have a blocked vent. Most of these fixes cost under $15 and take about an hour, but there’s a deeper diagnostic flow below if you need to keep troubleshooting.
Fix Power Loss From a Clogged Air Filter
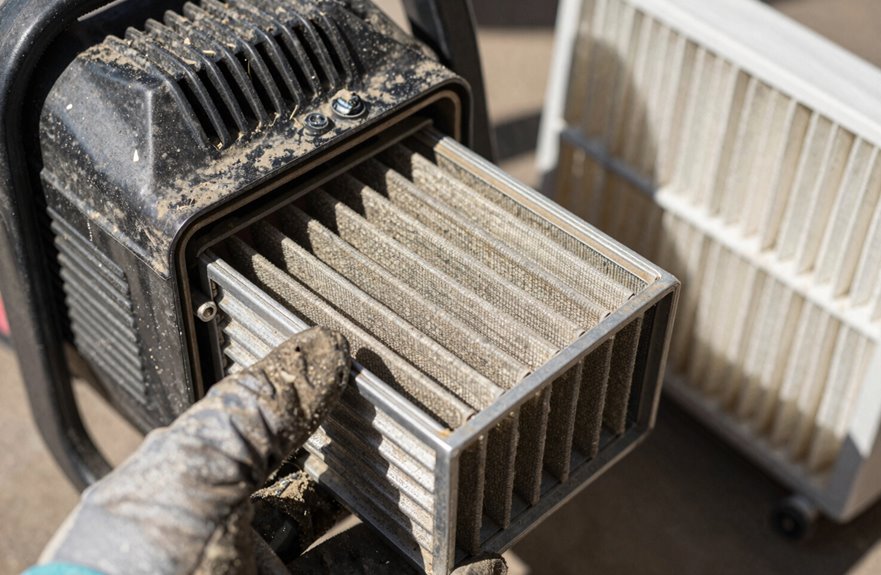
A clogged air filter is a significant cause of power loss in your gas leaf blower. This issue can often be resolved with a simple five-dollar fix.
When your air filter becomes dirty, it restricts airflow to the carburetor, causing the engine to run rich and sluggish. You may notice reduced RPMs, weakened blowing force, or visible debris on the filter element.
Checking Your Air Filter
- Remove the cover (usually held by one or two screws).
- Pull out the element and hold it to the light.
- Replace it if it is torn, oil-soaked, or not transparent.
Foam filters should be washed with soapy water, dried completely, and then re-oiled. Paper filters should be discarded. I inspect mine every season because proper maintenance is essential for optimal performance in your leaf blower.
Replace Old Fuel and Clean the Fuel System
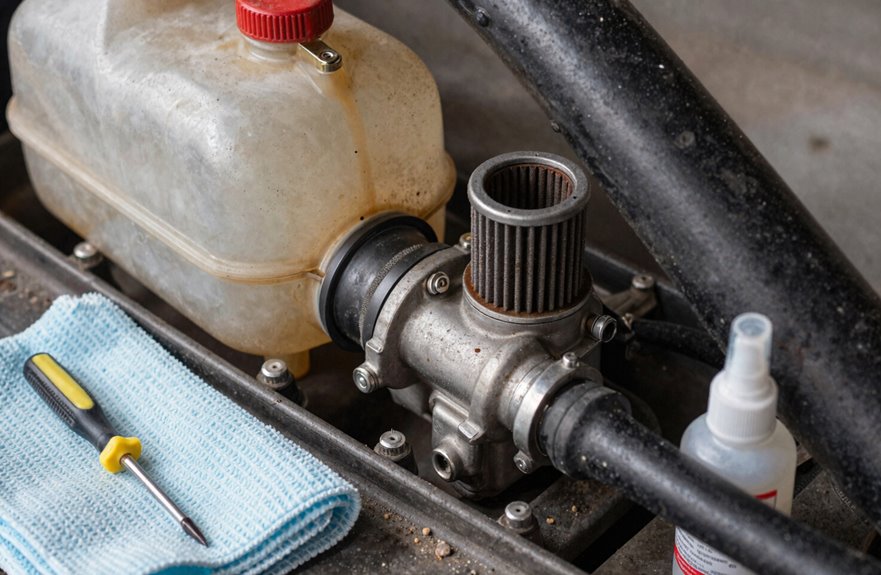
I learned the hard way that old fuel is my blower’s worst enemy, and I suspect you have the same sticky mess I once ignored. Stale gas leaves varnish that clogs everything, including the filter, lines, and carb jets. Ethanol blends absorb moisture, leading to rust in your system from the inside. Let’s go through how to identify these fuel problems and clean the entire system effectively, because fresh mixed fuel with stabilizer is always better than a repair bill.
Stale Fuel Problems
Fuel deteriorates faster than expected. After just 30 days, it begins to form varnish that clogs narrow passages in your carburetor. Ethanol blends exacerbate the issue; they absorb moisture, which can rust metal parts and gum up fuel lines throughout the system.
Warning Signs I Watch For:
- Dirty or clogged fuel filter (fuel can’t flow freely)
- Restricted fuel lines (visible swelling or cracking)
- Clogged carburetor jets (causing that signature sputter)
What Actually Works
I drain every drop of old fuel first—no shortcuts. Then I replace it with fresh 2-cycle mix and add stabilizer if I’m storing it for more than a few weeks. This prevents issues from arising, making future repairs unnecessary.
Fuel System Cleaning
Stale fuel might have been your culprit, but sometimes deeper issues arise. Old fuel sitting for more than a month turns into varnish that clogs the entire fuel system, and ethanol blends can worsen this by pulling in moisture. I learned this the hard way; I skipped the stabilizer once and faced the consequences later.
Here’s how to clean things out properly:
- Drain every drop of old fuel, then replace the gunked-up fuel filter with a fresh one.
- Remove the carburetor and spray cleaner through the tiny jets until they flow clear (I use a bread tie wire for stubborn bits).
- Mix fresh 2-cycle fuel with fuel stabilizer, run it through, and you’re back in business.
Make sure to use stabilizer next time to avoid similar issues.
Test and Replace a Fouled Spark Plug
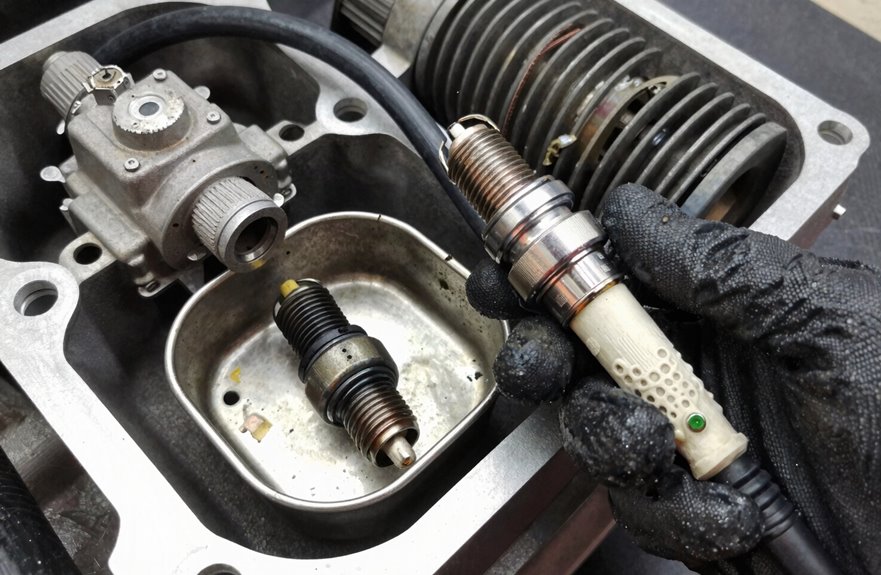
Why does your leaf blower suddenly feel like it’s running on half its cylinders? You might find yourself dealing with a machine that coughs and sputters when you need it most. Often, a fouled spark plug is the culprit.
Check Your Ignition Source
That small spark plug generates the ignition your engine needs. When it’s fouled with carbon or oil, the spark weakens, causing your blower to stumble. Remove it and inspect the electrode—black buildup, cracks, or worn metal indicate problems.
A fouled spark plug weakens ignition, making your blower stumble—inspect for black buildup, cracks, or worn metal to catch problems early.
Test and Replace
- Check the gap with a spark plug gauge (usually 0.025 inches for most blowers).
- If deposits are heavy, don’t waste time cleaning; grab a replacement.
- Install a new plug annually; it’s a cost-effective measure against engine issues.
This simple five-minute fix can save you from battling a weak engine all afternoon.
Clean a Blocked Spark Arrestor Screen
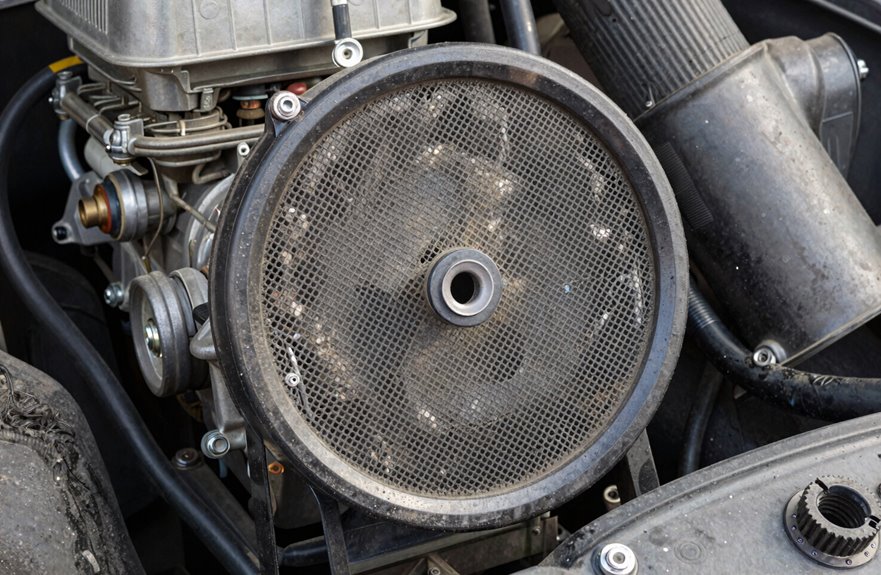
I’ve learned that a clogged spark arrestor screen can choke your blower’s power without warning. Here’s what I watch for and how I fix it. You’ll notice bogging under load, excessive heat, or a rough idle that clears when you partially cover the exhaust. Once I confirm it, I pull the screen, scrub it clean with a wire brush, and fire it up to feel the return of full throttle.
Symptoms of Blockage
How can you tell if your spark arrestor screen is causing your blower’s sluggish performance? I’ve experienced power loss when the solution was right in front of me. When your spark arrestor becomes clogged, exhaust cannot escape properly, leading your engine to struggle with its own fumes. During my last inspection, I noticed the following indicators:
- Sudden bogging down at full throttle, as if the engine hits a wall.
- Overheating, making the muffler too hot to touch after just 10 minutes.
- Stalling under load, especially when working through a pile of wet leaves.
That carbon buildup isn’t just annoying; it restricts your machine’s performance. Ignoring these signs can lead to more significant issues later on.
Cleaning Procedure Steps
Where do you start when your spark arrestor screen needs cleaning?
Finding and Removing the Screen
First, locate the spark arrestor inside the muffler; it’s the mesh screen guarding the exhaust port. Remove the screws or clamps holding it in place—be cautious not to force anything, as it can bend—and gently pull the muffler screen free.
The Actual Cleaning
Next, grab a wire brush and scrub both sides until the soot breaks loose. Check every pore; blocked holes can choke exhaust flow, which affects the carburetor’s air/fuel balance and may lean out the fuel mixture.
Before You Button Up
Inspect for tears or warping and replace it if damaged. Reinstall tightly, ensuring the exhaust path is clear before starting the engine.
Check for Cracked or Clogged Fuel Lines
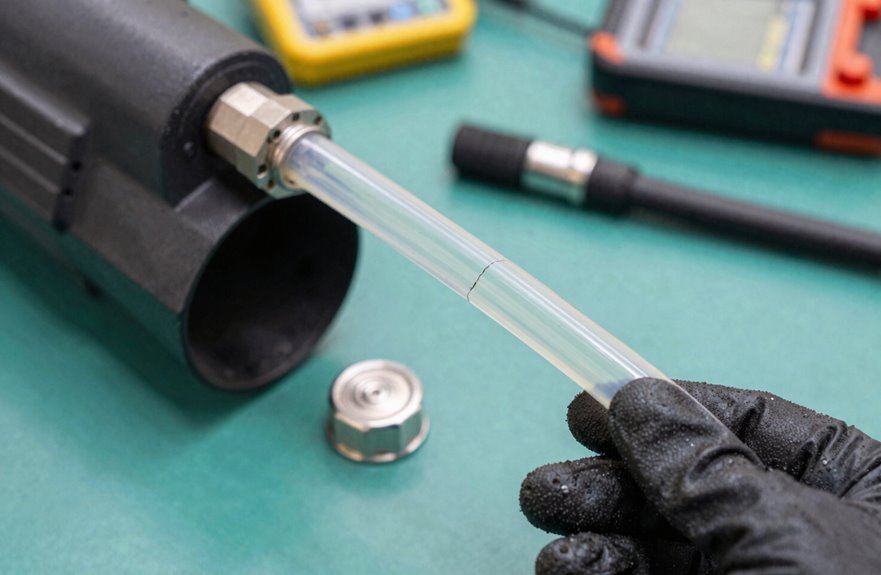
Why does my blower suddenly sound like it’s gasping for air when I hit the throttle? I’ve encountered this issue before, and it often points to cracked fuel lines allowing air leaks that lean out the mixture, causing power loss right when you need it most.
Here’s what I check:
- Inspect carefully. I run my fingers along every inch, feeling for hardening, soft spots, or cracks near clamps and fittings where heat and fuel quality issues tend to cause damage.
- Replace damaged sections. I cut same-spec fuel lines, ensuring I never mismatch the diameter, and double-check that clamps seal tightly.
- Flush and refill. I siphon old gas, install fresh lines, add stabilized fuel, and then test idle and full throttle.
Skipping this step can lead to needing a carb rebuild. I’ve been through it.
Clean or Replace a Gummed-Up Carburetor
When fuel sits too long in your blower, it doesn’t just go bad; it turns into a sticky, amber-colored varnish that clogs the tiny ports and jets inside your carburetor. I learned this the hard way after pulling on the starter cord maybe two hundred times before admitting defeat. We’ve all experienced the frustration of a machine that won’t cooperate while leaves pile up.
| Problem | Solution |
|---|---|
| Gummy residue in jets | Use carburetor cleaner and a small brush |
| Old fuel in tank | Drain and refill with fresh two-stroke mix |
| Cleaning doesn’t work | Rebuild or replace the carburetor |
Start by removing your carburetor and inspecting those tiny passages. Spray cleaner through every opening and watch for the varnish to dissolve; it’s satisfying to see the results. If cleaning fails, grab a repair kit matched to your model. Reassemble carefully, adjust the L and H screws according to your manual, and test at full throttle. You’ll notice the power return, making the effort worthwhile.
Check for a Clogged Fuel Cap Vent
Your fuel cap isn’t just a lid; it has a tiny vent that allows air to replace the fuel you’re using. When that vent clogs with dust, dried fuel, or spider webs, it can create a vacuum lock that starves your engine after about 30 seconds of operation. I learned this from experience after rebuilding a carburetor twice before realizing the cap was the issue. I now check it first when a blower starts and then dies. Here’s how to confirm if this is your problem.
Fuel Cap Function
How often do we chase complicated problems while the simplest fix sits right under our noses? I learned this with my gas leaf blower, staring at the engine when the real culprit was that small fuel cap vent.
Here’s what I figured out about keeping things running smoothly:
- Check your fuel cap vent regularly. Ethanol fuel leaves gunky residue that causes vent blockage faster than you’d think.
- Test for restriction. When the engine stumbles, crack the cap; if it roars back, you’ve identified your fuel flow problem.
- Replace, don’t just clean. A new OEM cap costs about twelve dollars and saves hours of frustration.
For prevention, I drain my tank each winter and inspect that vent hole with a flashlight. This ten-minute habit is far more efficient than rebuilding a carburetor in October.
Vent Blockage Symptoms
Although I had rebuilt carburetors and replaced spark plugs on my leaf blower, I kept missing the real problem that was hiding in plain sight. My fuel cap vent was clogged, and I didn’t even know to look.
A blocked vent traps air in your tank, creating vacuum pressure that chokes fuel delivery. Your blower starts fine, then dies after 30 seconds to 2 minutes, mimicking carburetor trouble. I would chase fuel system diagnosis rabbit holes when the fix was simpler.
The 10-Second Test
- Loosen your fuel cap slightly while running.
- If performance improves immediately, you’ve found your culprit.
Cleaning or Replacing
Plastic caps collect debris in vent holes. I clean mine with a thin wire or replace the cap entirely, restoring proper air-fuel flow. Always verify the fix before securing everything back in place.
Inspect the Muffler for Exhaust Blockages
Why does my blower suddenly sound like it’s struggling to breathe and then bog down under load? It’s usually due to exhaust blockages choking your engine. The muffler and spark arrestor collect carbon buildup and soot over time, affecting performance. Here’s how I tackle this:
- Pop off the muffler cover and pull out the spark arrestor screen; mine was cake-black after one season.
- Scrub that screen with a wire brush until you see mesh again. Replace it if torn or stubbornly clogged.
- Peek inside the muffler for soot buildup, tapping out debris or replacing the whole unit if it’s packed solid.
Ignoring this for months left my blower lacking power. Cleaning the exhaust flow restores engine performance.
Fix Engine Flooding or Overheating Issues
Pop the hood on power problems, and you’ll often find your engine’s either drowning in fuel or overheating. Both scenarios can quickly reduce your blower’s power.
Flooding occurs when you over-prime or use the choke too long. If you smell raw gas, check the spark plug; it will likely be soaked. Dry it off, crank the engine with the throttle wide open, and wait ten minutes for fuel to evaporate. Then, start fresh without the choke.
Flooding from over-priming or excessive choke use leaves your spark plug soaked in raw gas—dry it, crank wide open, wait ten minutes, then restart fresh.
Overheating can result from a lean fuel mixture or a dirty engine. I check my air filter monthly and replace it yearly, scrape carbon from the cooling fins, and verify my 50:1 fuel mix. A clogged exhaust system can trap heat, so I clear it immediately.
Both issues highlight the importance of prevention. Using fresh stabilized fuel, maintaining clean passages, and knowing when to stop cranking ensure smooth operation.
Replace a Faulty Ignition Coil
If flooding and overheating aren’t the culprits behind your blower’s power loss, a failing ignition coil can quietly sabotage performance without throwing obvious warning flags. When my ignition coil started to fail, the spark grew weak and intermittent, causing rough running that had me chasing my tail for weeks.
Here’s how I identified the issue:
- Test the spark — I clip a spark tester between the plug and boot, pull the cord, and watch for a strong blue arc; yellow or no spark indicates coil trouble.
- Inspect thoroughly — I check the wiring for cracks, the housing for heat damage, and grounding connections that interrupt current flow.
- Install the replacement — I remove the recoil housing, disconnect leads, and mount a new coil with proper resistance specs; then, I gap the plug and test at full throttle.
What to Do If Your Blower Still Loses Power
So you’ve swapped the ignition coil and your blower’s still wheezing like I did after running up my driveway with a full load of mulch. We still have some troubleshooting to do. Power loss usually hides in five spots we haven’t checked.
So you’ve swapped the ignition coil and your blower’s still wheezing like I did after running up my driveway with a full load of mulch.
Check your spark arrestor first. That screen in the muffler gets clogged with carbon. Remove it, scrub with a wire brush, or replace it entirely.
Inspect your air filter. If it’s black with dirt or oil-soaked, swap it out. Your engine can’t breathe through that mess.
Test your spark plug. Pull it, check the gap (usually 0.025 inches), and replace it if it’s fouled.
Verify fuel quality. Dump anything over 30 days old and mix fresh 2-cycle fuel at a ratio of 50:1.
Clean your carburetor. Spray the ports with cleaner and rebuild it if the gaskets are shot.