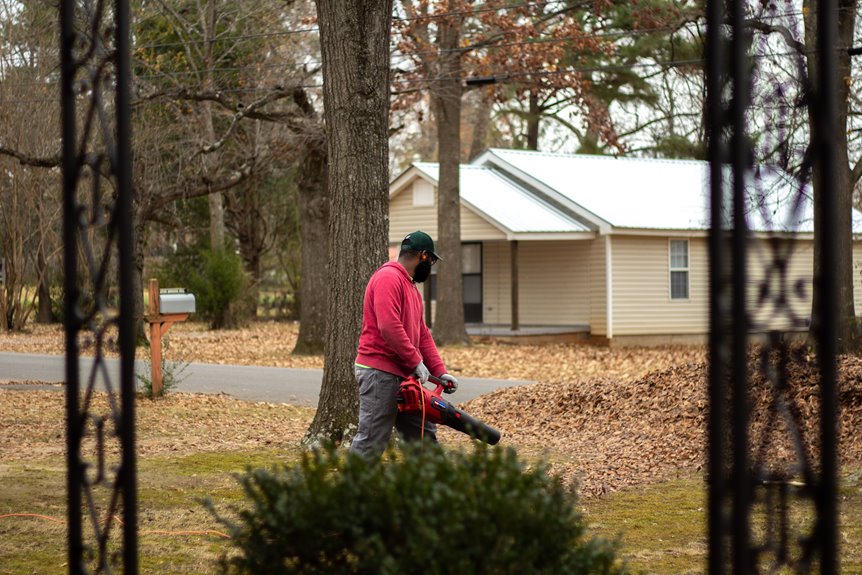
I start by picking dry, calm mornings; wet leaves drain my battery 40% faster, and wind under 5 mph prevents debris from scattering. I charge two batteries the night before, label one “READY,” and plan for 30 minutes of use per charge. Working in 10-by-10 foot sections, I blow from the farthest edge inward, angling the nozzle 15–20 degrees down and keeping it 6–8 inches off the ground. I maintain a lower noise level near fences, as around 65 dB is preferable to 90+. I text neighbors before I start and avoid blowing across property lines. Once I have piles, I switch to vacuum mode or use a 24-inch rake and a 6×8 tarp; each load fills 2–3 bags. I’ve learned much about the rhythm of leaf blowing through experience.
Choose Dry, Calm Weather for Easier Blowing
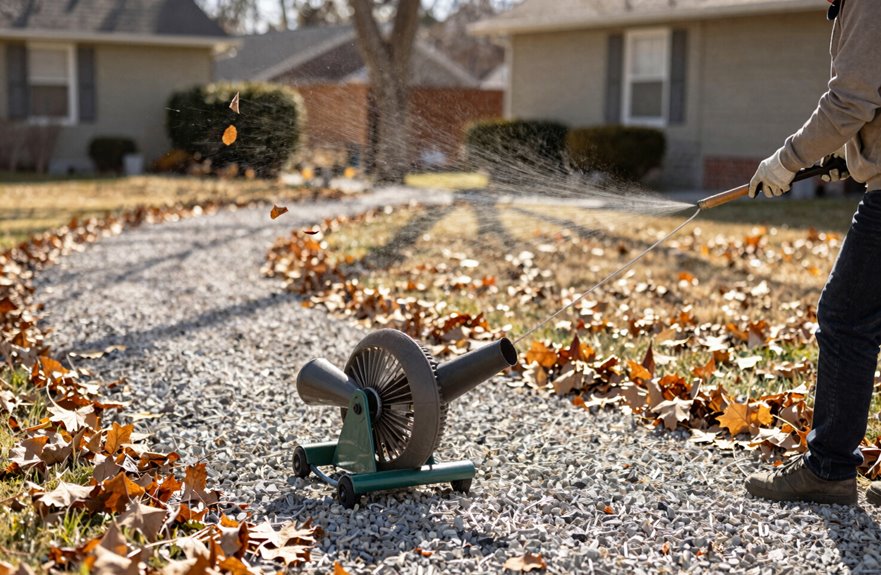
Why make leaf blowing harder than necessary? I’ve learned this lesson through experience.
Why make leaf blowing harder than necessary? I’ve learned this lesson through experience.
Pick Your Window Wisely
I always check the forecast. Dry weather transforms everything; leaves that would clump like wet newspaper scatter with much less effort. My battery lasts nearly 40% longer on crisp mornings compared to damp afternoons, and my shoulders appreciate it.
What “Calm” Actually Means
For me, that means under 5 mph winds. Anything stronger results in chasing debris in circles, which is frustrating. Stable, dry ground keeps my boots planted too, preventing embarrassing slides into flower beds.
My Simple Checklist
- Verify zero rain for 6+ hours
- Confirm wind below 5 mph
- Test leaf dryness—they should crackle, not bend
The right conditions cut my cleanup time by half. Working smarter makes a significant difference.
Check Wind Direction Before You Start
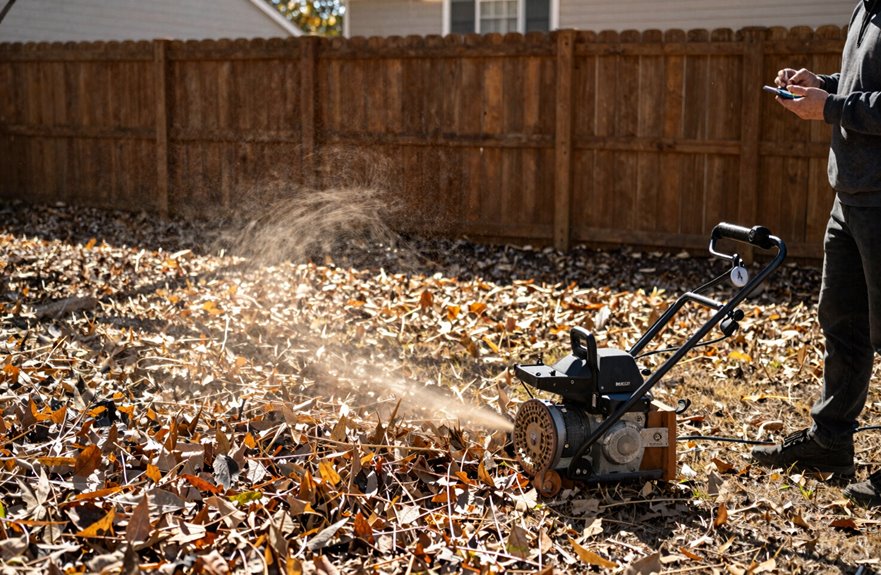
Before I pull the trigger, I take a moment to feel the air on my face and watch how loose leaves skitter across the ground. This tells me where the wind will carry debris, and I’ve learned that ignoring this step means chasing the same pile twice. Once I’ve got the wind figured out, I position myself so my blower’s stream works with that natural flow, pushing leaves in a steady line toward my tarp or collection bin instead of scattering them into my neighbor’s petunias. It’s a simple two-step process: observe, then redirect. Getting it right saves me about twenty minutes of frustrating rework on a typical Saturday morning.
Observing Air Patterns
Where should you begin when the leaves seem to scatter everywhere? I always check the wind direction first, as fighting nature can turn a thirty-minute job into an hour of frustration.
I’ve learned about reading air patterns:
| Wind Type | What I Do | Result |
|---|---|---|
| Steady breeze | Work with it, blowing leaves downwind | Clean, efficient clearing |
| Gusty conditions | Pause between gusts, adjust angle | Less scatter, more control |
| Shifting wind | Reassess every 10-15 minutes | Prevents re-drifting |
| Strong tailwind | Reposition to side angle | Reduced dust, better aim |
| Dead calm | Create my own airflow pattern | Predictable movement |
I angle my blower tips down at roughly 15-20 degrees, letting the wind carry leaves toward my tarp or pile. When the breeze shifts—and it always does—I pivot my path rather than stubbornly pushing through. Working smarter, not harder, is how we get it done together.
Redirecting Debris Stream
Once I’ve got a read on how the air is moving, I put that knowledge to work. I check wind direction before pulling the trigger, because I’ve learned the hard way that nothing stings like watching your neat pile scatter back across the lawn.
Here’s what keeps me in control:
- I angle slightly downwind, letting nature do the heavy lifting instead of fighting physics.
- I align my path with the breeze, saving fuel and reducing strain on my shoulders.
- I pause every 10-15 minutes to reassess, since wind shifts can sneak up on you.
When I work with wind direction instead of against it, I’m not just clearing leaves; I’m moving in sync with the rhythm every seasoned yard-tender knows. The neighbors notice, and that quiet nod of respect is a rewarding acknowledgment.
Charge Extra Batteries Before You Start
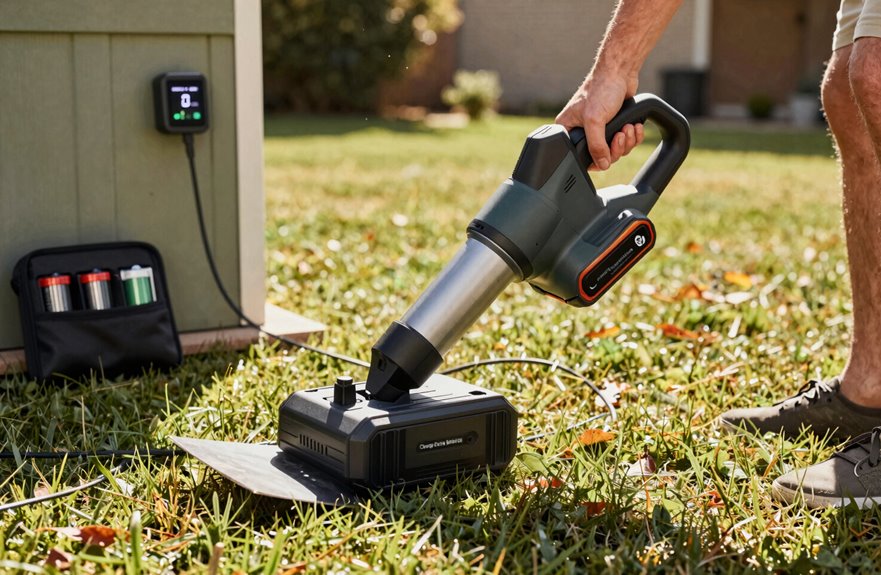
I charge my batteries the night before, every time. A dead battery mid-cleanup can disrupt your progress, and I’ve experienced standing in half-finished leaves.
My Charging Routine
- Pull both batteries from storage.
- Slot them into the charger until the green light is solid (usually 90 minutes for my 36-volt packs).
- Label the charged pair with a piece of tape, “READY,” to avoid grabbing the wrong one.
I keep one battery in the blower and one on the charger, rotating as I go. Dry, calm days extend my runtime, so I monitor conditions loosely. Store your charged batteries together; this will be beneficial when neighbors peek over the fence, curious about how you finished so quickly.
Plan for 30 Minutes Runtime Per Battery
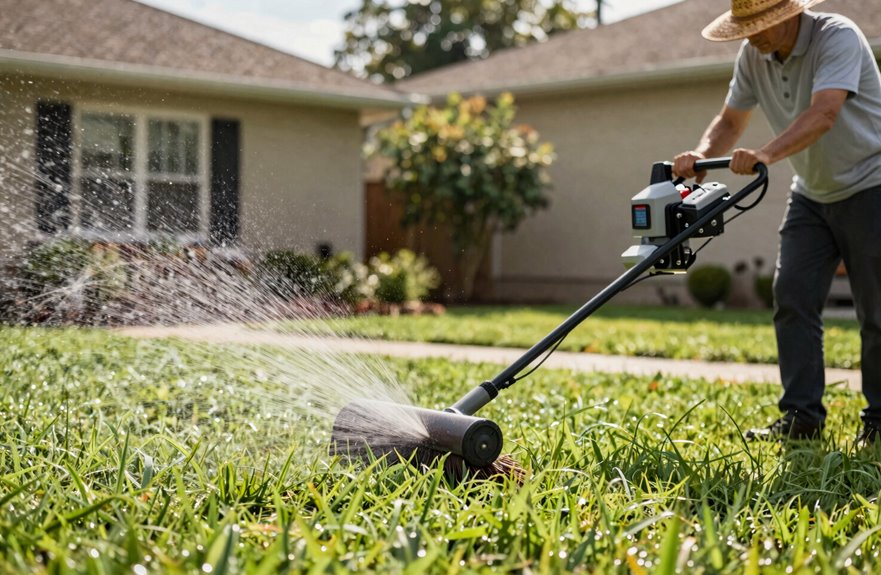
With batteries charged and labeled, you’re ready to face the real limitation: time. I’ve learned this the hard way, standing in a half-cleared yard with a dead battery and a pile of wet leaves in front of me. Each battery provides roughly 30 minutes at moderate speeds, which can feel limited when you’re dealing with stubborn oak leaves in damp corners.
Lessons from a half-cleared yard: dead batteries wait for no one, and wet leaves keep no schedule.
Here’s what 30 minutes actually feels like:
- The clock ticking louder than your blower’s hum, reminding you that daylight is slipping away.
- The moment when power drops mid-swipe, leaving you with unfinished work.
- The relief of popping in a fresh battery, knowing you planned ahead like the pros.
A quarter-acre requires two batteries at a minimum. I use 36-volt 7.5Ah packs for extra capacity, and I always carry spares. Uninterrupted work is crucial.
Blow Your Yard in Manageable Sections
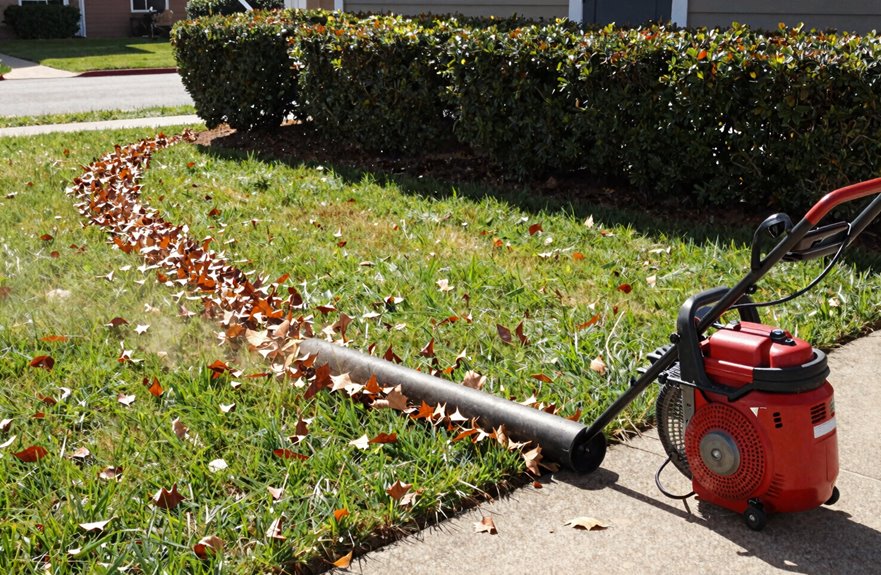
Why tackle the whole yard at once when you might end up exhausted and surrounded by scattered debris? I’ve learned this the hard way.
Divide and Conquer
I split my yard into 10-by-10 foot sections, about the size of a parking space. My blower handles each chunk without overheating, and I can easily keep track of where I’ve been.
Work Smart, Not Hard
- Start at the farthest edge, blowing inward toward a central pile.
- Use smooth, sweeping motions—think windshield wipers, not frantic scribbles.
- Keep leaves moving in one direction only; this will prevent unnecessary backtracking.
Near my flower beds, I drop the blower speed and angle upward. For gravel, I use an even gentler approach. This method allows you to finish faster with less backtracking, and your neighbors will appreciate the reduced noise.
Lay a Tarp to Catch Blown Leaves
Tired of chasing leaves across your yard only to find half of them blew right back where they started? I’ve been there too, and laying a tarpaulin down first changed everything for me. This simple trick transforms chaos into control.
Here’s why we’re making this our new ritual:
This trick transforms leaf cleanup from chaos into control—no wind battles, no scattered piles, just one satisfying sweep and you’re done.
- No more wrestling with wind that undoes your work in seconds.
- One giant pile instead of a scattered mess you’re too tired to finish.
- That satisfying moment when neighbors ask how you made it look so easy.
I spread my tarp across a good 10-by-10 foot section, weigh the corners with bricks, and blow everything onto that target. When the pile’s ready, I fold the tarpaulin over the leaves and drag it straight to my compost bin. No rakes, no bags, no second-guessing—just an efficient way to manage yard work.
Start at the Edge and Blow Inward
Once I’ve got my tarp pinned down and ready, I used to make the rookie mistake of just blasting away from wherever I stood. This would lead to chasing leaves I’d already cleared, making me feel foolish in front of the neighbors.
The Better Way
I start at the garden’s outer edge and work inward. My routine is as follows:
- Position myself at the property line, blower aimed toward the center.
- Use smooth, sweeping motions—think windshield wiper, not jackhammer.
- Keep the nozzle low, about 6 inches off the ground, angled slightly down.
This method traps everything on my turf instead of blowing it onto Mrs. Patterson’s pristine hostas. I work in sections, maybe 10-foot strips, pushing leaves toward that waiting tarp. This approach eliminates double work and awkward apologies. I end up with clean edges and a pile that stays put.
Adjust Blower Speed for Each Surface
How many times have I cratered my gravel driveway or sent mulch flying into the street before figuring this out? I learned that my leaf blower isn’t a one-speed tool, and neither is my approach.
Here’s what I have mastered:
- Hard surfaces demand restraint. I slow down on concrete and asphalt, keeping the throttle low enough to push leaves without scattering gravel or chipping edges. I learned that one the expensive way.
- Landscaping requires finesse. Around flower beds and shrubs, I reduce speed to keep mulch and decorative rock where it belongs, not in my neighbor’s yard.
- Control means proximity. I keep my leaf blower tip closer to the ground with a shallow angle, sweeping steadily forward for clean piles instead of chaotic swirls.
This rhythm protects my surfaces and keeps the process efficient.
Save Full Throttle for Open Lawns
I’ve learned through wasted battery life and scorched flower beds that full throttle isn’t your default; it’s a tool to use strategically, such as when I’m standing in the middle of an open lawn with 30 feet of clearance in every direction. Most of the time, you’re protecting two things: your yard’s delicate edges (mulch stays put, gravel doesn’t become shrapnel) and your machine’s power reserve, especially on cordless models where 20 minutes of maximum speed can drain 40% of your charge. Here’s how I balance aggression with restraint.
Battery Conservation Strategies
Why burn through your battery before you’ve even cleared the driveway? I learned this the hard way; nothing kills momentum like a dead blower mid-job. Battery conservation separates the pros from the frustrated.
Here’s what keeps me in the flow:
- I match speed to space. Full throttle works for open lawns, but I dial down for edges and gravel where power is wasted fighting resistance.
- I read the wind. Working with it, not against it, cuts effort and stretches every volt further than expected.
- I carry backup. One 36-volt, 7.5Ah battery gives roughly thirty minutes at moderate speeds, so I pack two for quarter-acre jobs; I learned that expense once.
A single high-velocity pass where possible and lower speeds where needed create a rhythm that keeps me clearing without needing to recharge.
Landscape Protection Tips
Where did I scatter my neighbor’s mulch into her begonias? Right against her foundation, where I cranked my blower to full throttle like a rookie. I have since learned that open lawns get the power, while everything else requires restraint.
Protect Your Landscape
- Reduce speed near gravel beds, garden edges, and delicate plantings; full throttle can blast mulch, topsoil, and decorative stone into areas that are difficult to retrieve.
- Keep the nozzle low, about 6-8 inches off the ground, with a shallow 10-degree angle. This technique directs leaves forward instead of launching them skyward.
- Work with the wind. Let nature assist in pushing leaves toward your collection zone.
- Divide your yard into manageable sections, blowing leaves into corner piles first, then consolidating them.
- Spread a tarp, blow leaves directly onto it, fold, and drag it to your compost bin. This method eliminates the need for multiple bag trips and helps contain debris.
Point Your Nozzle Down for Precision
The biggest mistake I made when I first started using a leaf blower was holding the nozzle straight out like a hairdryer, which sent leaves flying everywhere except where I wanted them. I learned that angling the nozzle down provides real control.
Here’s what changed everything for me:
- Angle matters: I keep the nozzle 6-8 inches off the ground, tilted forward and down, which pushes leaves along instead of launching them skyward.
- Proximity wins: Staying close to the surface (roughly 6 inches) prevents that frustrating dust cloud that used to settle right back on my clean areas.
- Short bursts beat marathon blowing: I throttle in 3-4 second pulses, repositioning constantly, rather than holding the trigger wide open and exhausting myself.
When I point the nozzle down properly, I direct the airflow parallel to the ground, sweeping leaves into clean, manageable piles without the chaos I used to create.
Clear Leaves From Fences and Foundations
I angle my blower downward with a shallow tilt of about 30 degrees when working along my foundation, which keeps my mulch in place while still pushing leaves outward. I learned to do this after blowing debris into my neighbor’s yard once. Around fences and walls, I reduce the speed to half-power or lower; otherwise, debris can shoot through the gaps, creating more work when leaves scatter behind the boards. I work from the outer edges toward the center of my yard, making deliberate passes that gather everything into piles instead of chasing individual leaves. Methodical approaches are more efficient than frantic ones.
Angle Blower Properly
Why do leaves seem to cling to fences and foundations as if they’re glued there? I’ve dealt with this frustration and found that proper leaf blower technique can make a significant difference.
Here’s what worked for me:
- Angle downward: I keep the nozzle tipped down at about 15 degrees, pushing leaves along the ground instead of scattering them into the air.
- Stay parallel: I run the airflow alongside fences, keeping the nozzle roughly 6 inches from the surface to prevent rebound.
- Sweep outward: I work from the structure toward open areas, using controlled passes that won’t blast mulch away.
I avoid high throttle near foundations, having learned that it can blow debris into crawl space vents. Short, steady movements protect your landscaping while effectively clearing the mess.
Control Air Speed
Control Air Speed
Getting the angle right is crucial, but cranking the throttle to max power creates chaos. When clearing leaves from fences and foundations, I maintain a moderate air speed; I’ve blasted mulch into next week before.
Finding the Sweet Spot
I point the blower downward, close to the ground, using a shallow 10–20 degree angle. This pushes leaves away from the structure instead of launching them into gutters. Near fences, I reduce the air speed to protect plants and prevent leaves from rebounding back at me.
The Motion That Works
I jog the blower tip side-to-side along the fence line, creating an even, continuous path. Working from the yard interior toward the edge, I direct everything into a central pile for easy collection. Controlled air speed leads to more effective results.
Work Methodically Around
The difference between a yard that looks tidy and one that looks trashed often comes down to how you handle the edges. I’ve learned this after blasting leaves straight into fence gaps for years. Now I work methodically, and it shows.
Here’s what keeps me in the neighborly good graces:
- Sweep slow and parallel. I keep my leaf blower parallel to fences, pushing leaves inward, not into gaps where they’ll rot and stink.
- Drop the speed near foundations. I’ve blown mulch into chaos before; now I lower RPMs to protect plantings and soil.
- Angle down, away from walls. Shallow blows dislodge leaves without creating dust clouds that make you cough for an hour.
I pause every few minutes to clear fence bases, then hit them directly. A leaf blower is far more effective when you’re patient, not aggressive.
Herd Leaves Into Central Piles
How do you turn a scattered yard into something manageable without chasing leaves in circles all afternoon? Herding leaves into central piles saves time and effort.
Blow leaves using a side-to-side motion at higher speed, sweeping from your outer garden edges inward. This creates defined pile edges and helps you avoid backtracking over cleared ground, which is a common mistake when starting out.
As your leaves converge, gradually increase blower distance to prevent scattering your hard work. A paced, consistent sweep maintains a steady flow into the growing mound.
Position your central pile near your compost bin or collection bags. This will make the final transfer quick and easy, saving you time and frustration.
Keep Your Leaf Blower Quiet for Neighbors
I learned the hard way that my old gas blower hit 95 decibels, which was loud enough to wake the retired couple next door. I switched to an electric model that stays closer to 65 dB at 50 feet. I always check my city’s quiet hours, typically from 8 AM to 8 PM on weekends, before I start. Timing is just as important as the tool itself; running your blower during mid-morning coffee or early evening dinner creates more tension than the noise. I will guide you through the specific steps I’ve developed to keep both my yard clean and my neighbors friendly, beginning with the two biggest factors you can control right now.
Noise Level Awareness
Why do we notice some leaf blowers more than others? It’s all about noise level awareness. I learned the hard way when my neighbor gave me that look.
Gas-powered blowers hit 90+ decibels at 50 feet, which is loud enough to wake sleeping babies and grumpy retirees. Electric and cordless models are much quieter, easier to start, and your neighborhood will thank you.
Here are some key practices to consider:
- I run lower speeds near buildings and fences; it still gets the job done without the roar bouncing everywhere.
- I check local quiet hour rules first; some places ban these entirely during certain times.
- I give neighbors a heads-up; sometimes I even use a tarp to cut down noise and flying debris.
Small moves can lead to better community relations.
Timing Considerations
The difference between a quiet morning and an angry phone call often comes down to when you pick up that blower. I learned this after buzzing my neighbor’s sleepy Saturday once too often.
What Actually Works
First, I check my town’s quiet hours; most places ban loud tools before 8 AM or after 8 PM. I’m not risking fines or friendships for leaves.
Second, I pick dry, calm days. Wet debris clogs everything up, and wind above 10 mph sends my pile skittering down the street.
My cordless leaf blower secret is mid-morning weekdays, using low throttle near fences and full power only in open spaces. My battery lasts longer, and neighbors remain friendly.
I also text before blowing near property lines. It takes thirty seconds and saves years of tension.
Don’t Blow Leaves Into Neighboring Yards
Leaf-blower etiquette can be a contentious issue in subdivisions across America, primarily due to boundary violations. I learned this during my first autumn in a duplex when I carelessly blew leaves into my neighbor’s yard.
Leaf-blower etiquette can be a contentious issue in subdivisions across America, primarily due to boundary violations.
To maintain good neighbor relations, I now follow three habits:
- Start from their side — I blow leaves from the neighbor’s yard toward my line, not away from it.
- Keep it 8–10 feet deep — I pull leaves well into my own space, creating a generous buffer.
- Check first — I knock before stepping onto their property; it’s a simple courtesy.
I also coordinate timing with my neighbors. Clear communication helps everyone manage the challenges of fall cleanup together.
Finish With Your Blower’s Vacuum or a Rake
Blowing leaves around is only half the battle. I learned that when I left a dusty trail of stems and crumbled bits all over my driveway one weekend. Here’s how I finish properly.
Switch to vacuum mode
Once I blow the leaves into piles, I attach the vacuum tube, which most models twist on in about 10 seconds. I work slowly—around 2 mph—sucking up stragglers. Wet leaves require 2-3 passes, or I reduce to half throttle to prevent clogs.
No vacuum? Grab a rake
I use a 24-inch plastic rake to corral leftovers onto a 6×8 foot tarp. One tarp-load fills 2-3 paper bags.
Clean up after
I always clear the intake screen and nozzle, which takes about 30 seconds; otherwise, the next vacuum session can become a tangled mess.