
I’ve fixed more leaf blowers than I care to admit. A leaf blower that runs fine for ten minutes and then dies usually indicates a few common issues: fuel starvation, airflow choking, or ignition failure due to heat. You can diagnose these problems in about thirty minutes with basic tools and a methodical approach.
Start by loosening your fuel cap a quarter turn after the engine cools. If it runs without dying, you likely have a blocked vent causing vacuum lock. Additionally, check the fuel freshness; gas older than three months can turn to varnish. The 50:1 or 40:1 mix ratio is also significant.
Clean your spark arrestor screen with a wire brush and replace that gray, debris-packed air filter. If the blower is still choking, remove the carburetor to clear any gummed jets. Test the spark with an inline tester when hot; a weak spark indicates a potential coil issue. If these steps do not resolve the problem, further investigation will be necessary.
Test the Fuel Cap Vent First
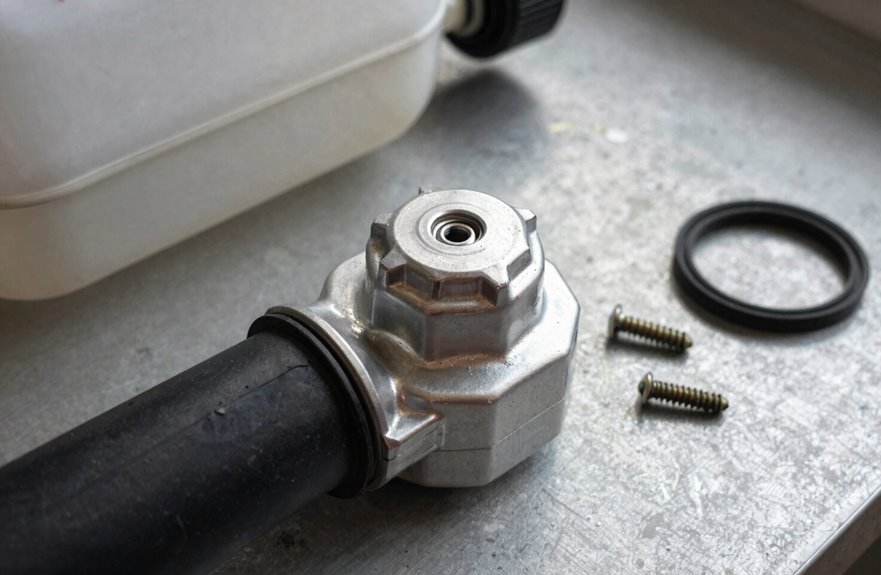
Why does your leaf blower quit running after ten minutes of good operation and then seem to lose its will to continue? If you’re in that situation, test the fuel cap vent first.
A leaf blower that mysteriously quits after ten minutes often suffers from a blocked fuel cap vent—test this simple fix first.
How to Check for Vent Restriction
- Let your blower cool completely for safety.
- Loosen the fuel cap slightly, about a quarter turn.
- Start the engine and run it for ten minutes.
If you can restart it after loosening the cap without the sputter-and-die routine, you’ve found the issue. A blocked vent creates a vacuum that restricts fuel flow, causing the leaf blower to stall when it heats up. Replace that cap with a model-specific one to resolve the problem.
Check for Fresh Fuel and Correct Oil Mix
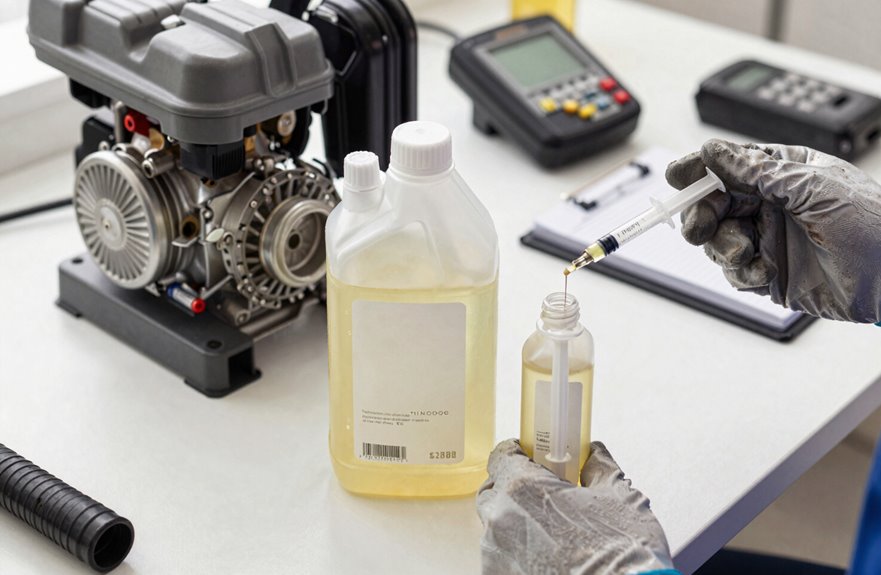
When did you last mix that fuel sitting in your garage? If it’s been over three months, you likely have stale fuel gumming up your system. Old gas turns to varnish, clogs your fuel filter, and causes that frustrating start-then-stall routine after ten minutes of running.
What I do now is:
Drain and Replace
- Empty the tank completely.
- Swap out the fuel filter; it’s cheap insurance.
- Mix fresh fuel at the correct gas-to-oil ratio, usually 50:1 or 40:1, but check your manual.
Prevent Future Headaches
- Add fuel stabilizer when storing.
- Use clean, labeled gasoline only.
- Inspect for water or sediment before pouring.
Your blower wants to run. Providing it with fresh fuel and the correct gas-to-oil mix ensures steady power without interruptions during your task.
Clean the Spark Arrestor Screen
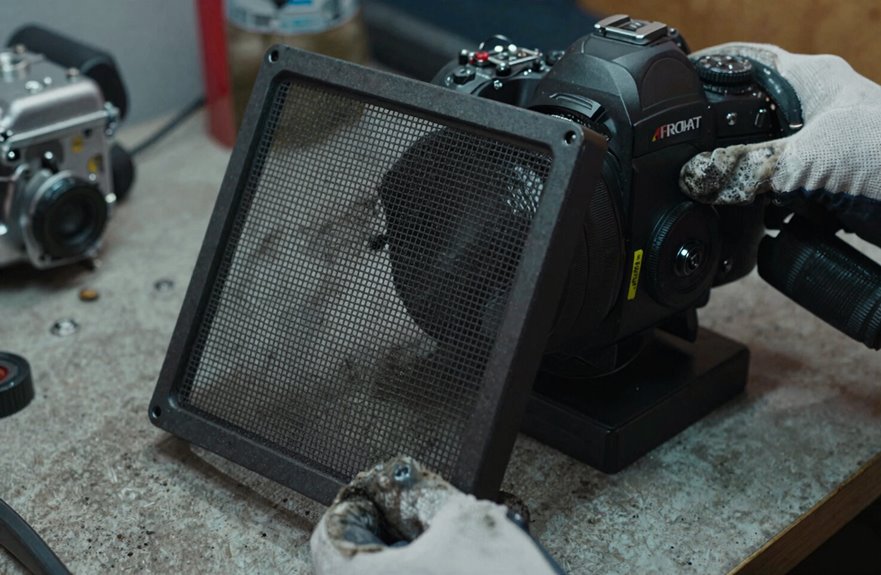
If fresh fuel hasn’t solved your problem, consider another issue.
Check Your Spark Arrestor
The screen inside your muffler might be restricting your engine. Carbon builds up quickly, and soon your blower struggles after just a few minutes.
A clogged spark arrestor reduces exhaust flow, creates backpressure, and can lead to overheating. Here’s how to clean it:
- Let the muffler cool completely; this step is important.
- Remove the spark arrestor screen, usually secured by a single screw.
- Scrub both sides with a wire brush until the mesh is visible.
If cleaning doesn’t improve the flow, replace the screen. They are inexpensive and can save you time and frustration.
Replace or Clean the Air Filter
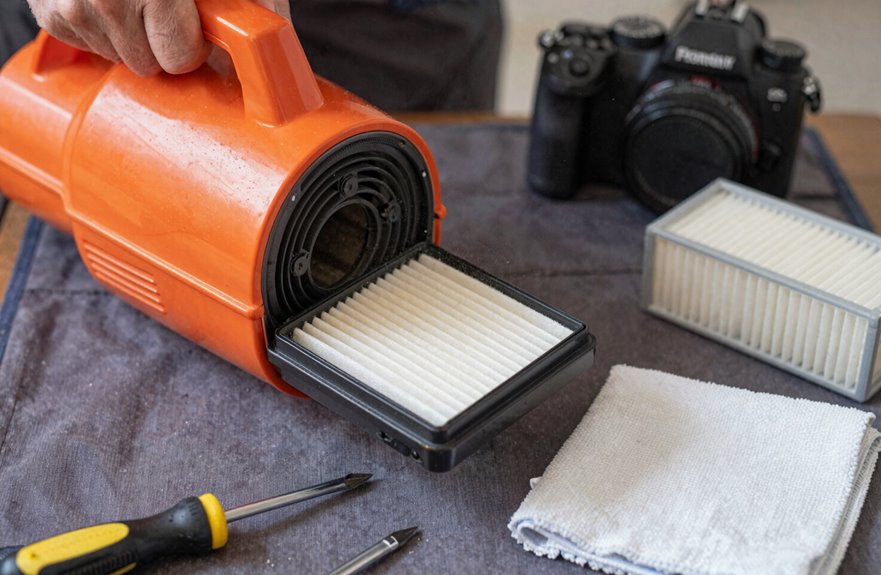
Where’s your air filter been lately? I neglected mine before, and my leaf blower paid the price, stalling after startup like clockwork. A clogged filter restricts airflow, leaning out the fuel mix until the engine gasps and dies.
Here’s what I learned about spotting trouble:
- Your blower starts strong, then fades after ten minutes, which indicates a clogged filter.
- The filter looks gray or packed with fine debris, rather than foamy white or clean paper.
- You’ve skipped annual maintenance, possibly for two seasons.
- The engine sounds increasingly desperate, revving high before it quits.
I brush foam filters gently, but most times I just replace them, usually yearly or every heavy season. Check your manual for the exact air filter part; using the wrong fit means poor filtration, and you will face the same issue again.
Inspect the Carburetor for Gummed Jets
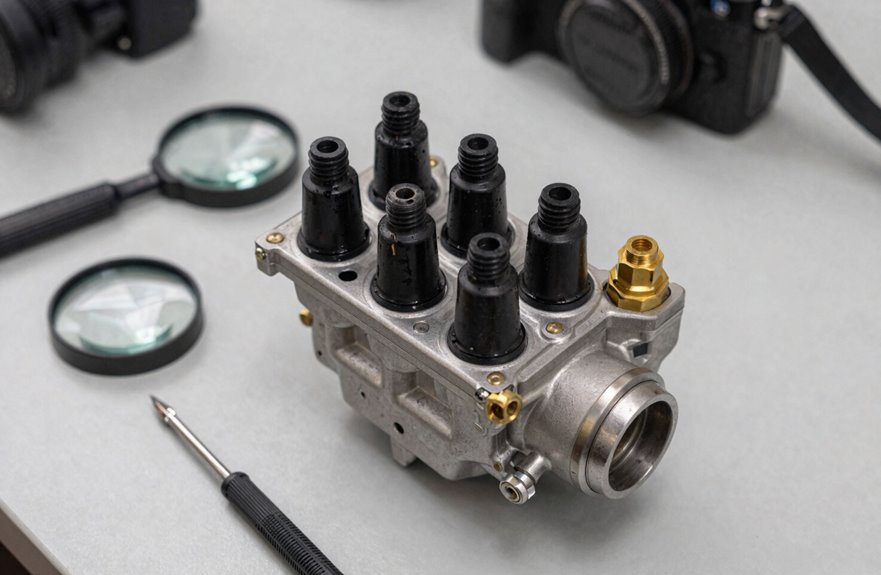
I’ve learned that a gummed jet is usually why my blower starts fine then dies after ten minutes. Old fuel leaves varnish that blocks the tiny passages. When I open the carburetor, I look for brown, sticky residue obstructing the jets, which starves the engine once heat builds up. Here’s how I clean mine properly and when I know it’s time to replace the whole unit.
Gummed Jet Symptoms
Here’s what you’ll notice:
- Your blower idles smoothly at first, then starts idle stalling as it warms up.
- The engine runs unevenly, surging and bogging as if it’s gasping for air.
- It consistently dies around the 10-minute mark, almost like clockwork.
- Fresh fuel doesn’t help; the problem returns immediately after restart.
These varnish deposits harden in tiny jet passages, disrupting the precise air-fuel mix your engine needs. Once symptoms appear, simple fixes are insufficient.
Carburetor Cleaning Steps
Those varnish symptoms indicate a problem, and I learned that simply spraying carb cleaner through the intake isn’t effective.
1. Remove the carburetor — disconnect the fuel line, unbolt it from the intake, and drain any remaining gas into a container.
2. Inspect for varnish — pop off the float bowl and look for that amber, sticky residue coating the jets and passages. If your jets look like they’ve been dipped in maple syrup, you’ve found your culprit.
3. Clean thoroughly — spray carburetor cleaner through every jet and passage, using a thin wire or compressed air to clear stubborn blockages. Missing even a tiny passage can lead to serious issues.
4. Reinstall carefully — use fresh gaskets, check for air leaks, and replace the fuel filter.
Test for Spark Drop-Off With an Inline Tester
Here’s what we need to do:
- Wire the spark tester in series between the coil and plug so electricity runs through it during cranking outage tests.
- Check cold first; fire up the blower and observe for bright, consistent jumps across the tester electrodes.
- Run until warm and continue watching; any flickering or dimming indicates that your coil is failing when hot.
- Compare both states; a weak spark only after ten minutes confirms ignition failure before disassembling anything else.
Check Fuel Lines and Filter for Hidden Blockages
If the spark tester showed steady, bright jumps even when hot, I’ve ruled out ignition trouble. Fuel starvation is my next suspect.
Inspect the Fuel Line and Filter
- Check the fuel line for cracks, hardening, or leaks. Damaged lines can collapse mid-run and kill fuel flow when everything warms up and softens.
- Replace the fuel filter if it’s clogged, discolored, or gummy with varnish. This is critical after spending time troubleshooting the issue.
- Look for kinks in the fuel line routing that tighten when the engine vibrates.
- Clean any blocked quick-connects between the tank and carburetor.
- Disconnect the fuel line at the carburetor, prime the system, and watch for a steady stream. Weak dribbles indicate a blockage.
Test Compression if Heat Kills the Engine
Here’s what failing compression looks like:
Failing compression reveals itself in predictable patterns: cold starts that die when warm, blue exhaust smoke, hard hot restarts, and fading power.
- Cold starts fine, then dies at 10 minutes when everything’s toasty.
- Blue smoke hazing out the exhaust (rings aren’t scraping clean).
- Hard restarts until the cylinder cools and contracts.
- Power drops off like you’re running on half throttle.
Run a compression test cold, then hot. Skipping the hot test can lead to missing the diagnosis completely. If you see numbers plummet when warm (for example, 120 psi to 80 psi), that’s a sign of engine wear. It’s time to rebuild that cylinder or consider a different option.
Still Dying? Try These Overlooked Causes
If your blower continues to quit after checking the basics, consider two lesser-known issues: intermittent spark failure (where the plug appears fine when cold but fails when hot) and a blocked fuel tank vent (which creates a vacuum that starves the engine after about ten minutes of running). Let’s explore both, starting with the spark.
Intermittent Spark Failure
Why does your leaf blower run smoothly for ten minutes, then sputter and die as if it has forgotten how to fire? This issue often points to an intermittent ignition problem that arises once the coil heats up. Here’s a checklist:
- Check spark first. I clip an inline tester between the plug and boot, then run the engine until it dies to confirm that spark disappears under heat.
- Test the ignition coil cold and hot. If spark vanishes after ten minutes but returns when cool, the magneto is likely failing.
- Inspect the plug. A fouled plug with a drifting gap (0.025 inches) can stop working when heated.
- Wiggle the kill switch. Loose wiring or a corroded kill switch connection may intermittently interrupt the spark, so I tug those wires gently.
Fuel Tank Vent
I’ve dealt with spark problems more times than I can count, only to discover the real issue was a fuel tank that couldn’t breathe. When the fuel tank vent gets clogged, it creates a vacuum that restricts fuel flow and causes the engine to stall after about ten minutes of running. I learned this the hard way.
Testing for Vent Problems
When the engine dies, I loosen the vent cap slightly. If it roars back to life, I’ve identified the airflow restriction. Over time, dirt, dust, and dried fuel can gum up that tiny vent passage.
The Fix
- Clean the fuel tank vent with compressed air or solvent.
- Replace a damaged vent cap entirely; they’re inexpensive.
- Check it seasonally and ensure it is seated properly.
Prevent stalling by allowing your tank to breathe, so you can complete the job without issues.
Store Your Blower Right to Prevent Stalls
How you store your blower is just as important as how you use it. I learned that after dealing with a gummed-up carburetor one Saturday morning. Poor storage leads to stalls.
Here’s how we keep our blowers ready:
- Drain the fuel (or fill it—check your manual) so varnish doesn’t choke your lines during storage.
- Pour in stabilizer if you’re keeping fuel; it slows gum formation and protects seals.
- Find a cool, dry spot away from sun and temperature swings that degrade rubber.
- Clean your air filter and spark arrestor, then disconnect the spark plug boot for long-term storage.
Skipping these steps can result in unwanted maintenance issues.
When to Rebuild the Carburetor or Replace the Blower
Eventually, you reach a point where cleaning won’t suffice, prompting the question: is it time to rebuild the carburetor or replace the blower?
I’ve experienced the frustration of spraying cleaner repeatedly, only to have the engine stall again. When fuel delivery remains problematic despite thorough cleaning, deeper issues may exist. Here’s how I make my decision:
- Try the deep clean first. Remove those jets completely, soak everything, and eliminate any varnish buildup. Sometimes that’s all it takes.
- Rebuild when you notice these signs. Persistent stalling, rough running that adjustments can’t fix, or poor response after warming indicate that a rebuild kit, which replaces worn gaskets and valves, is necessary.
- Replace the carburetor or blower when you find hardened gaskets crumbling, damaged metering jets, or when you are fixing the same issue every season. At some point, it makes sense to replace the blower entirely.